
 (First of all, don’t those clouds look like something from The Simpsons? HA!)
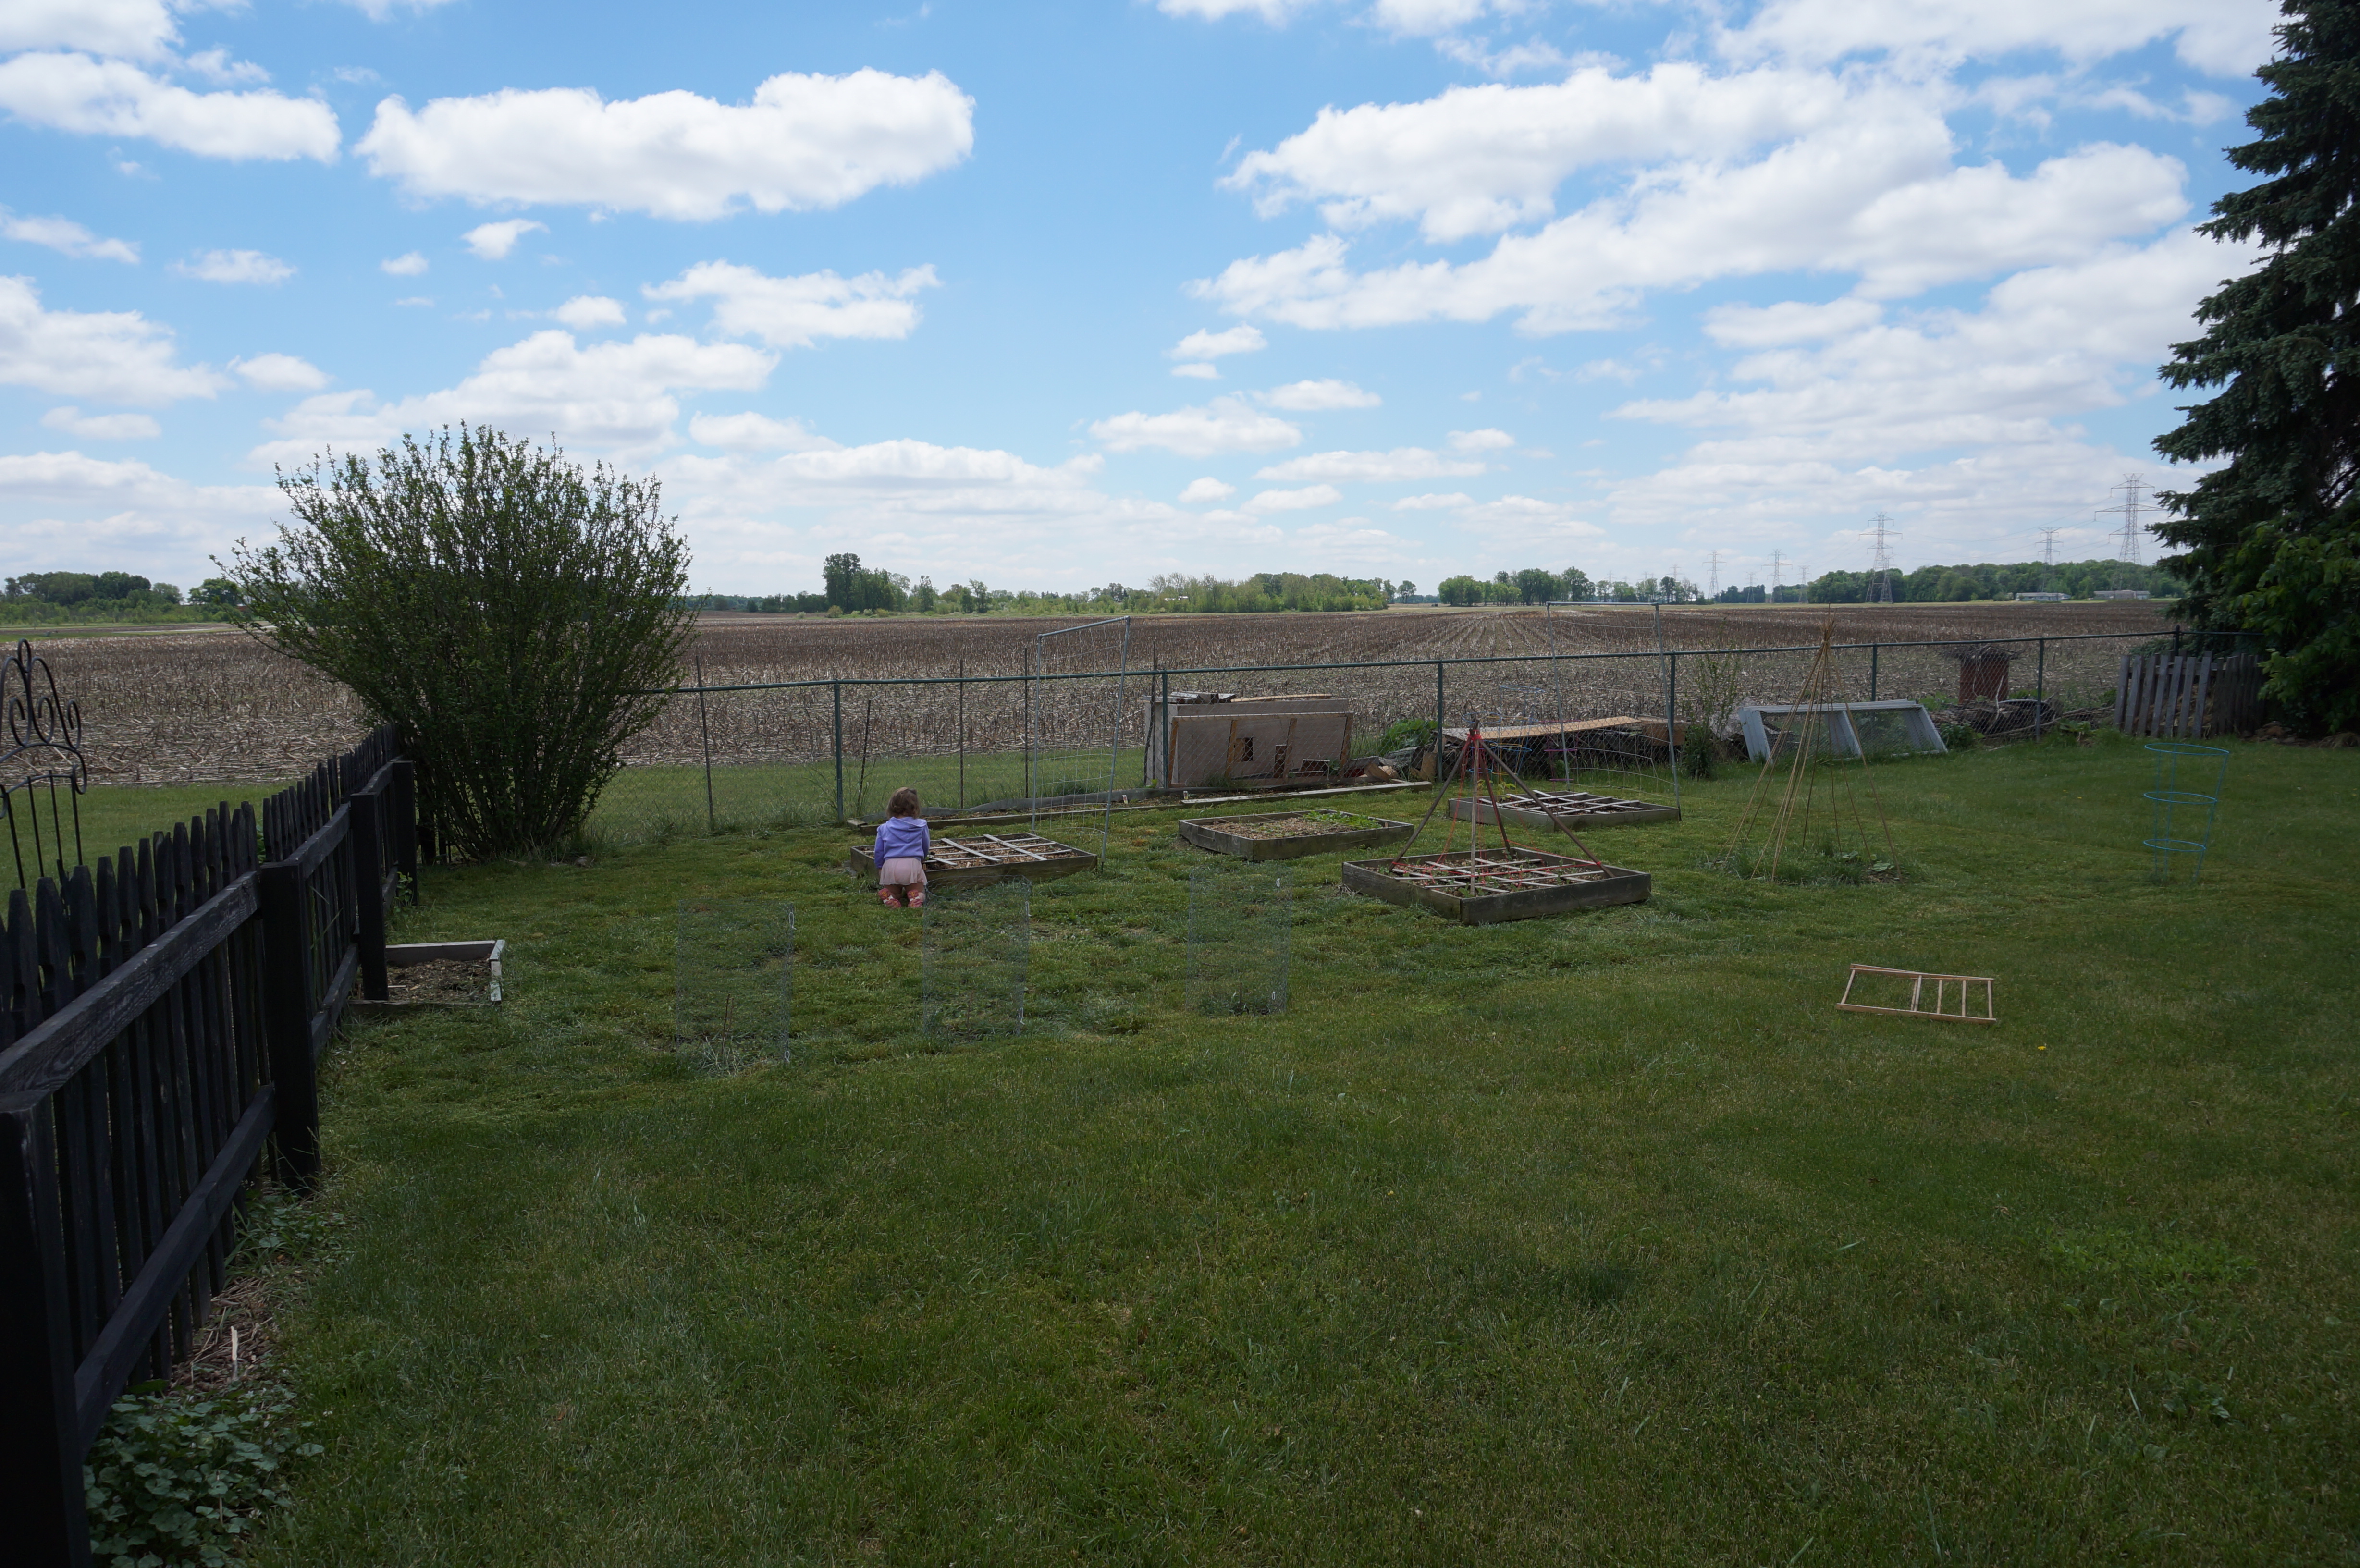
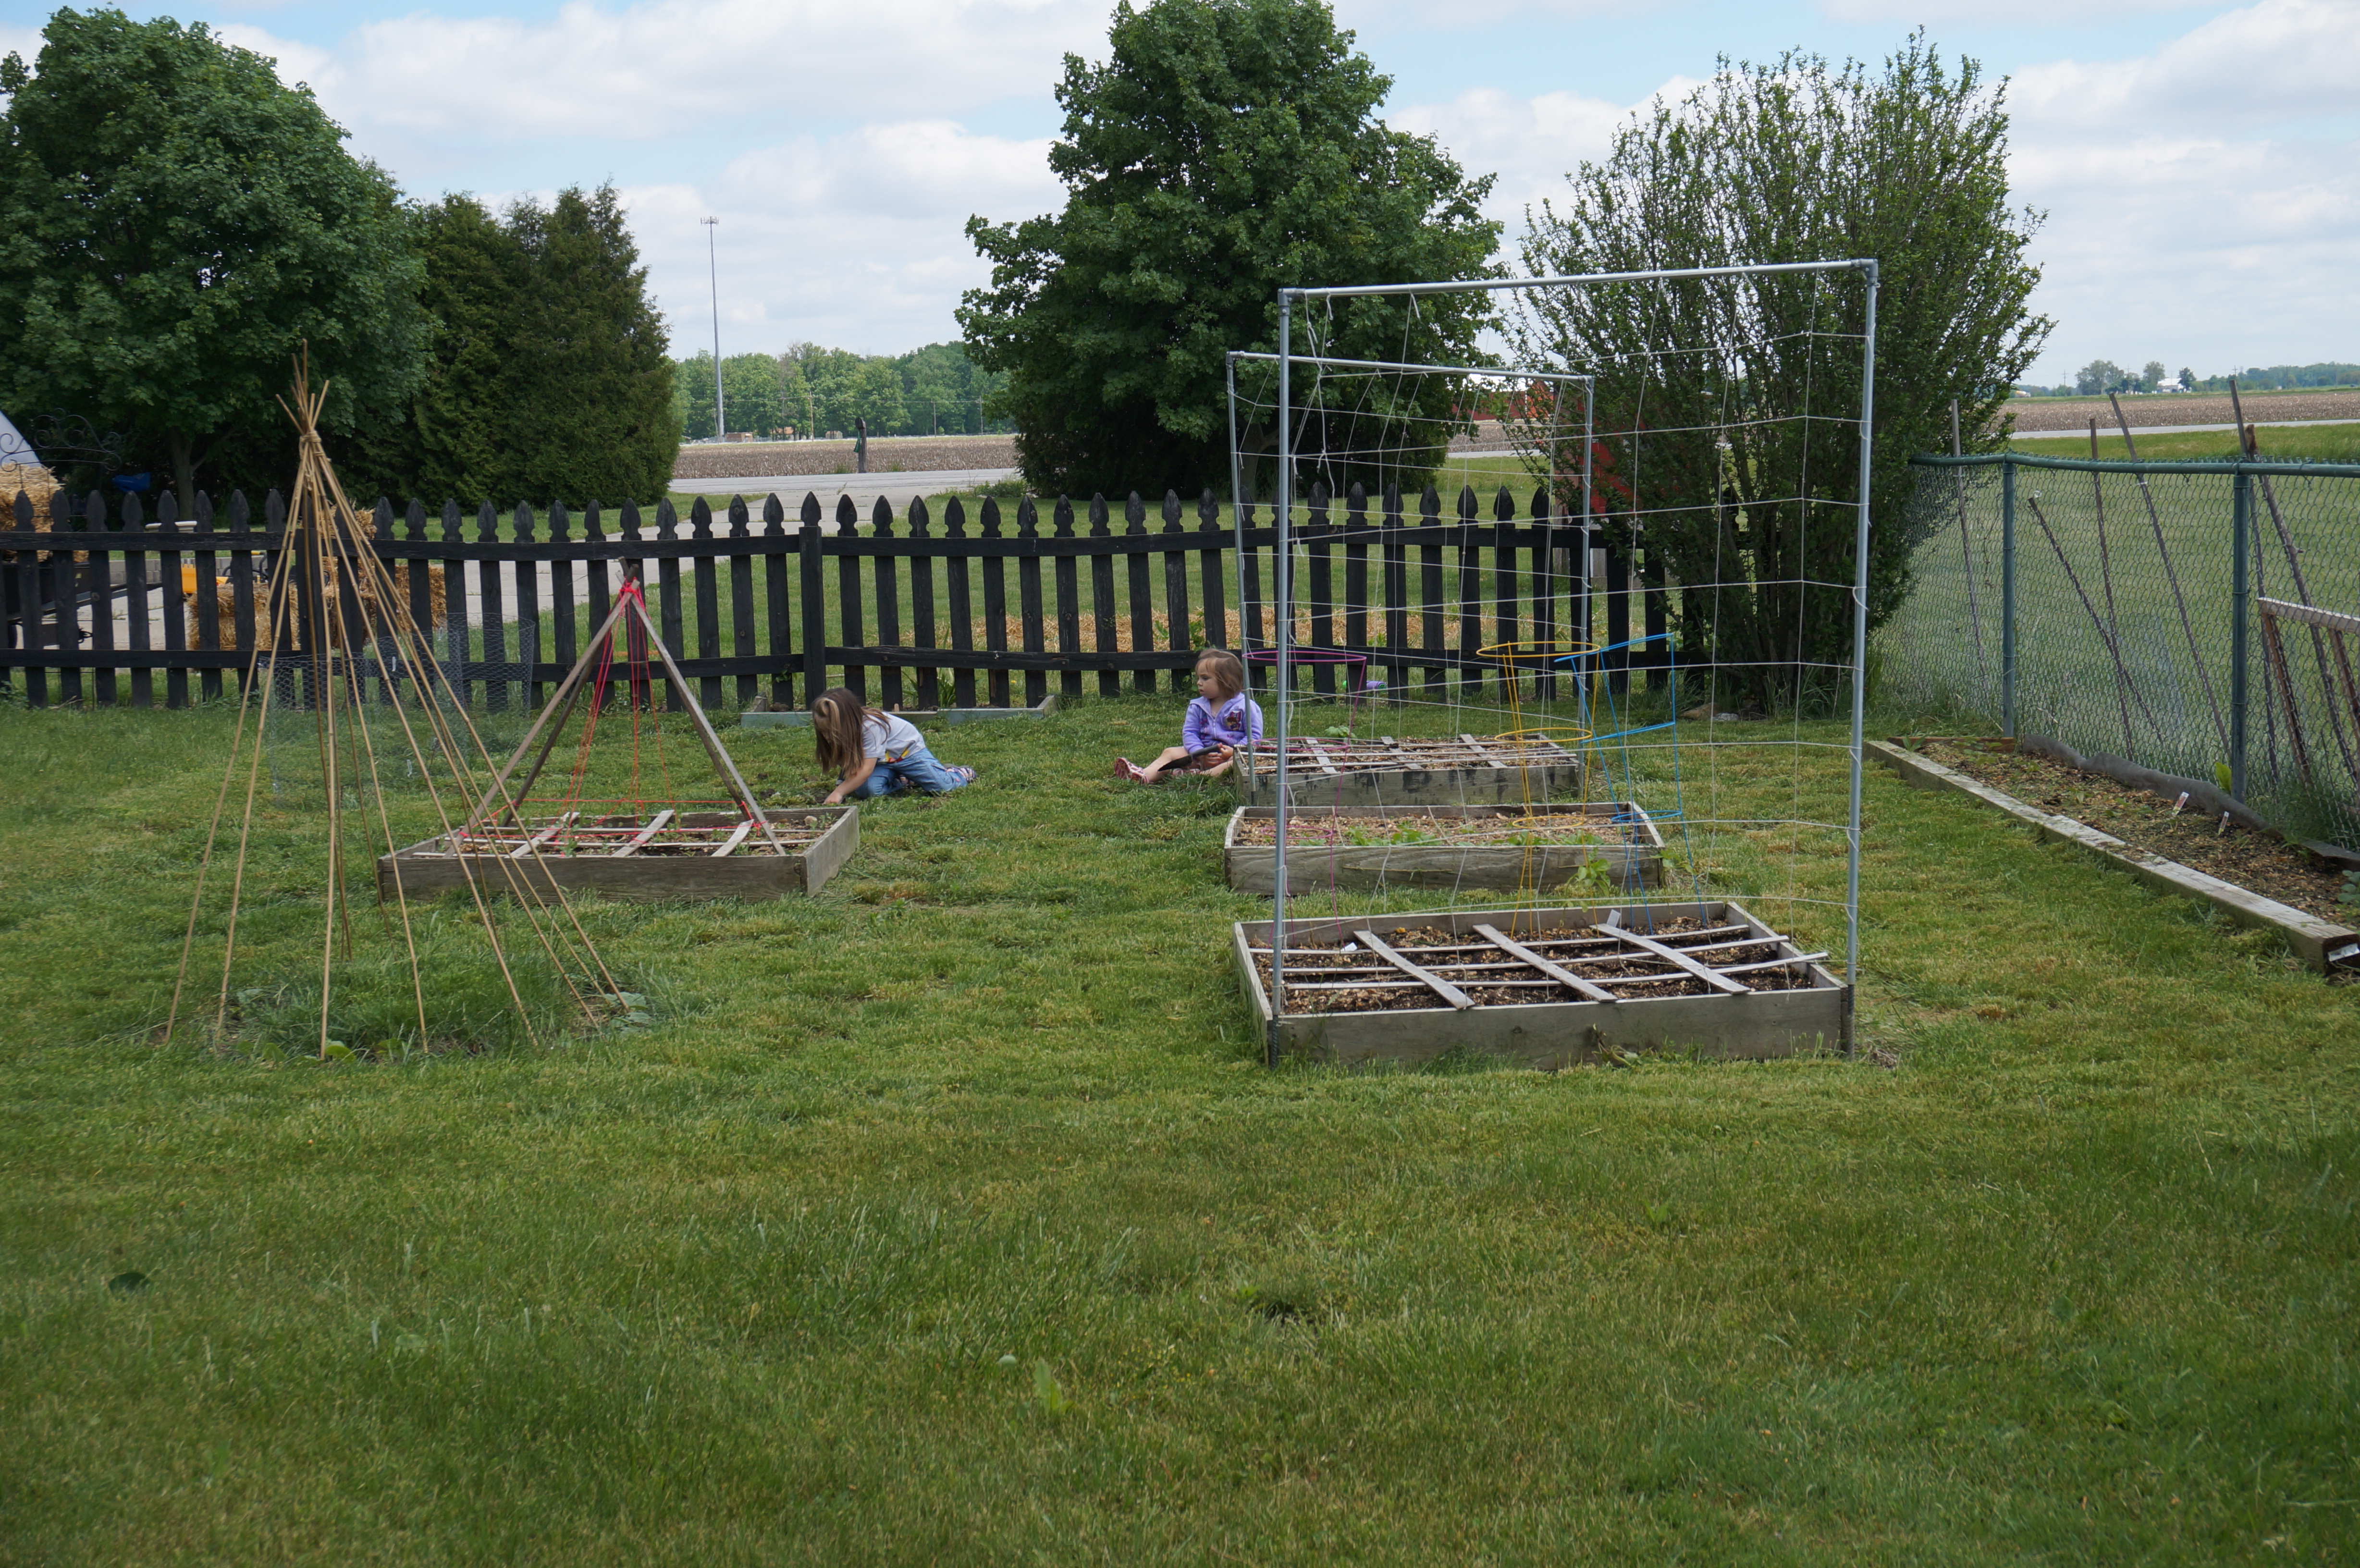
My garden is mostly planted and I am just so pleased with it! Last year, I tried Square Foot Gardening for the first time and loved it. I learned a few valuable lessons regarding over-crowding last year, and I think I made the right adjustments this year. This is the straight-on view of my entire garden. On the very left up against the fence is a new addition, an asparagus patch!
 Nothing to see yet, really. Asparagus takes three years before you can harvest it, and then it grows prolifically as a perennial, apparently. I’ve never had asparagus straight out of a garden before, so that will be a real treat!
 Right next to the asparagus patch is something else that is new to my garden and my experience: Raspberry bushes! I planted two red bushes and one golden, just for funsies. I doubt I’ll get a harvest this year, but hopefully next year? I’ve never grown raspberries before, so I’m really not sure when I can expect to harvest. I know my girls are going to be all over them, though! They are berry-crazy! (Ha ha)
 It’s alive! The other two bushes just look like expensive sticks that some crazy person planted, but this one actually has a few leaves! (Doesn’t take much to excite me…)
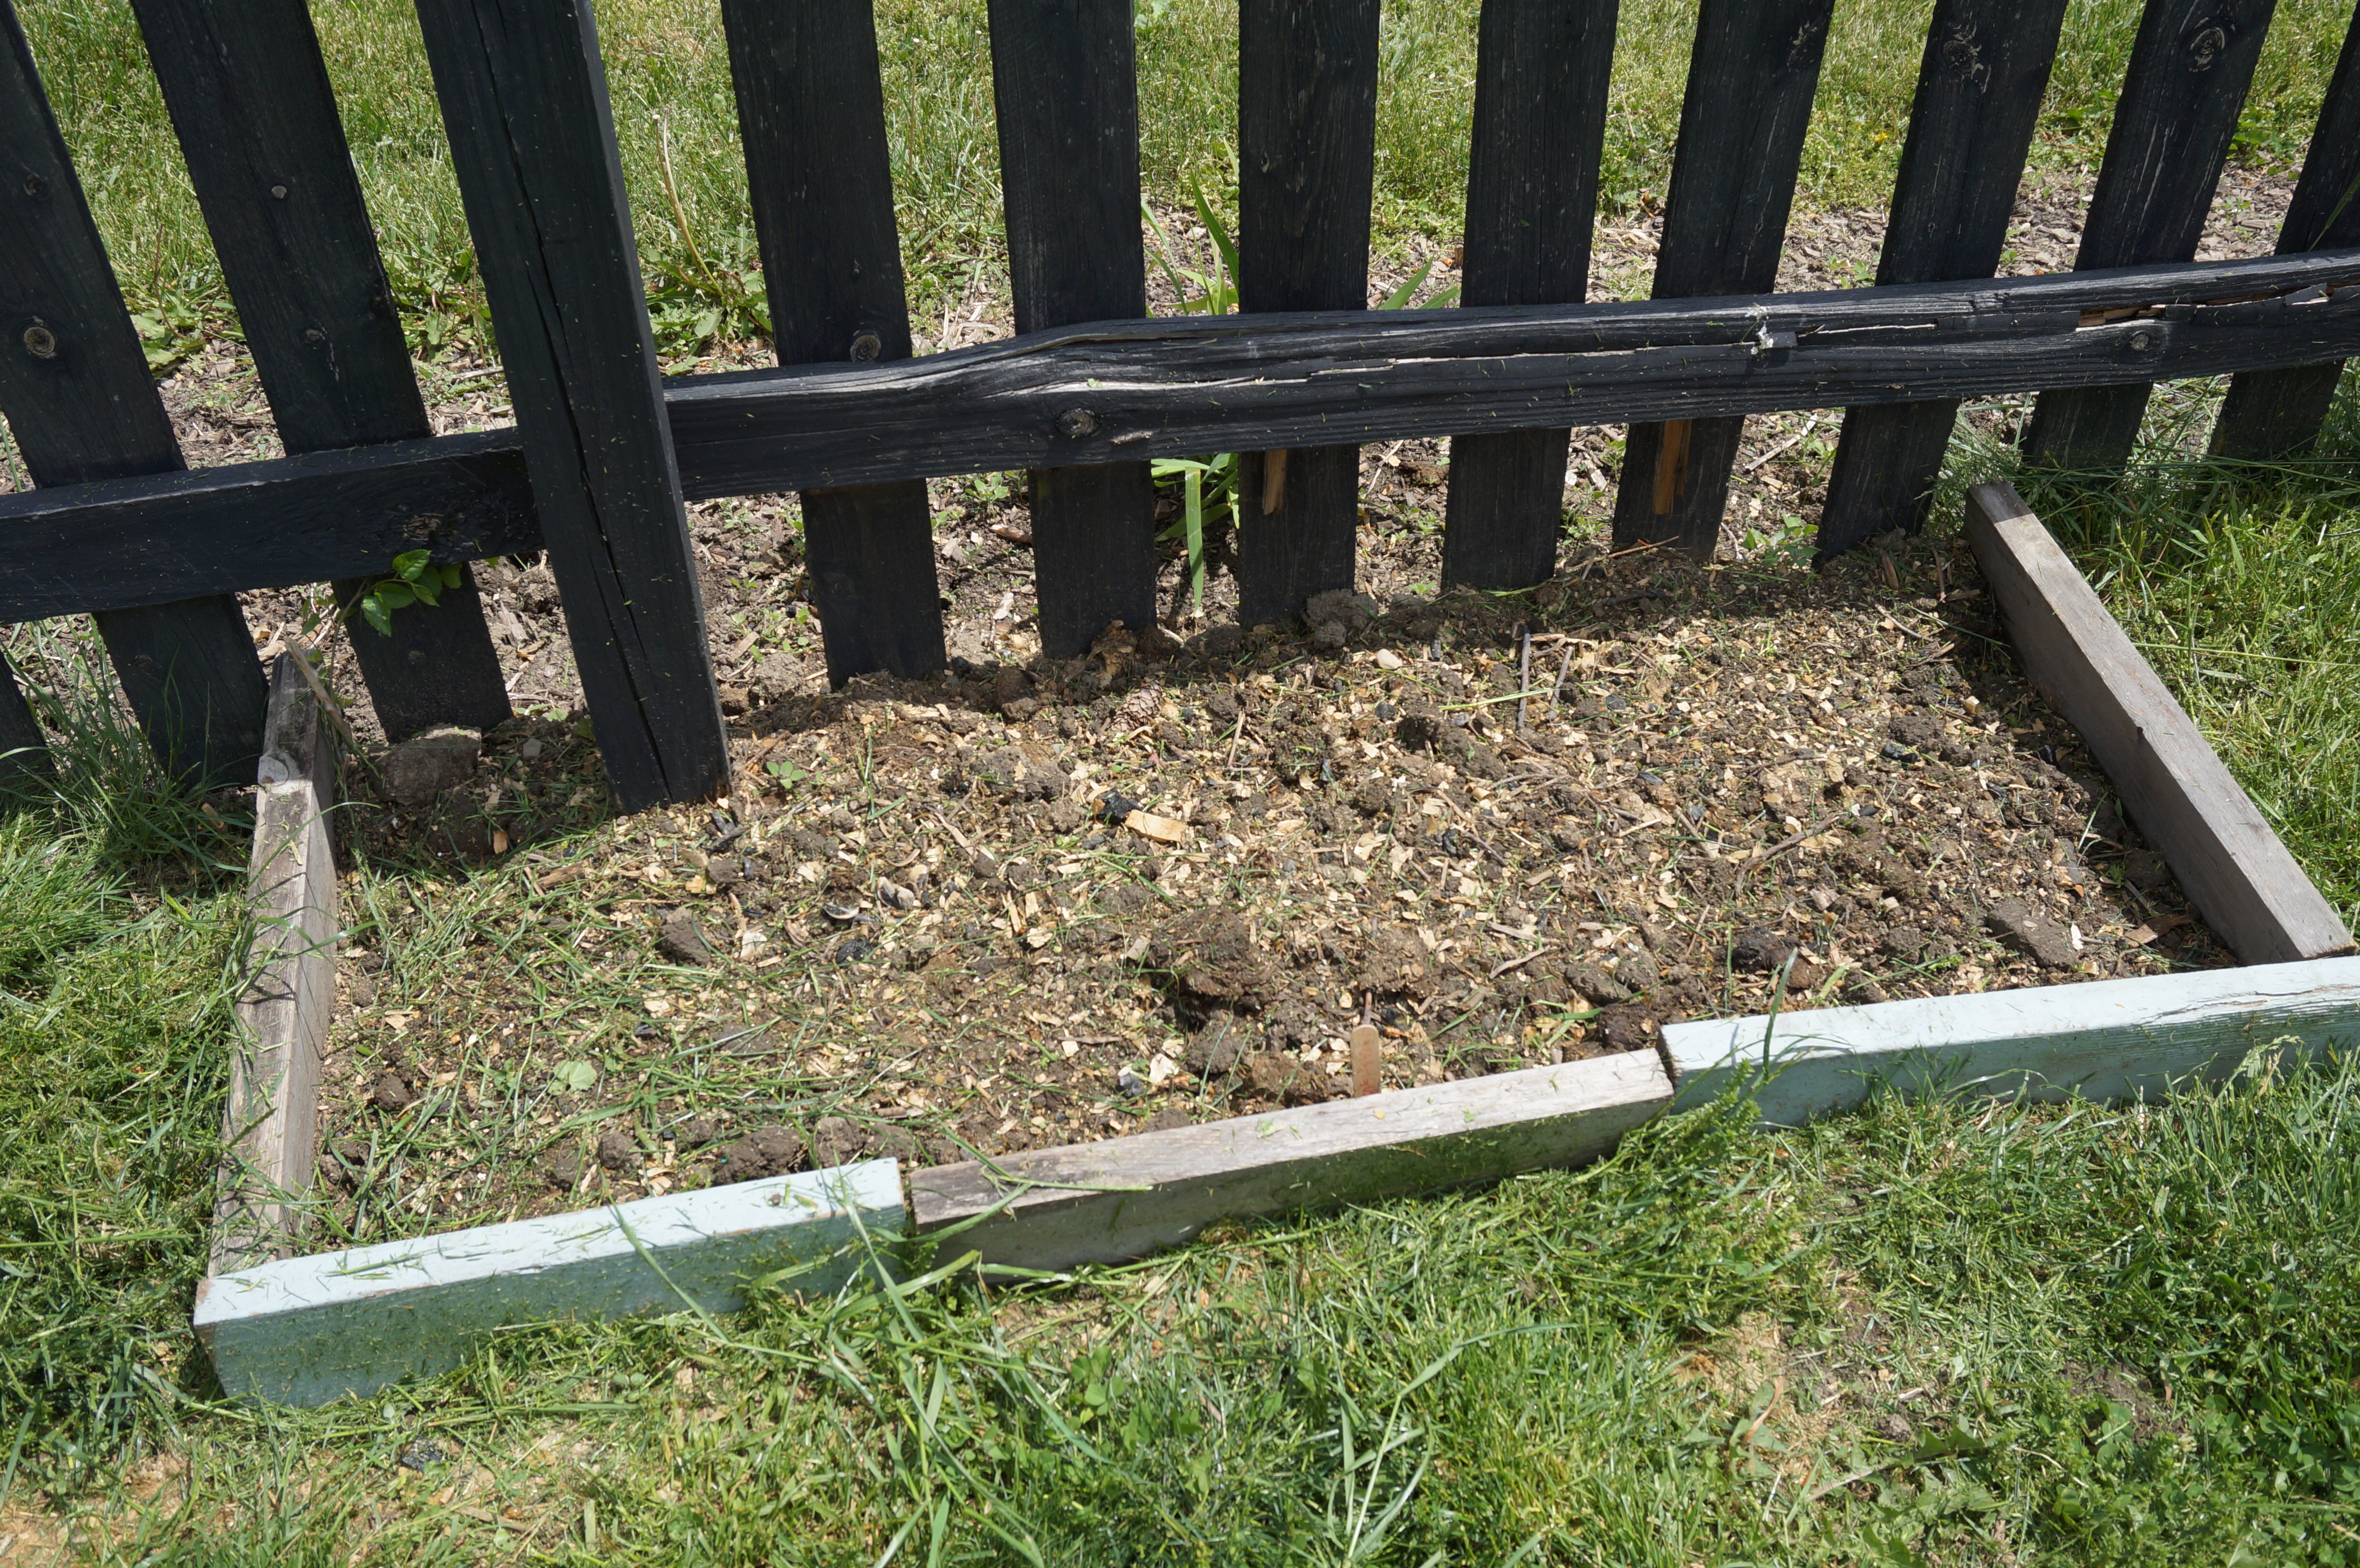
 Behind the raspberry bushes is a raised bed. Last year I grew pickles, basil, beets, cilantro and two kinds of heirloom tomatoes in this bed. They all did fairly well here, so I didn’t change much. I planted basil, cilantro and cucumbers this year. I have room for more, but haven’t decided what to put there yet. I will probably put cherry tomatoes in there once my seedlings are ready for transplant. I decided not to grow beets this year, even though they were lots of fun, because I pickled and canned them up, and no one ever ate them. I also decided not to grow pickles, because it was too frustrating to me that there was never a batch ready at the same time for pickling. This year I’m just going to order pickles, and that way I’ll get all my pickling done at once.
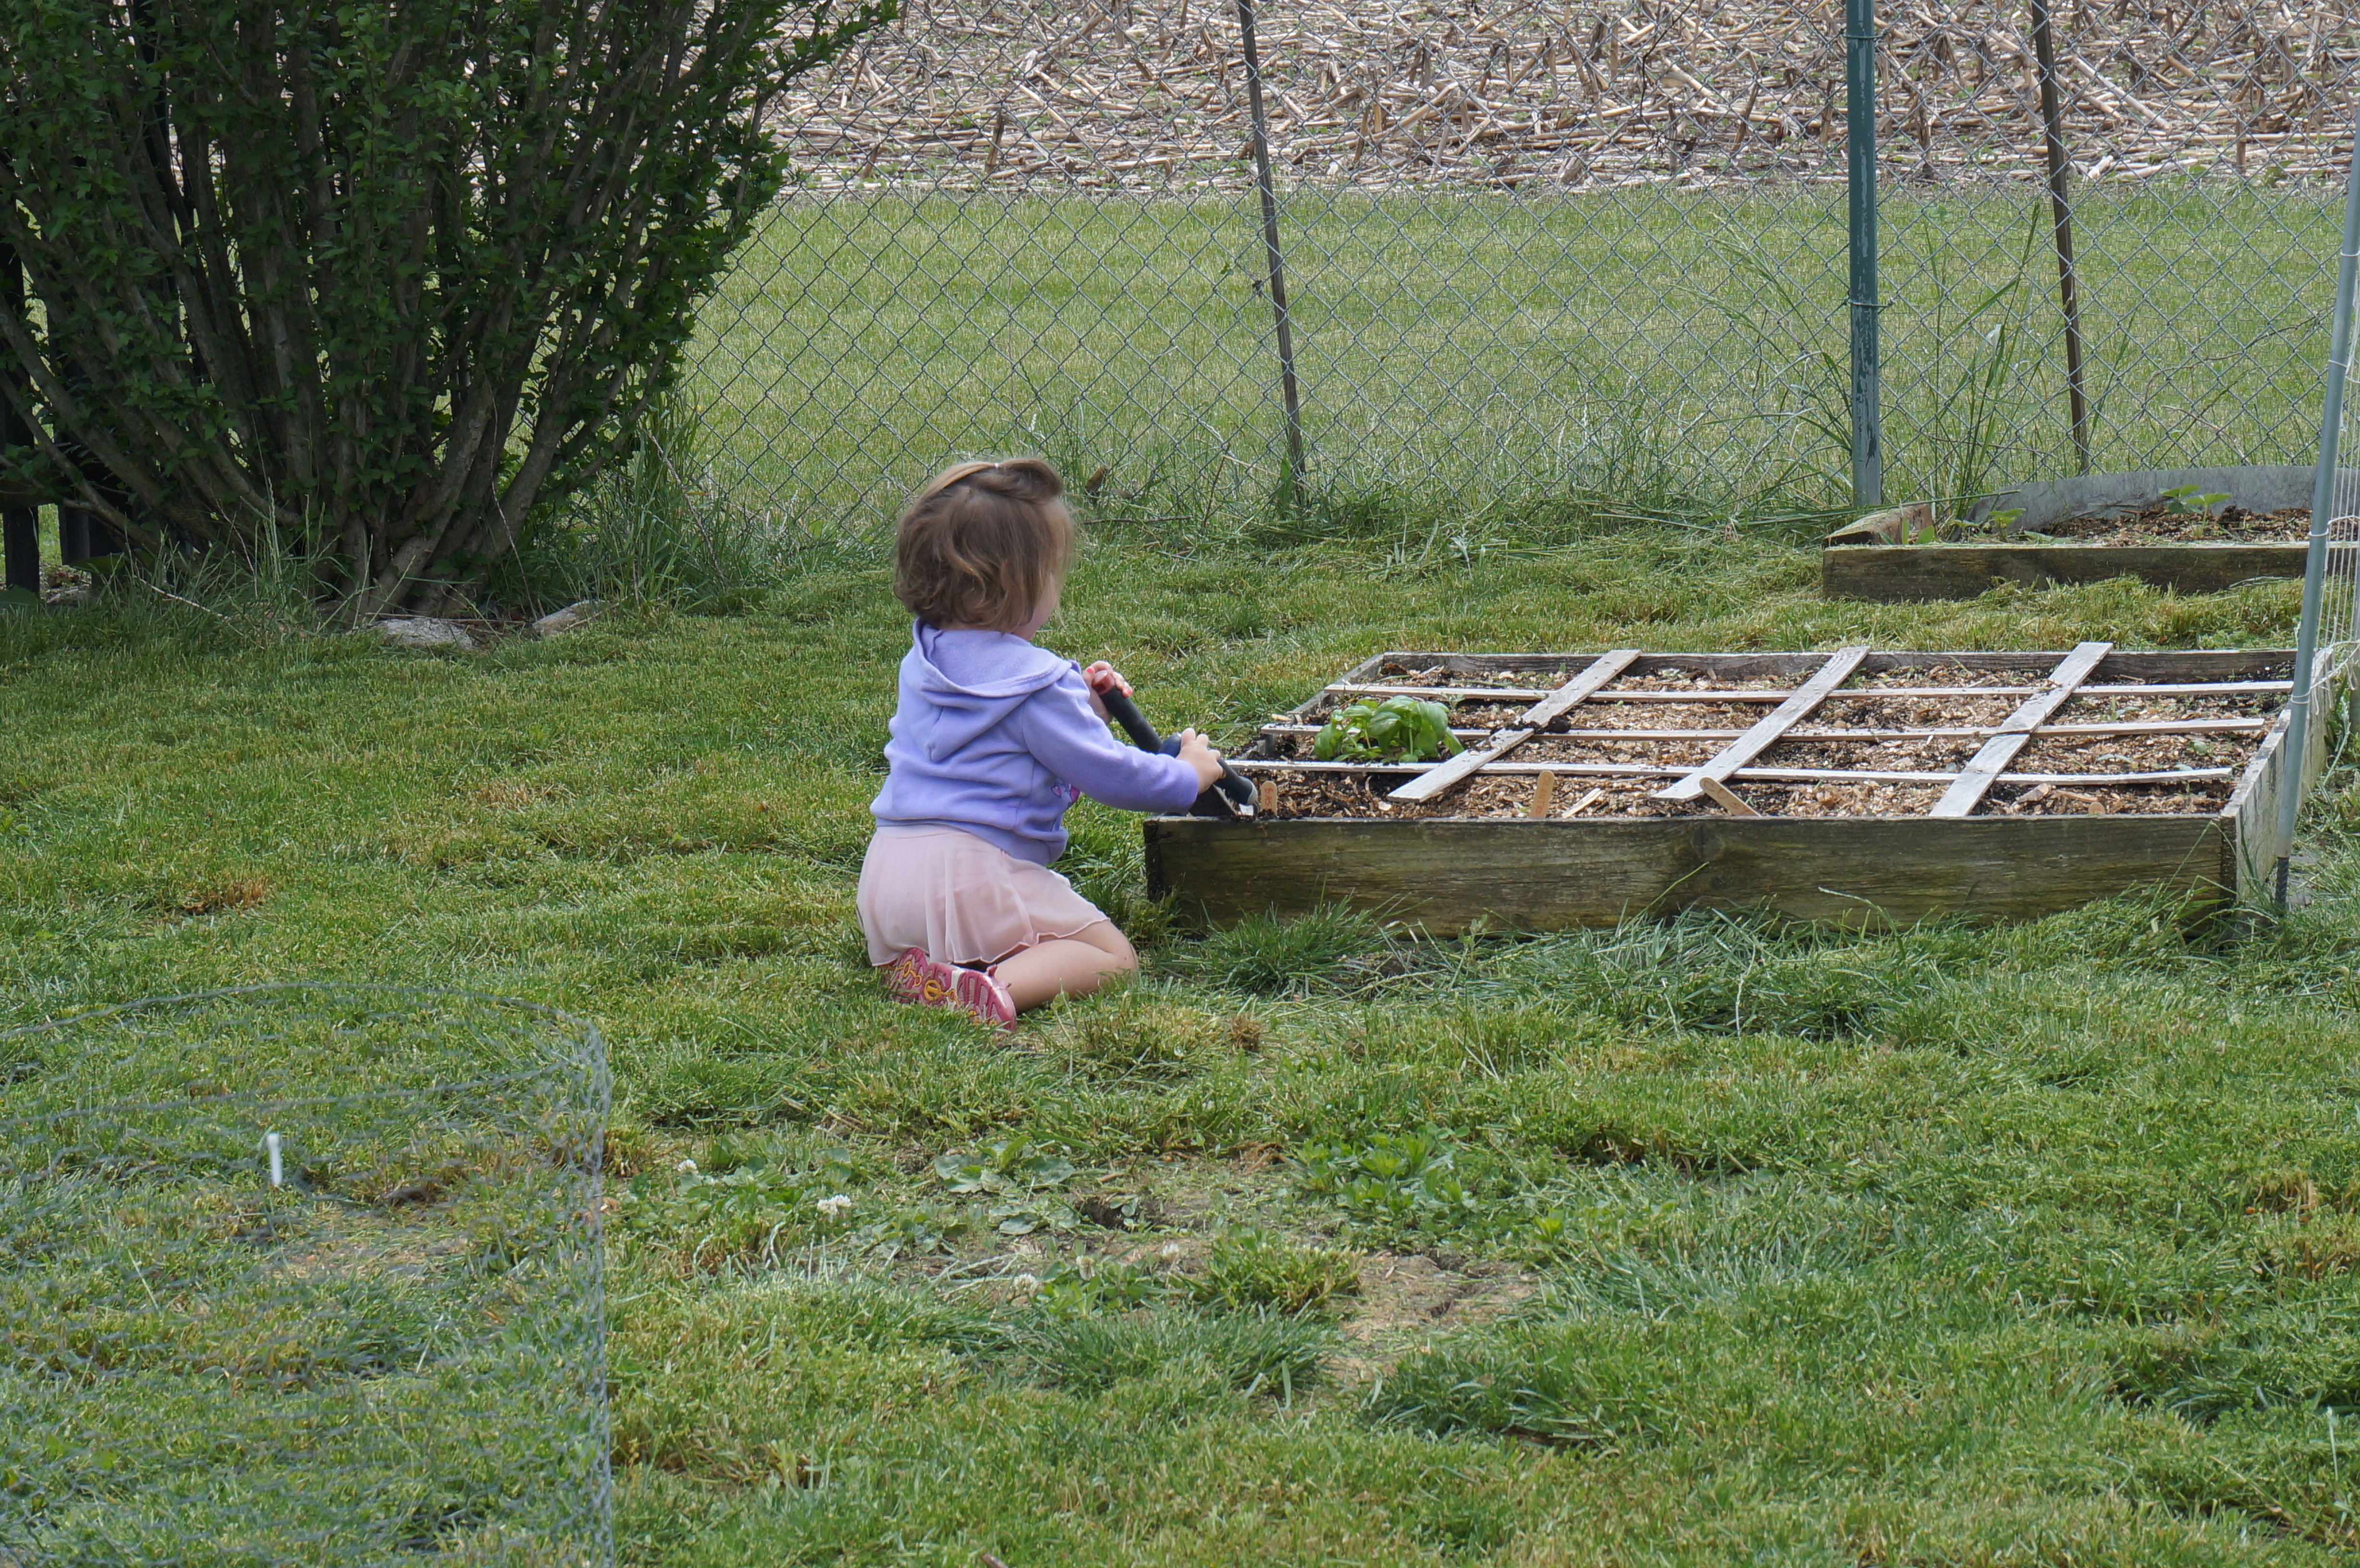
I took these pictures the same day that I took the chicken pictures, as is evident by Dagny’s outfit. See my big helper? (There used to be basil seeds in that square…I’m guessing that they aren’t there anymore…)
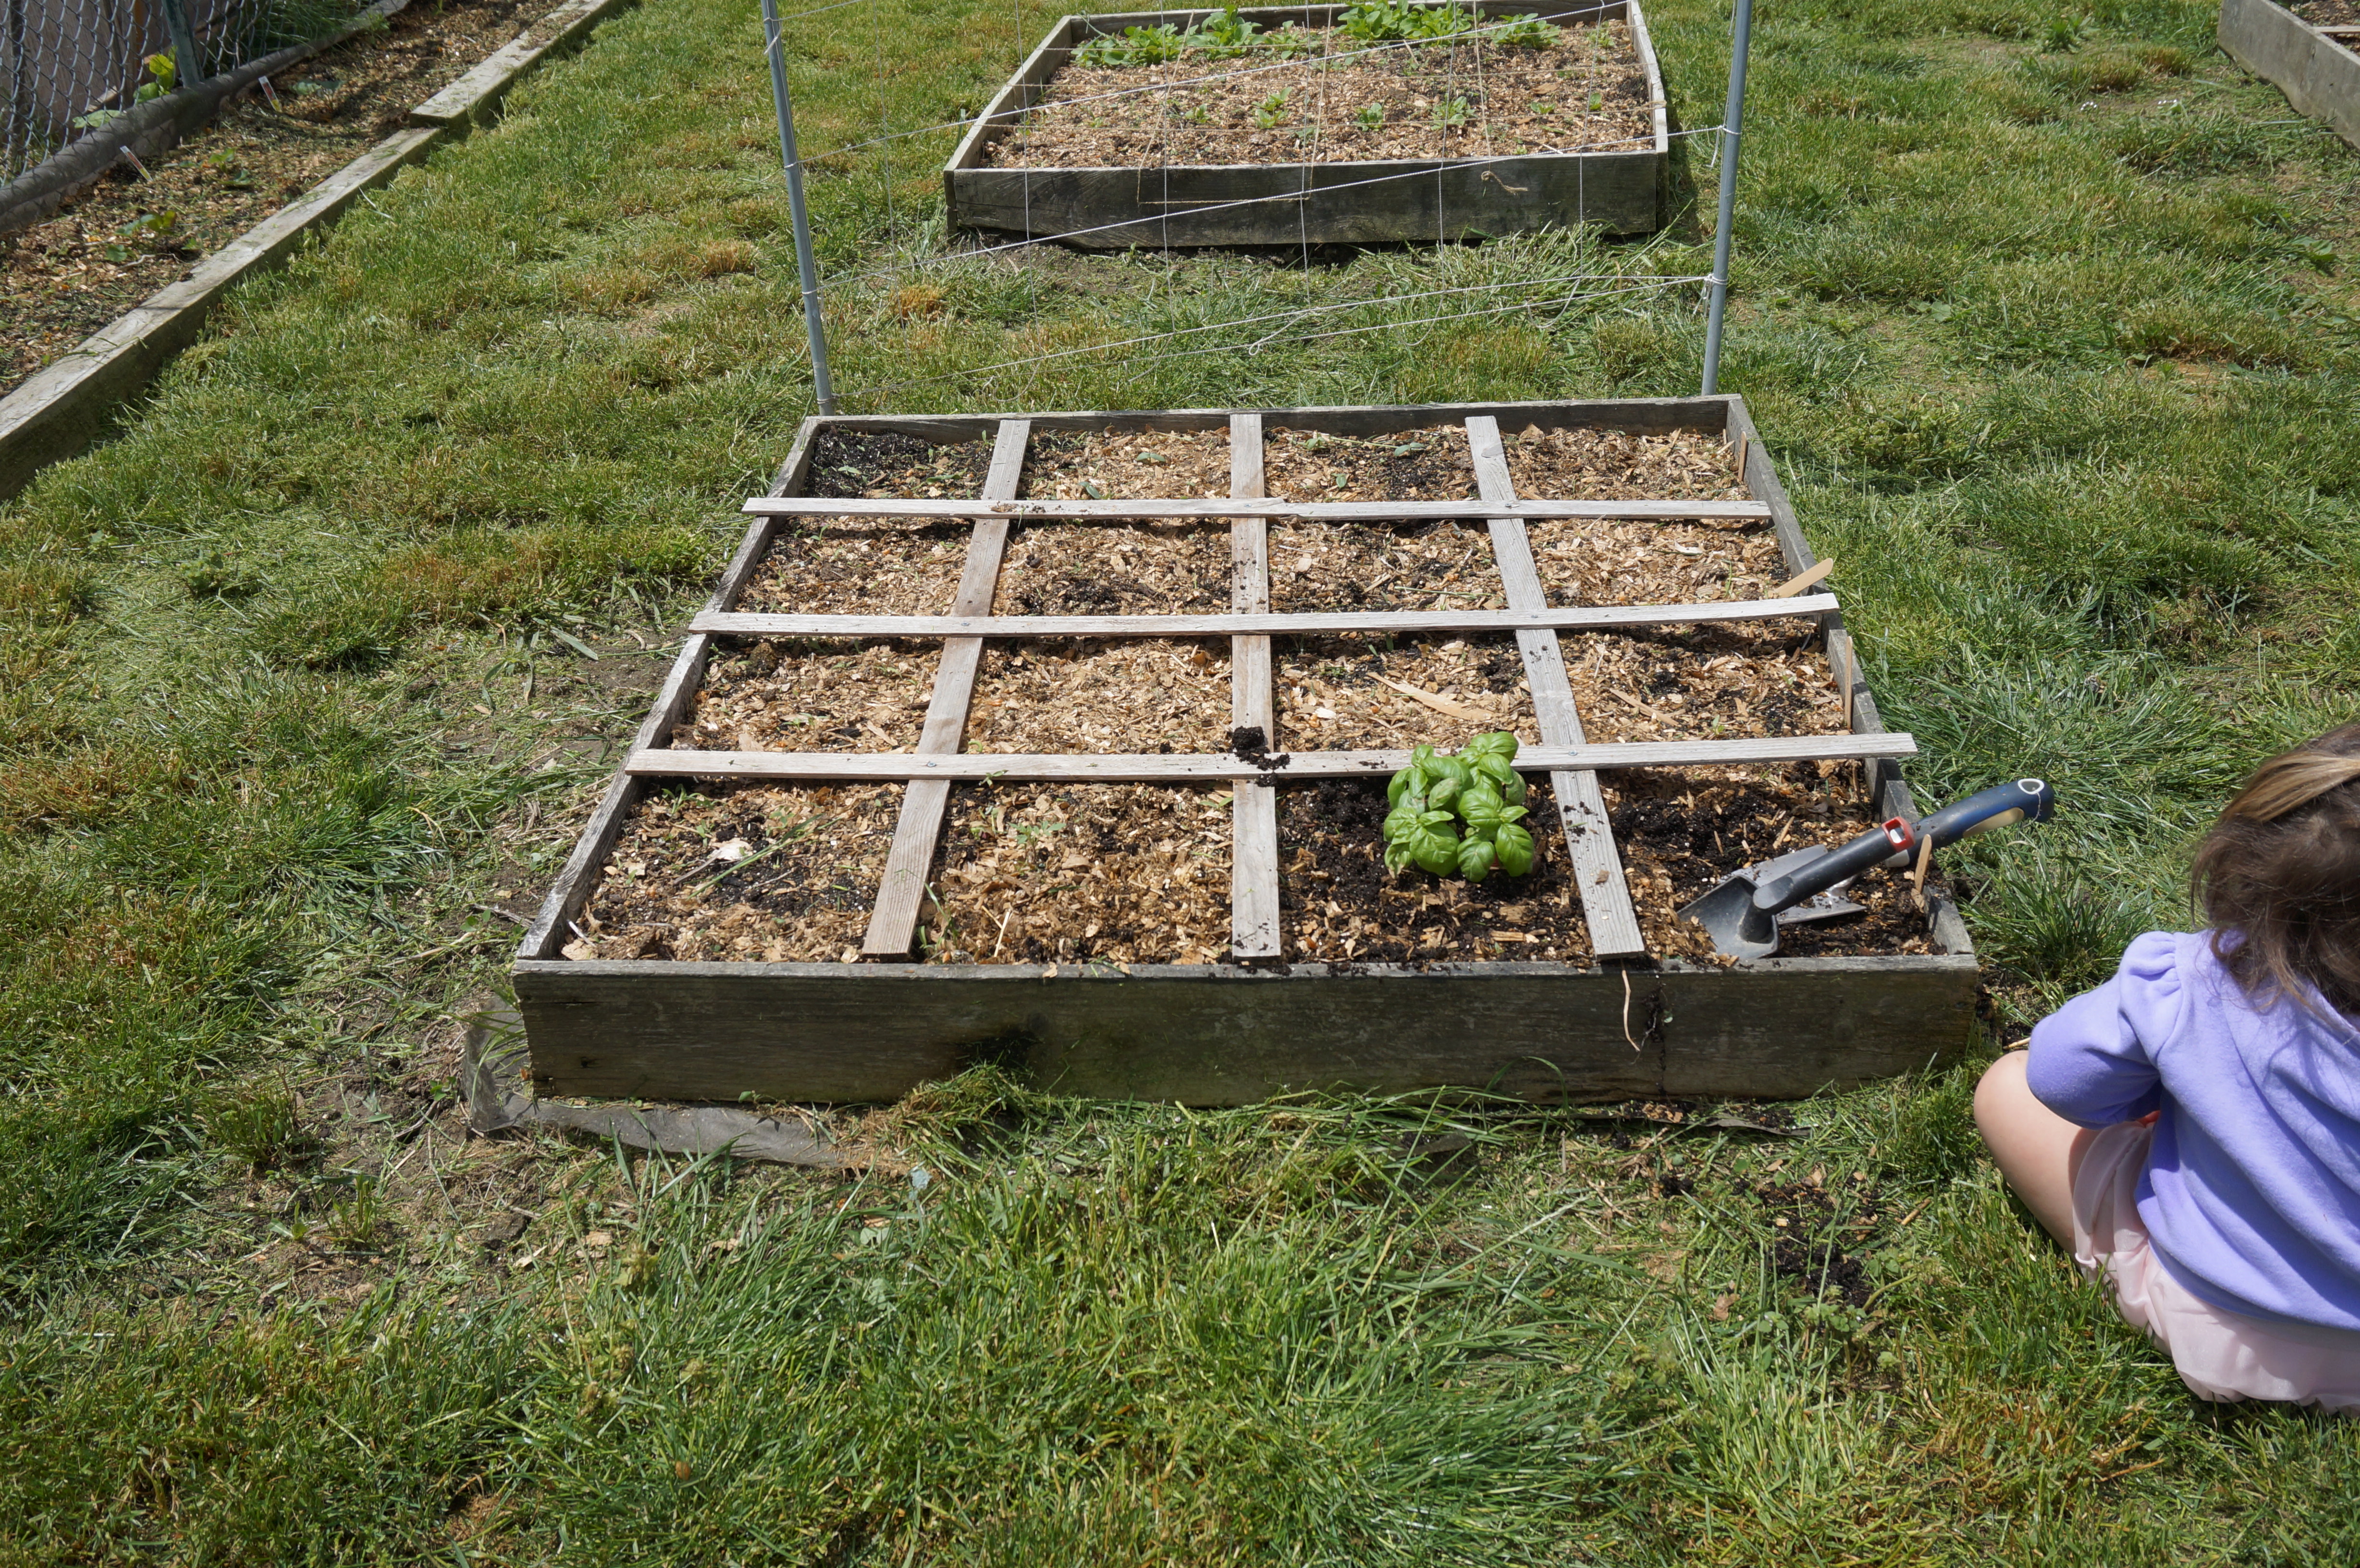
I did start my basil this year from direct-sow seed. I’ve never done that (successfully) with basil, so it wasn’t too surprising to me that most of them didn’t come up. I ended up buying a healthy-looking plant just to guarantee I would get some basil this year.
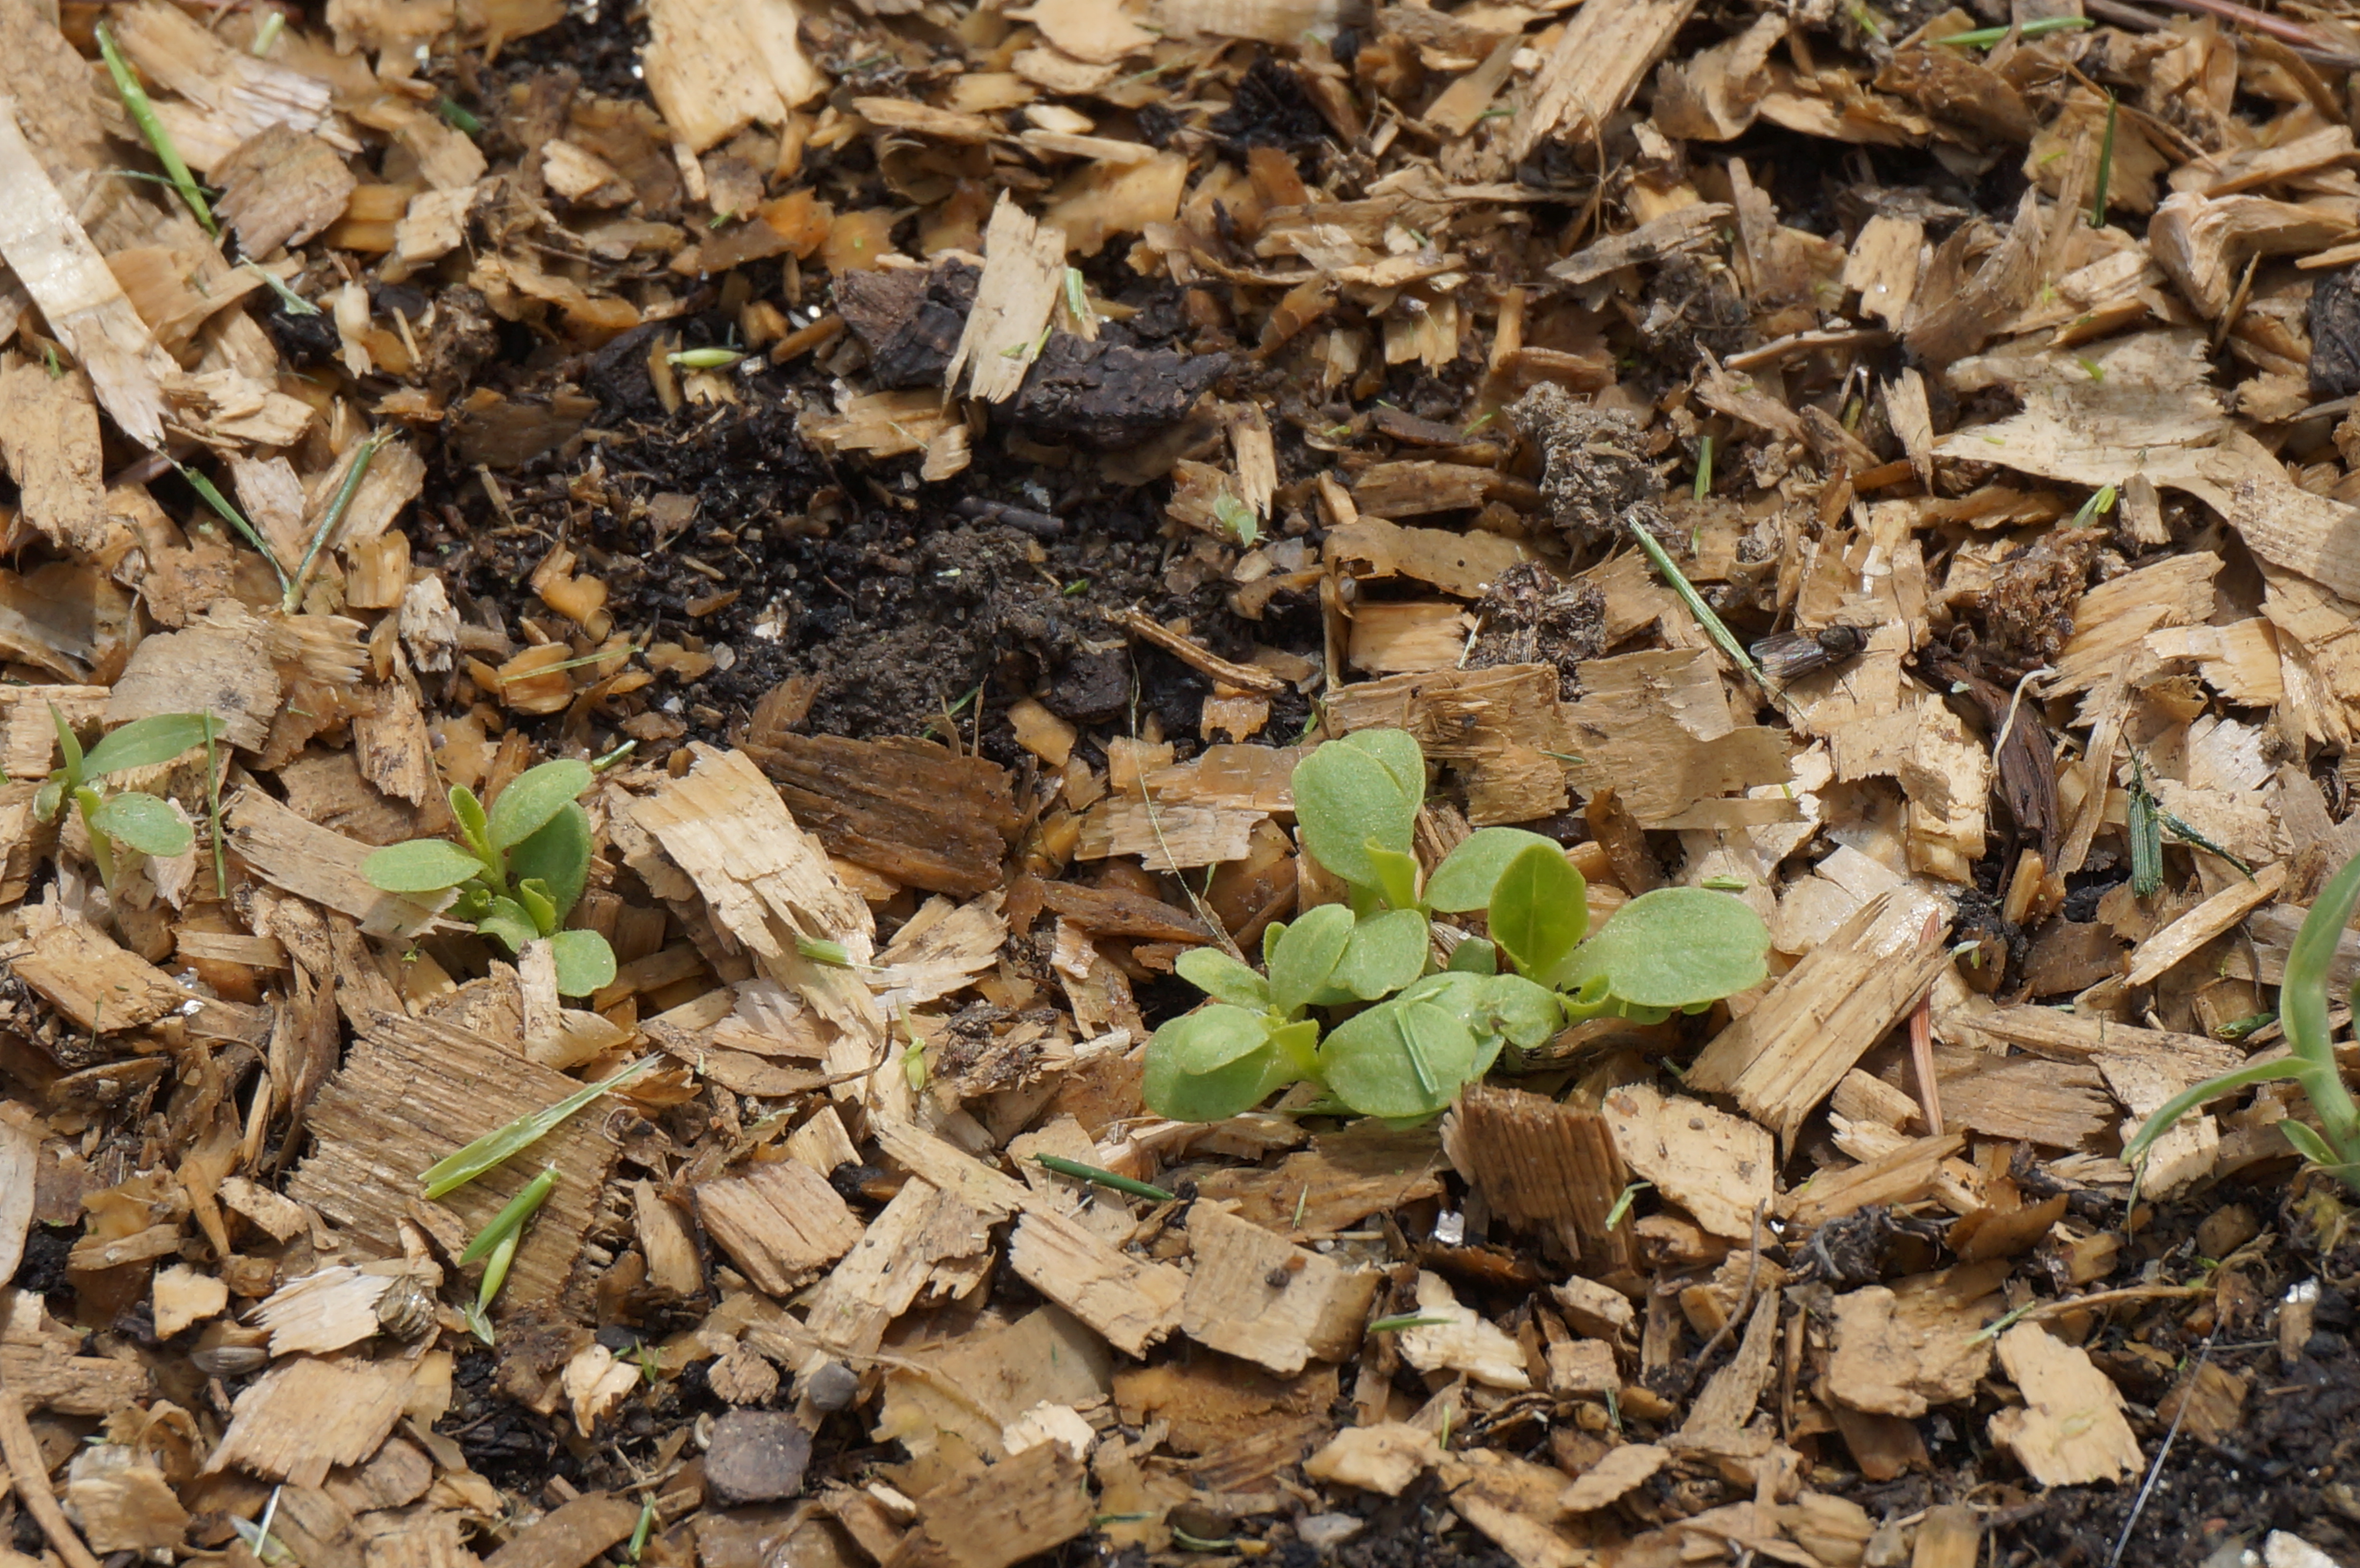
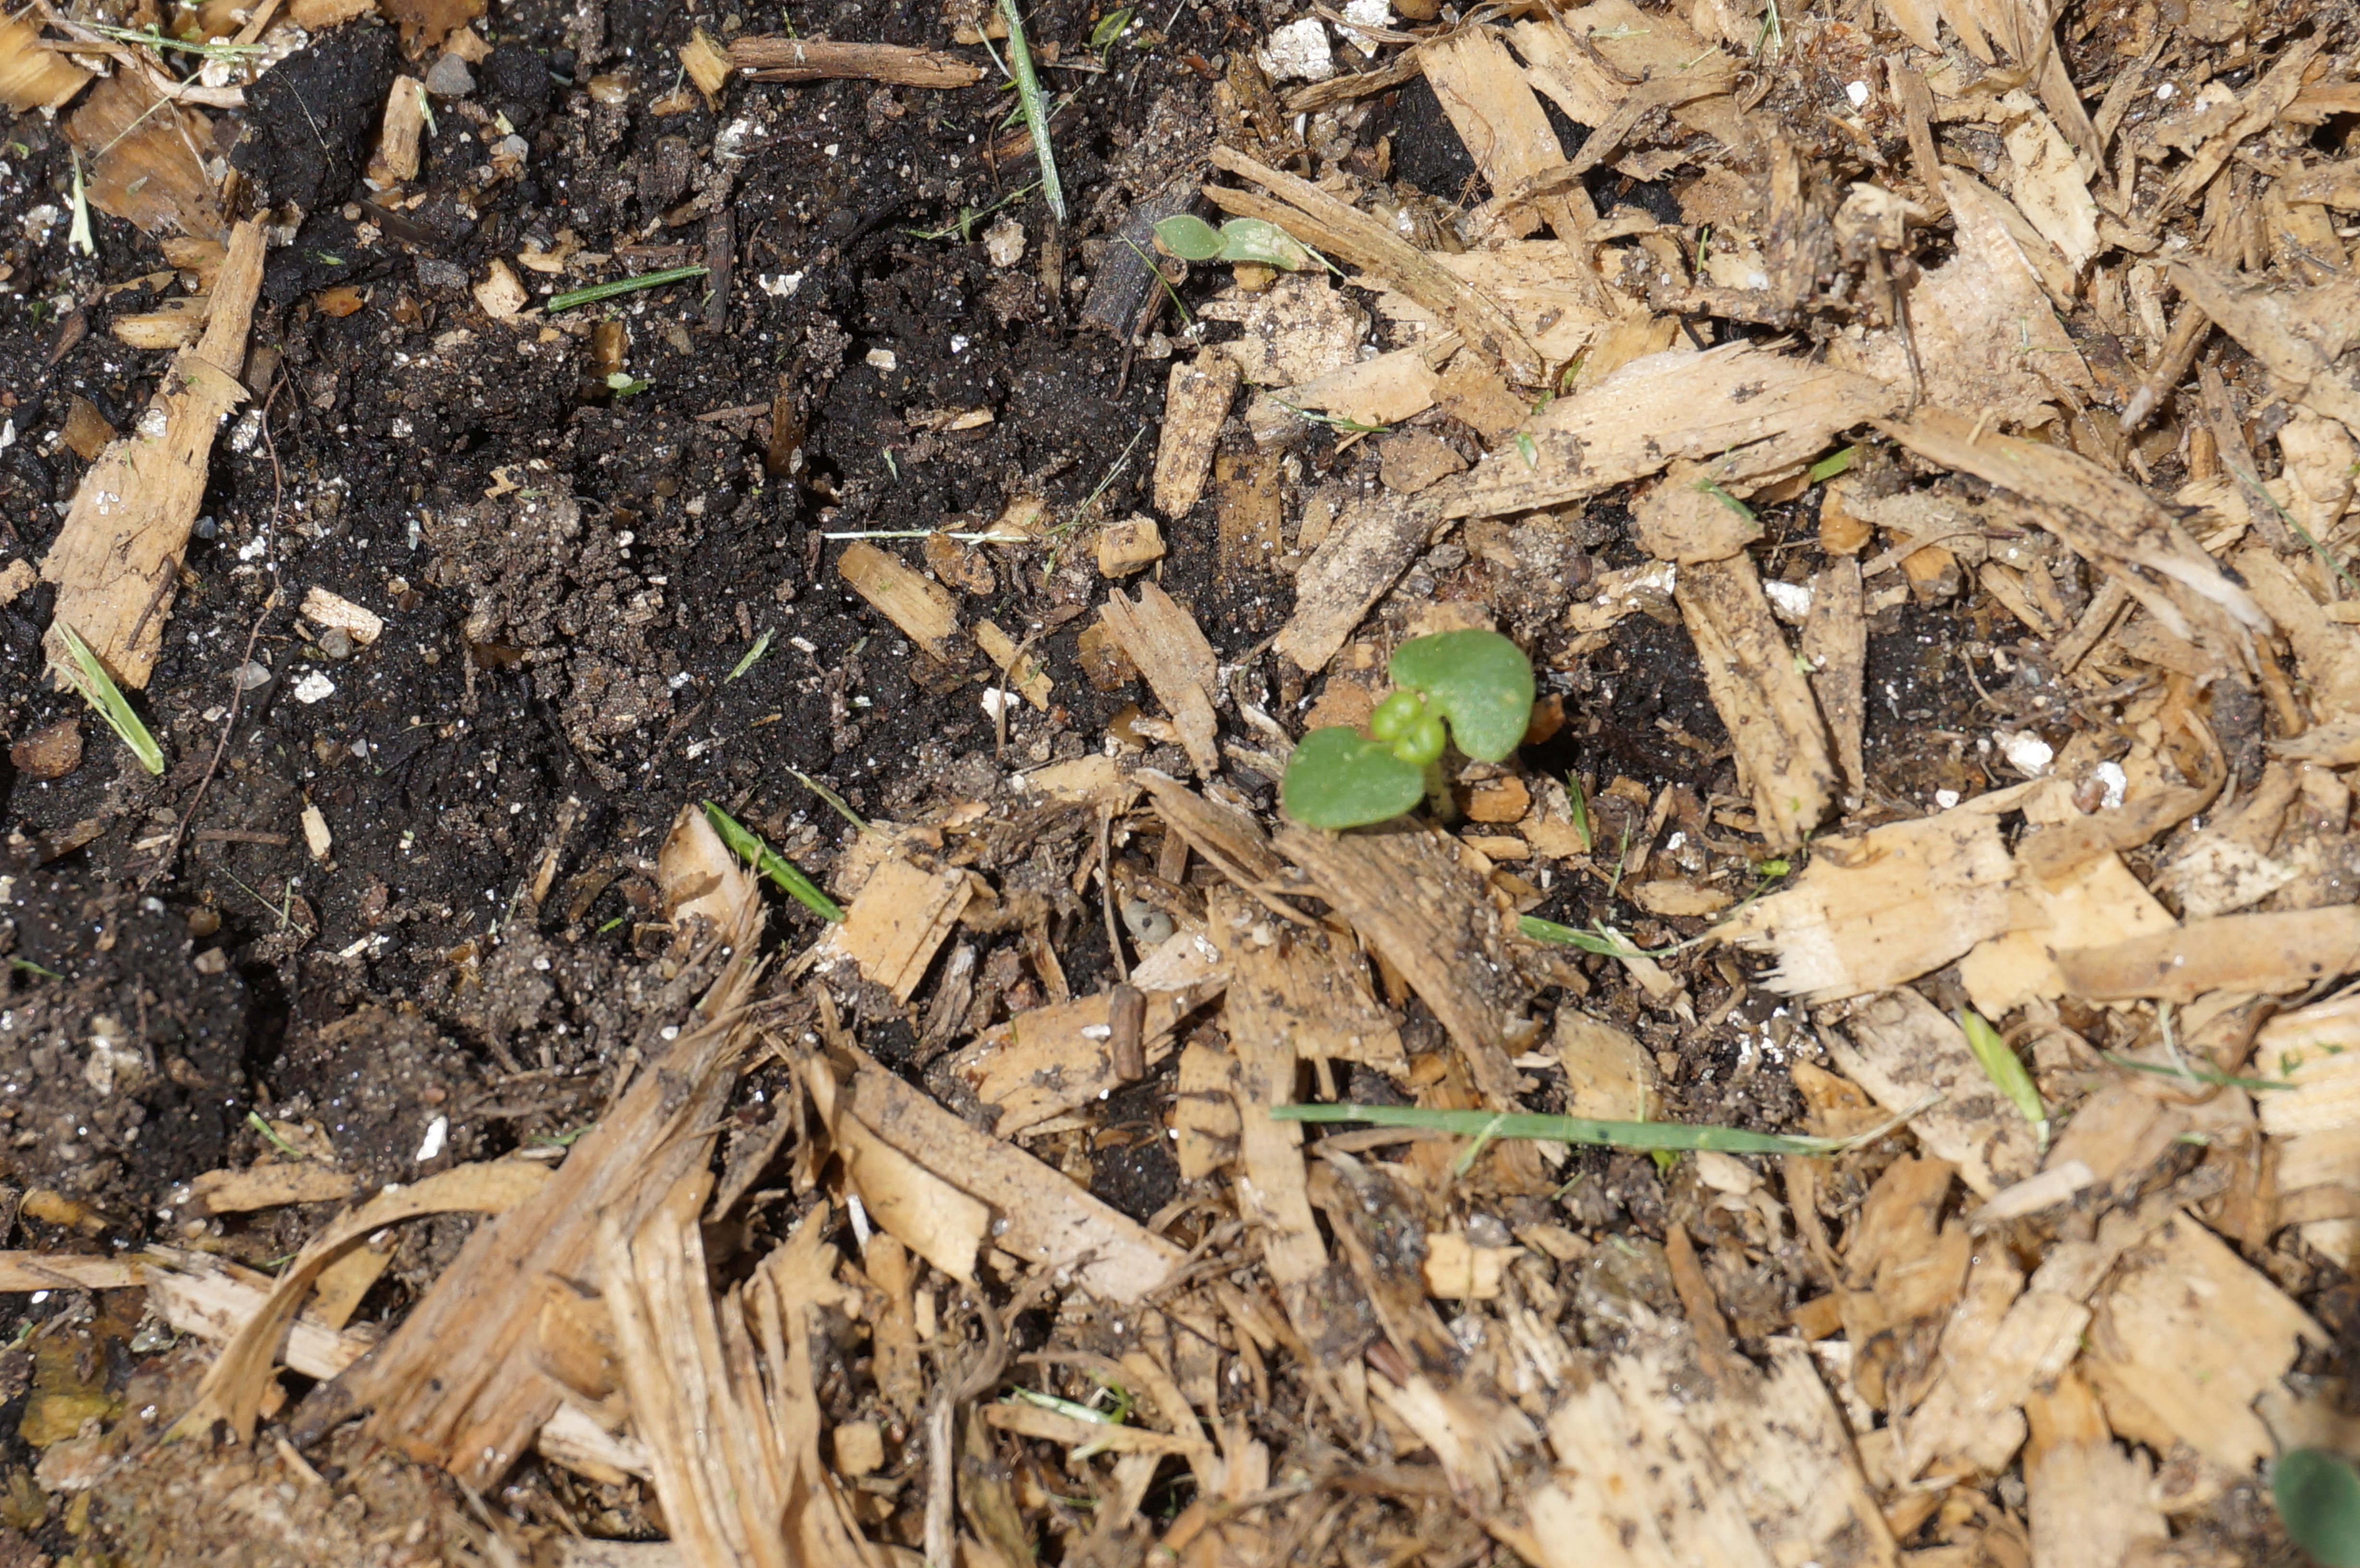 It looks like at least one seed worked, though! This is definitely not a weed! Exciting!
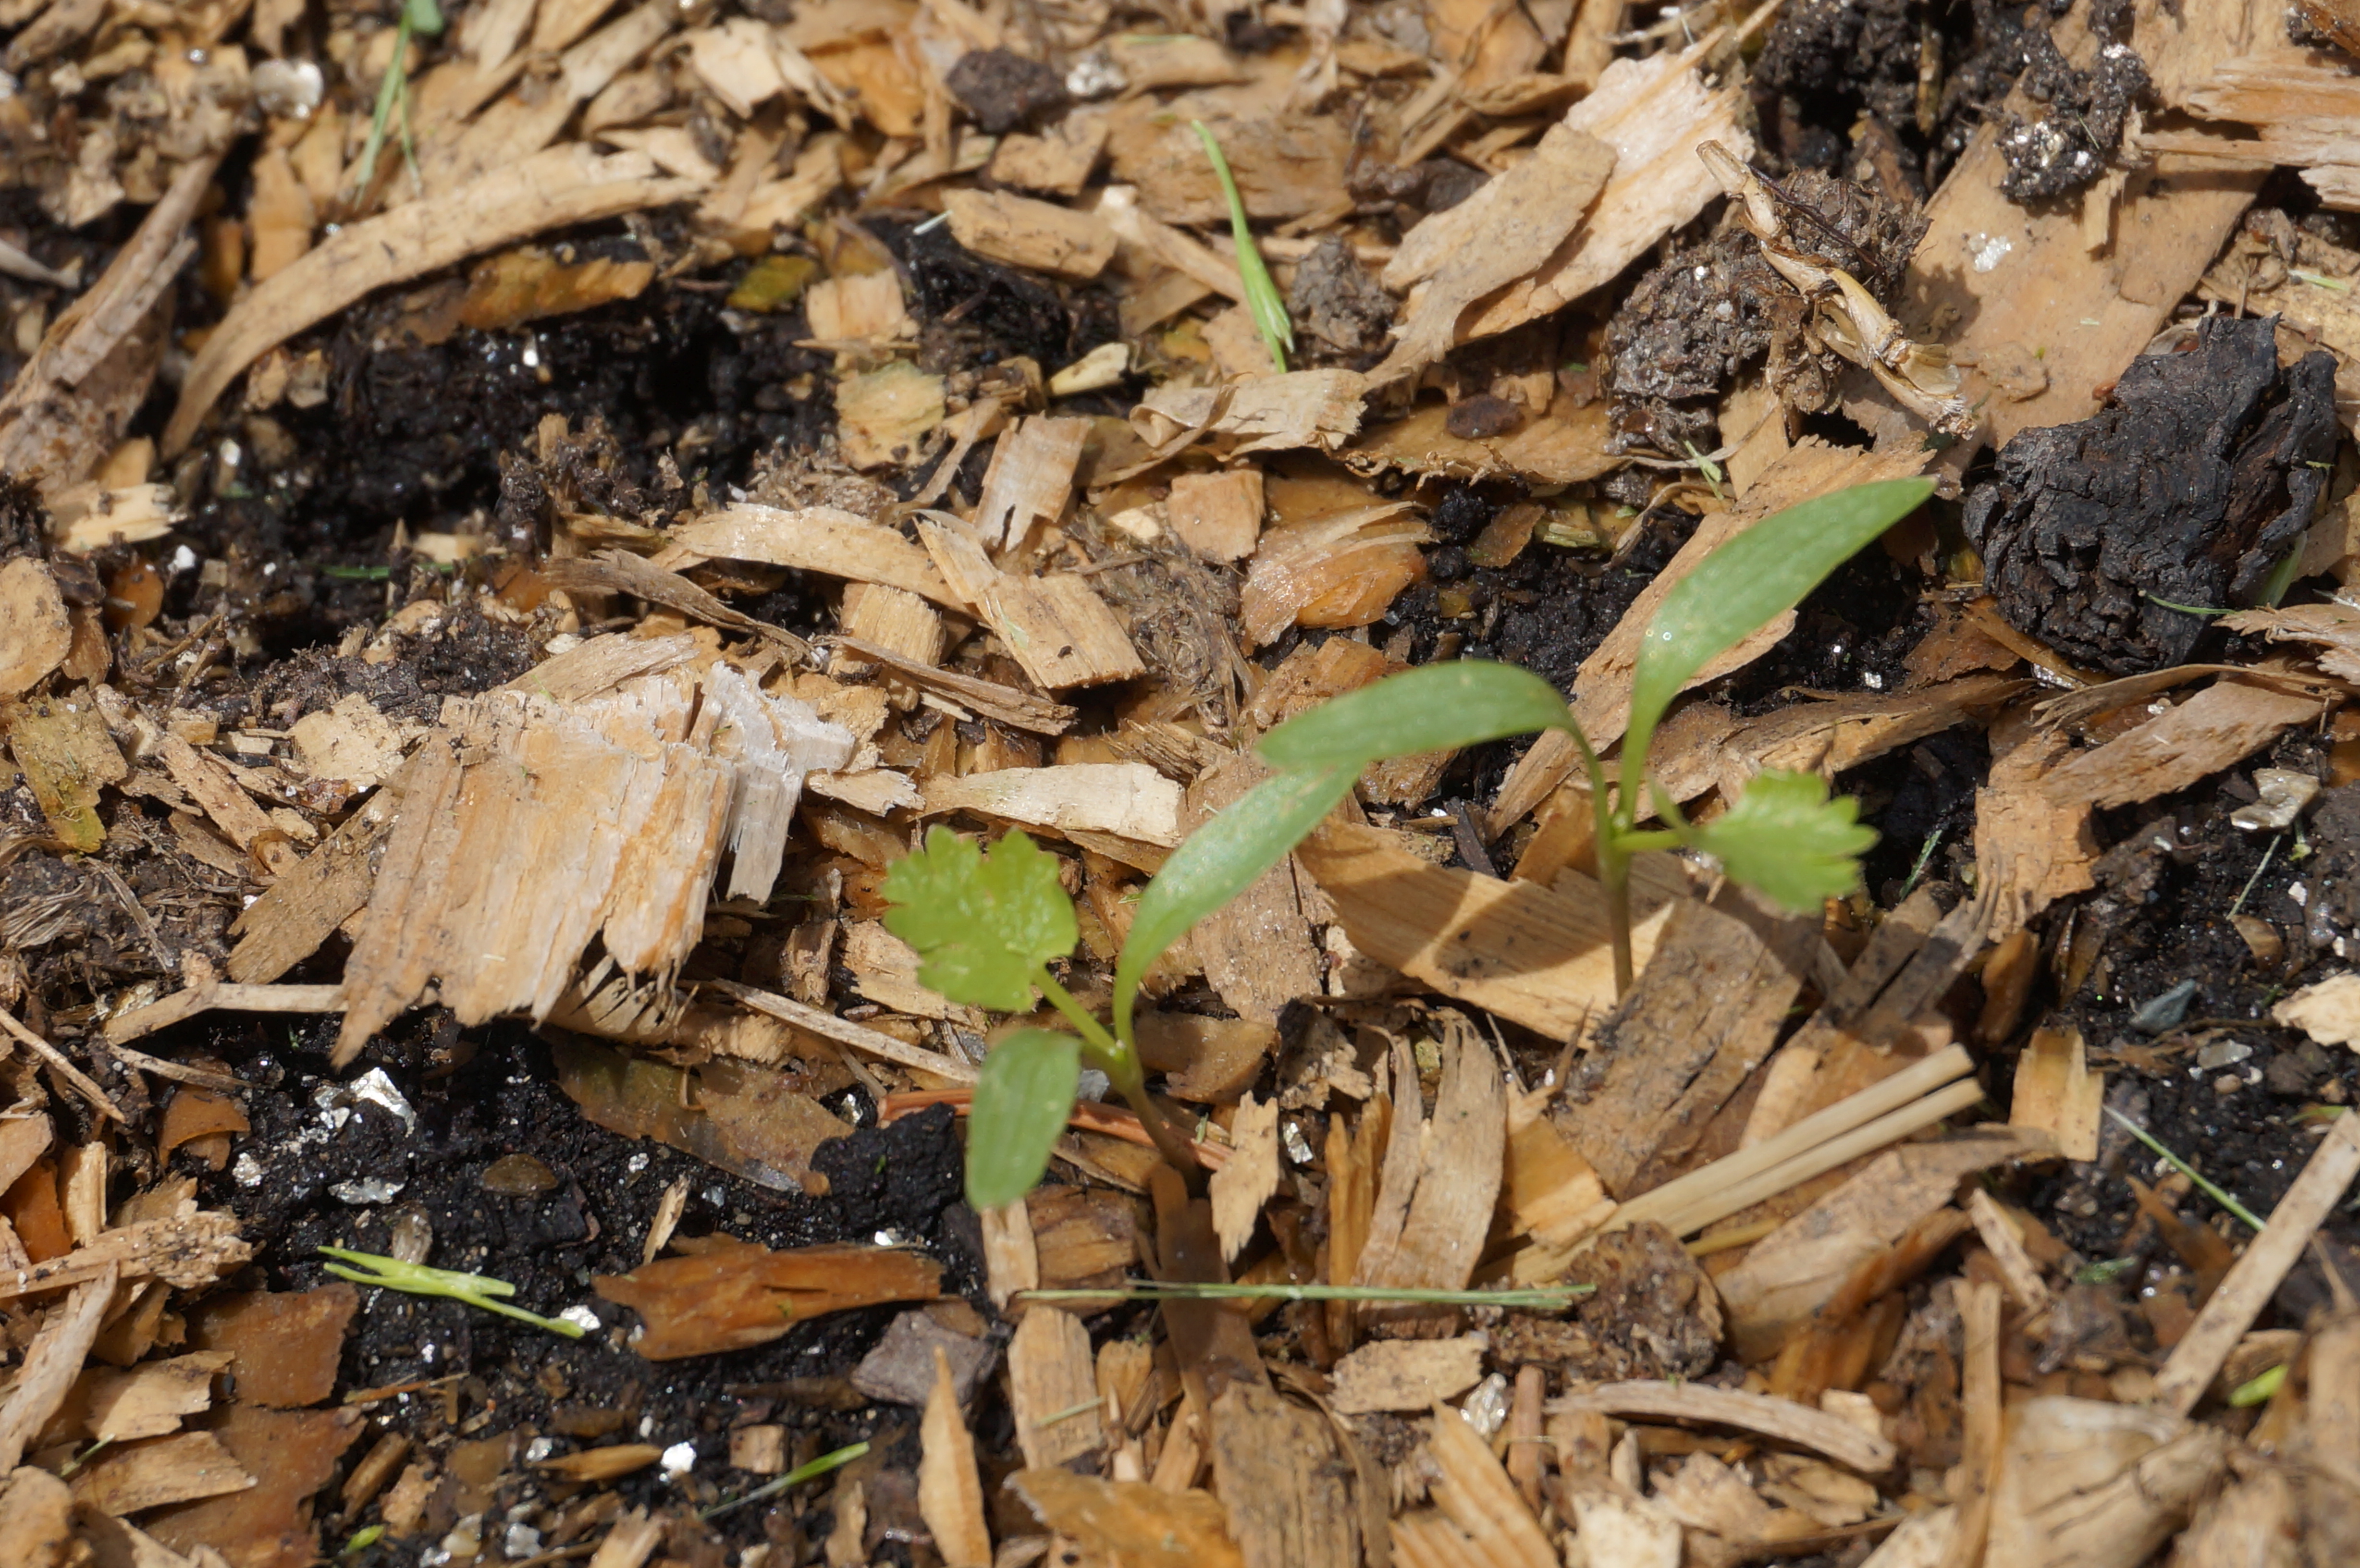 I also started cilantro from seed, and there are three seedlings that sprouted! Aren’t they so cute? I will probably still buy a larger plant though, because it’s getting to be salsa season and I need cilantro, dang it! On a related note, you probably already knew this, but I’m still a beginner in the gardening world and this was new information to me. Did you know that coriander is actually the seeds from cilantro? I’ll definitely be learning more about harvesting coriander once my cilantro goes to seed later this year and posting about it. Interesting, isn’t it?
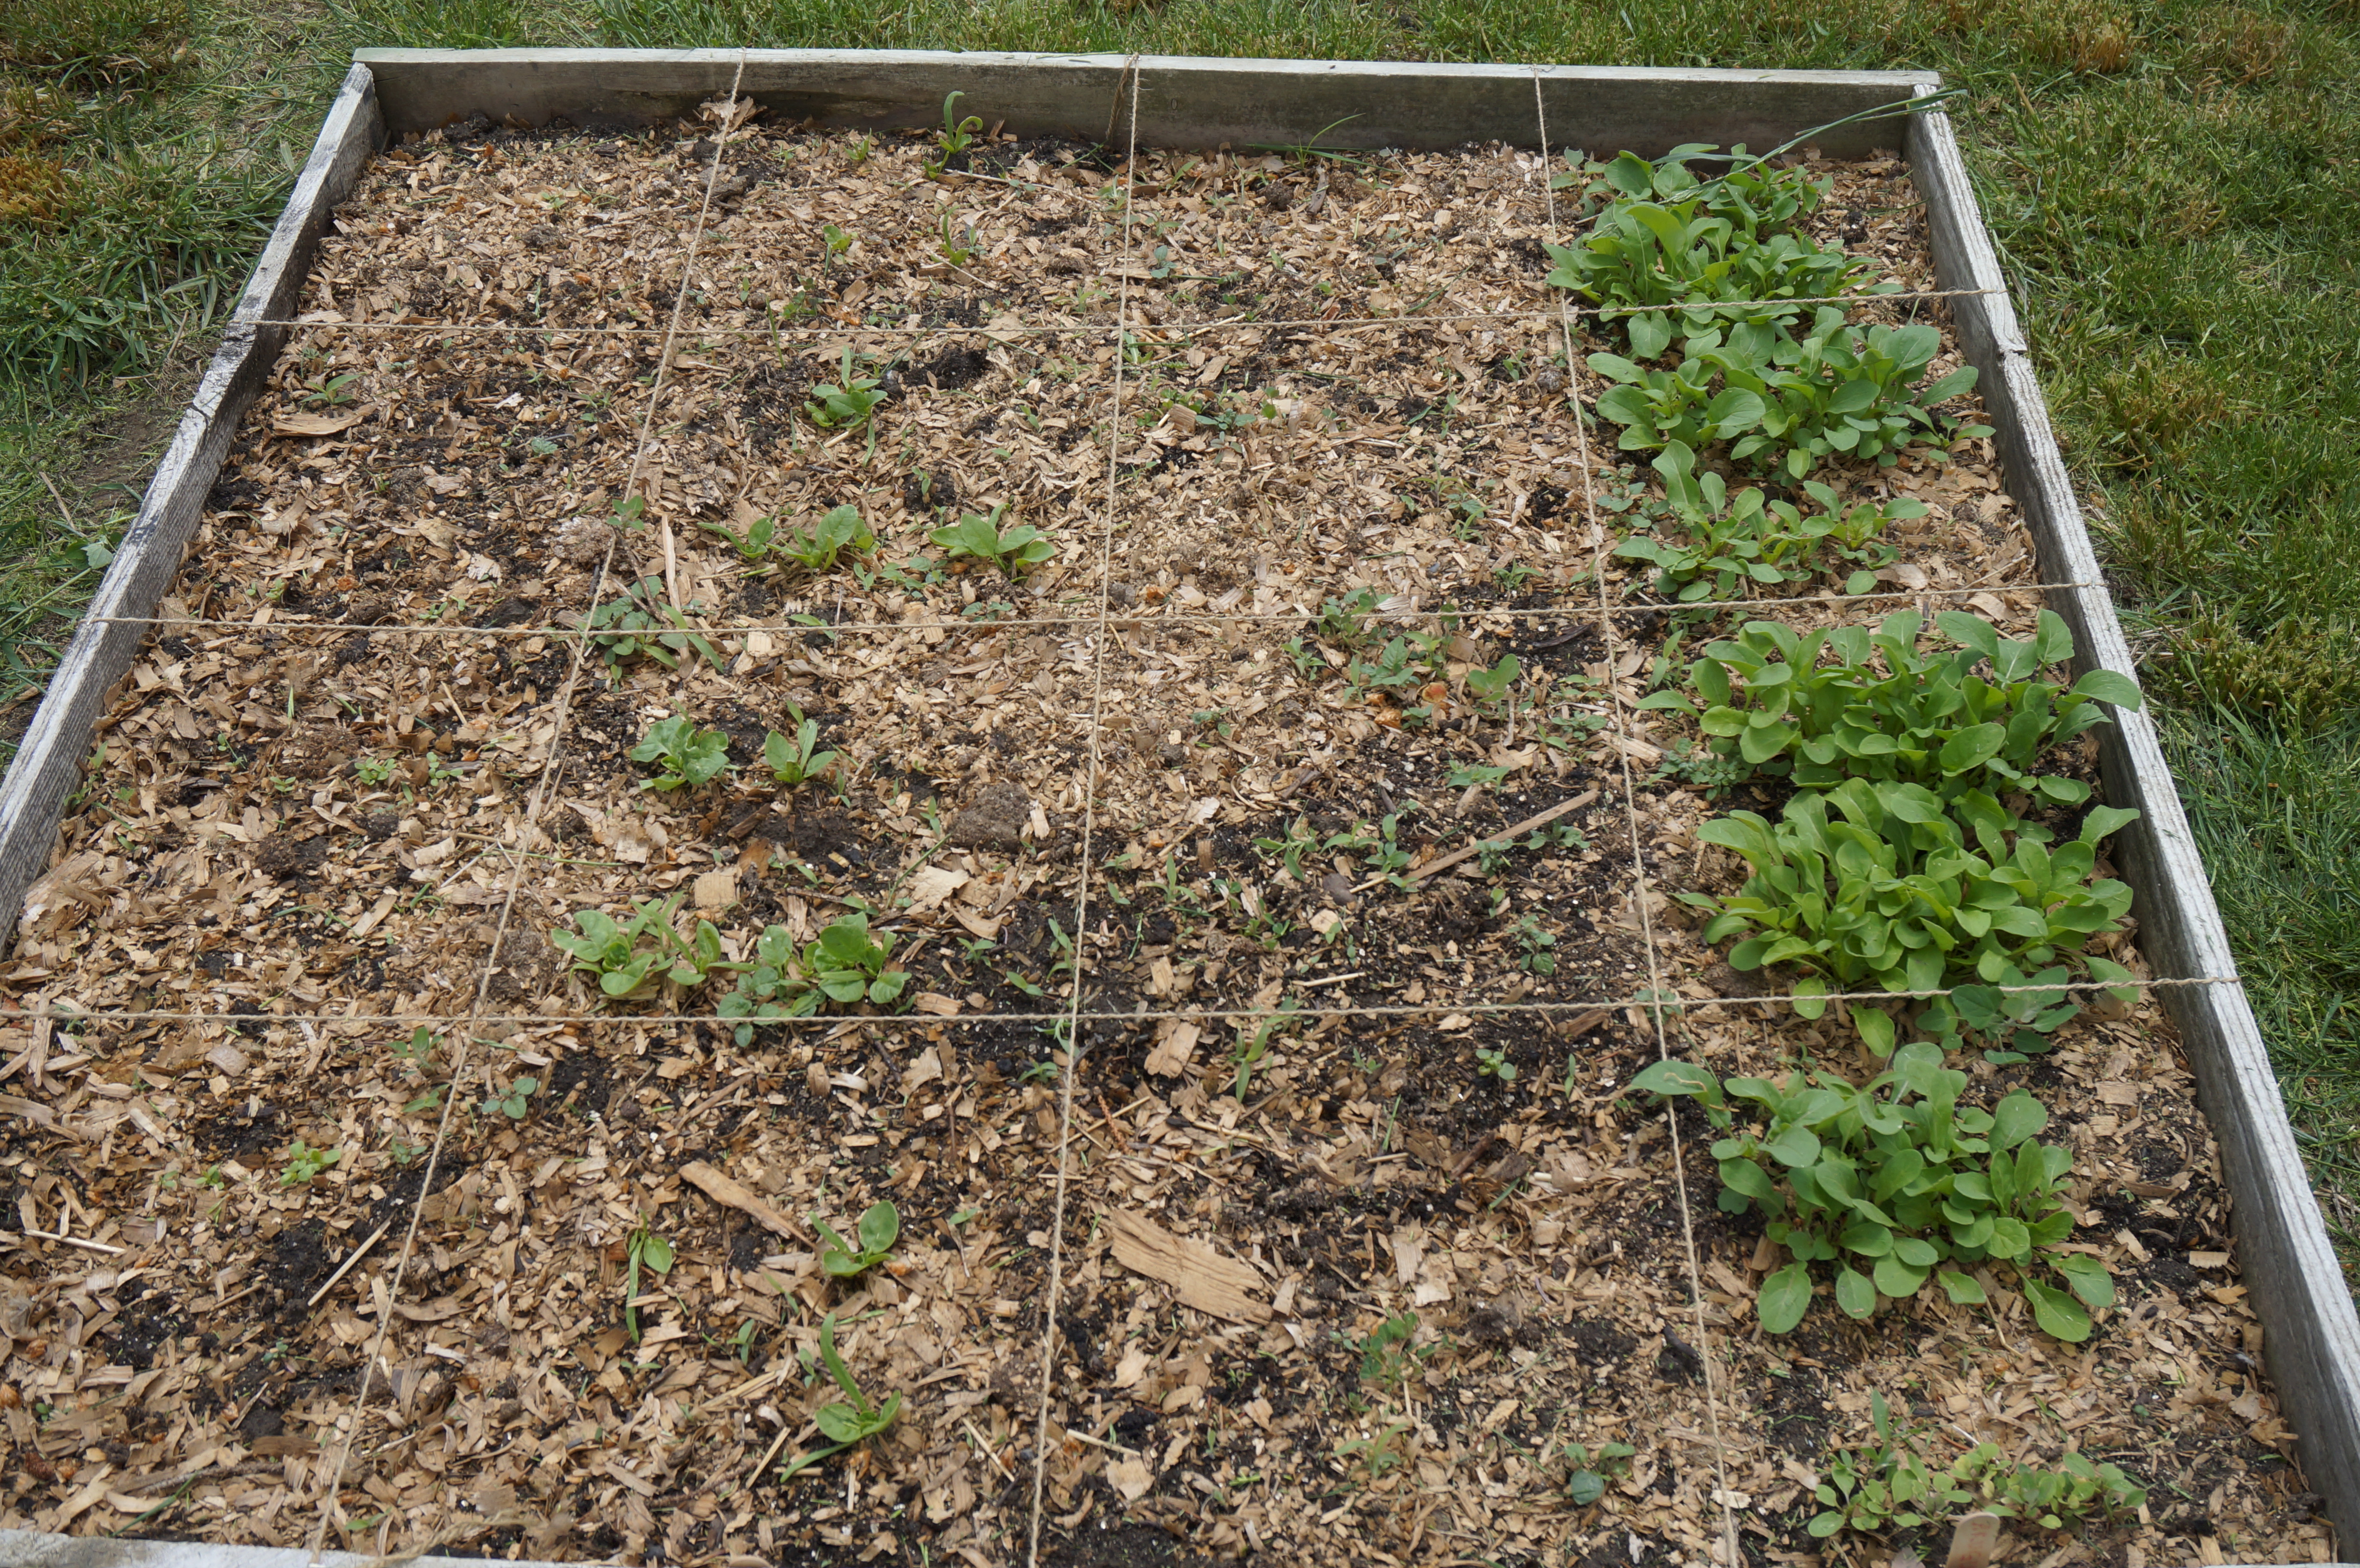 The next raised bed, which was all corn last year, now is my lettuce bed. I decided not to grow corn because I tried it three years in a row, and although I did finally get good corn last year, I just decided it’s cheap enough in season that I don’t need to waste space worrying over it. So this year I planted Romaine, spinach and arugula, just like last year. I still want to plant kale, as well, but haven’t gotten around to it yet. I might have missed the window… not sure.
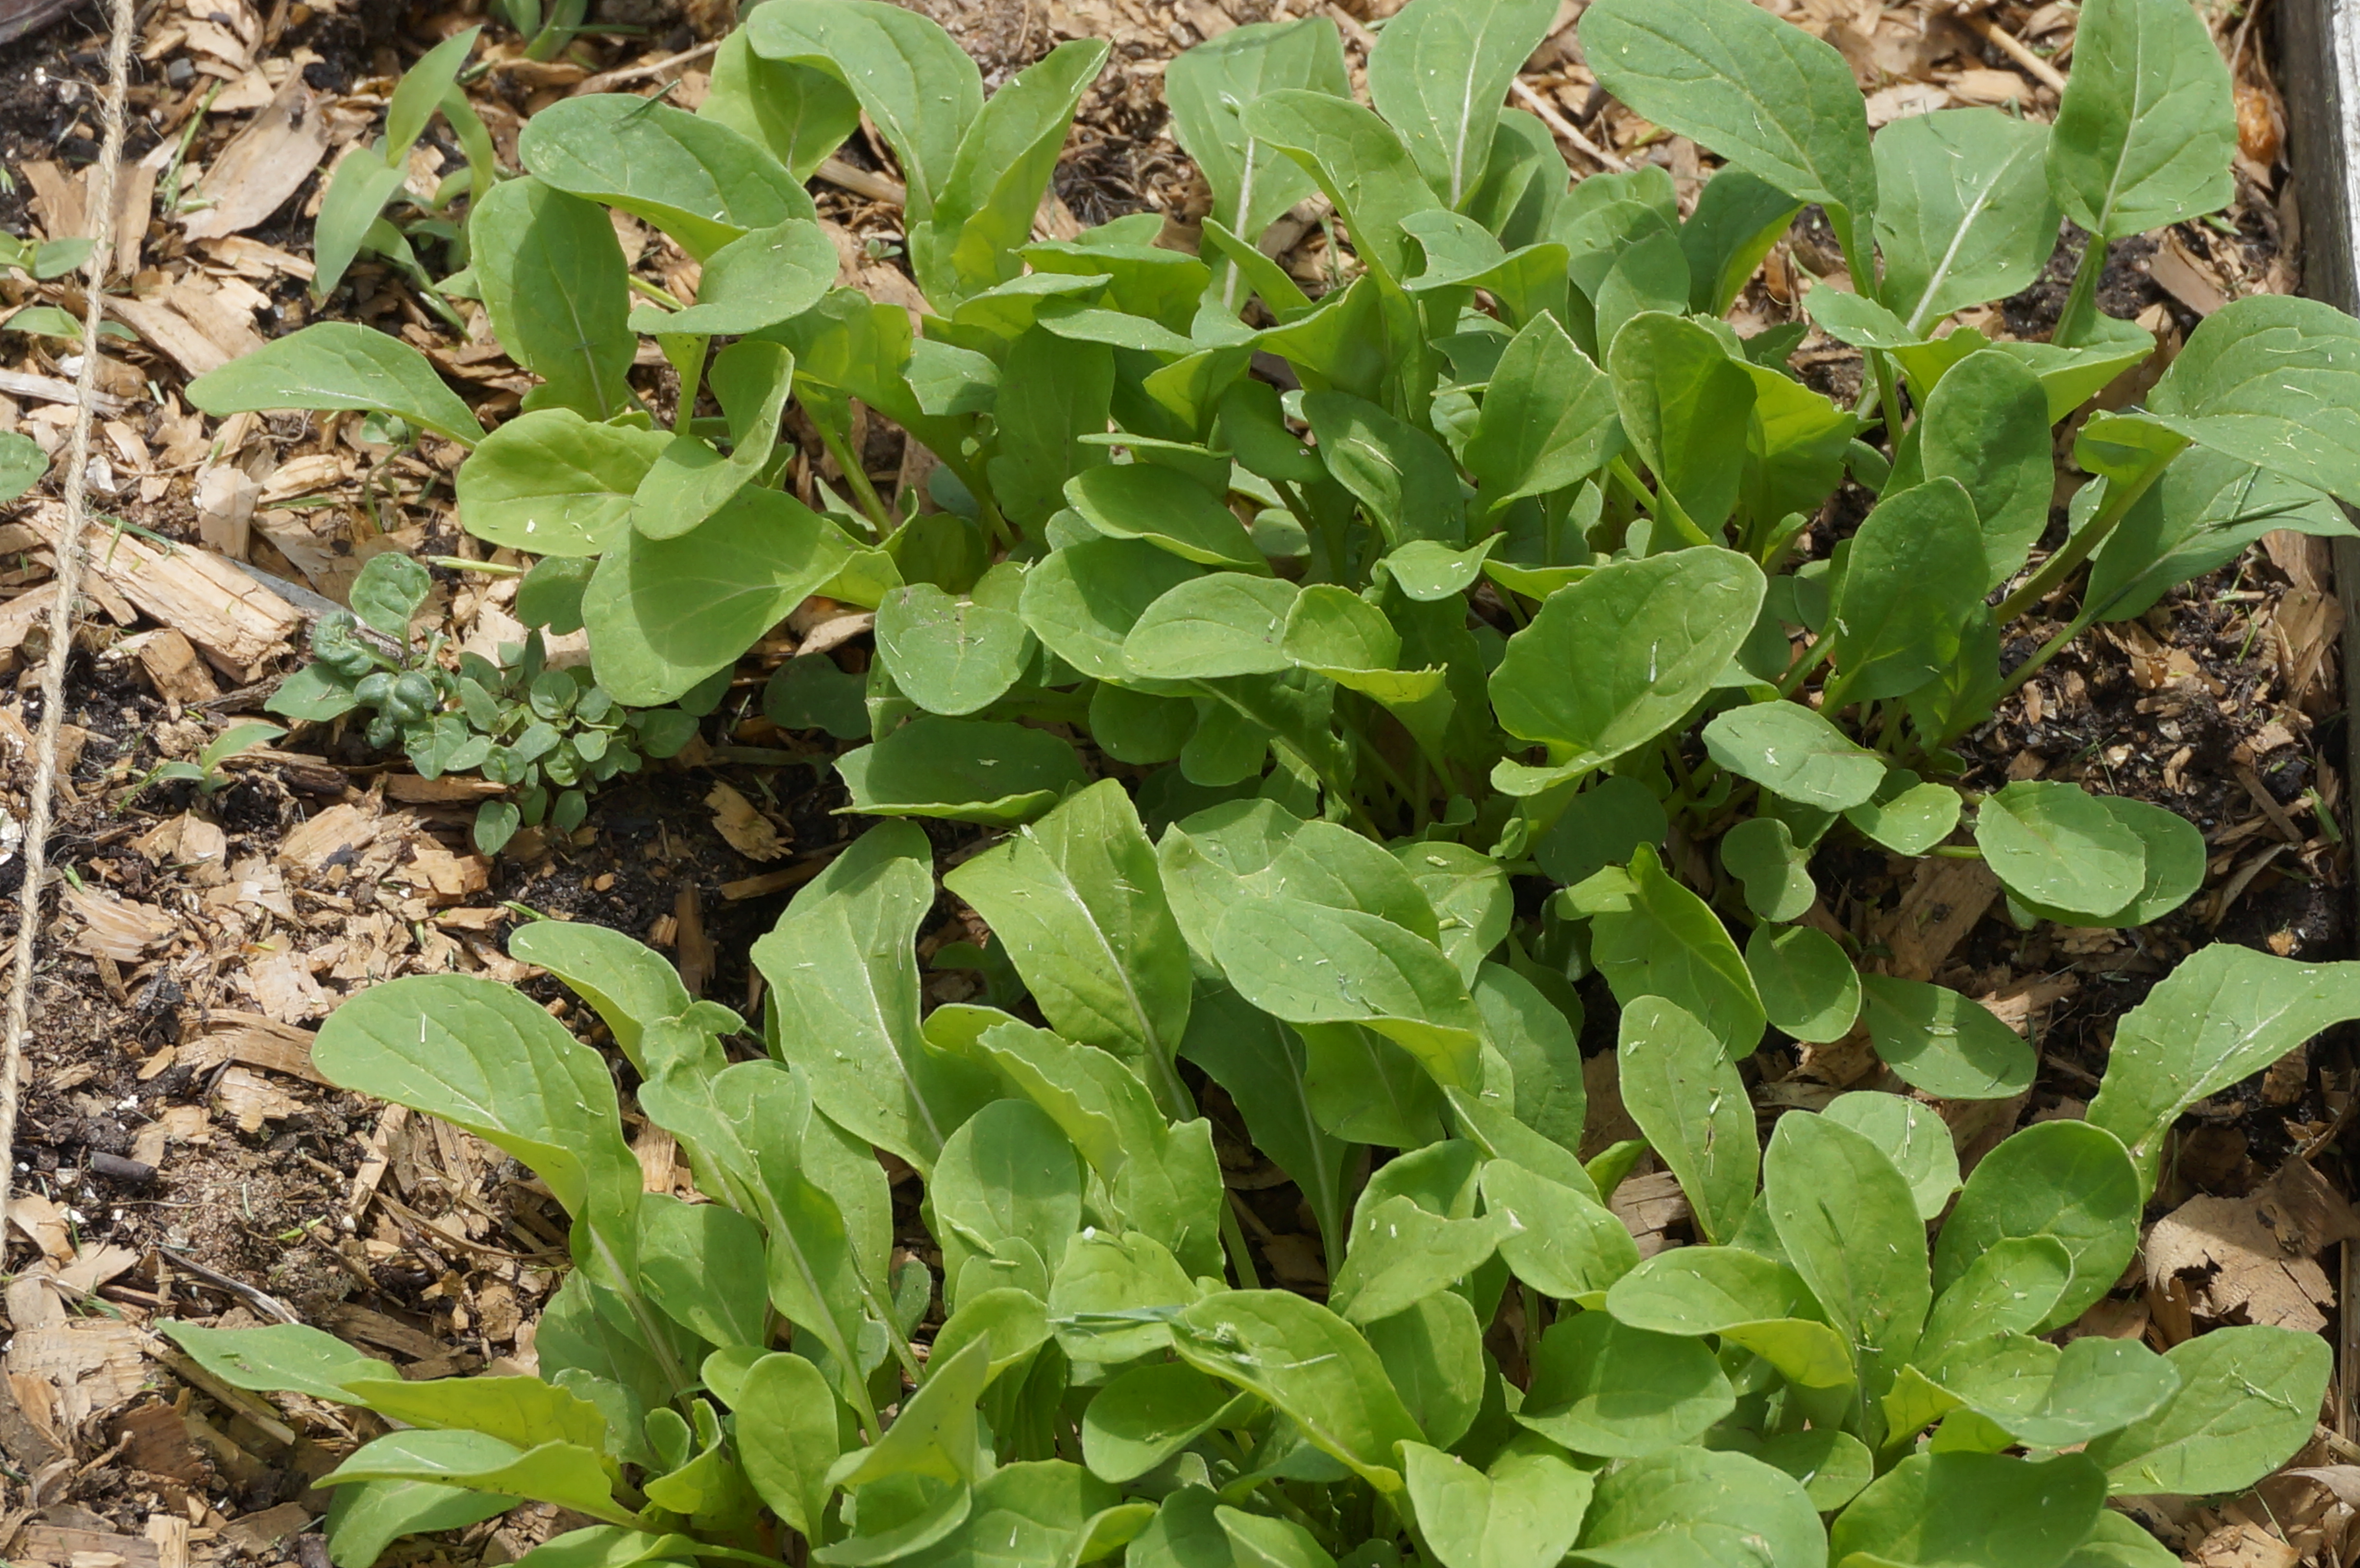 It is my opinion that arugula is the EASIEST vegetable to grow. It is as talented as a weed and nearly as invasive! Last year I used my arugula in my Italian Wedding Soup and also made arugula pecan pesto. It was delicious, and I kicked myself all pesto-less winter for not making more! In fact, I went through a lazy streak in the crucial week before the arugula went to seed and didn’t preserve it at all! (For shame! Boo! Hiss!) I was definitely regretting that over the winter, because arugula isn’t something that shows up in my grocery stores.
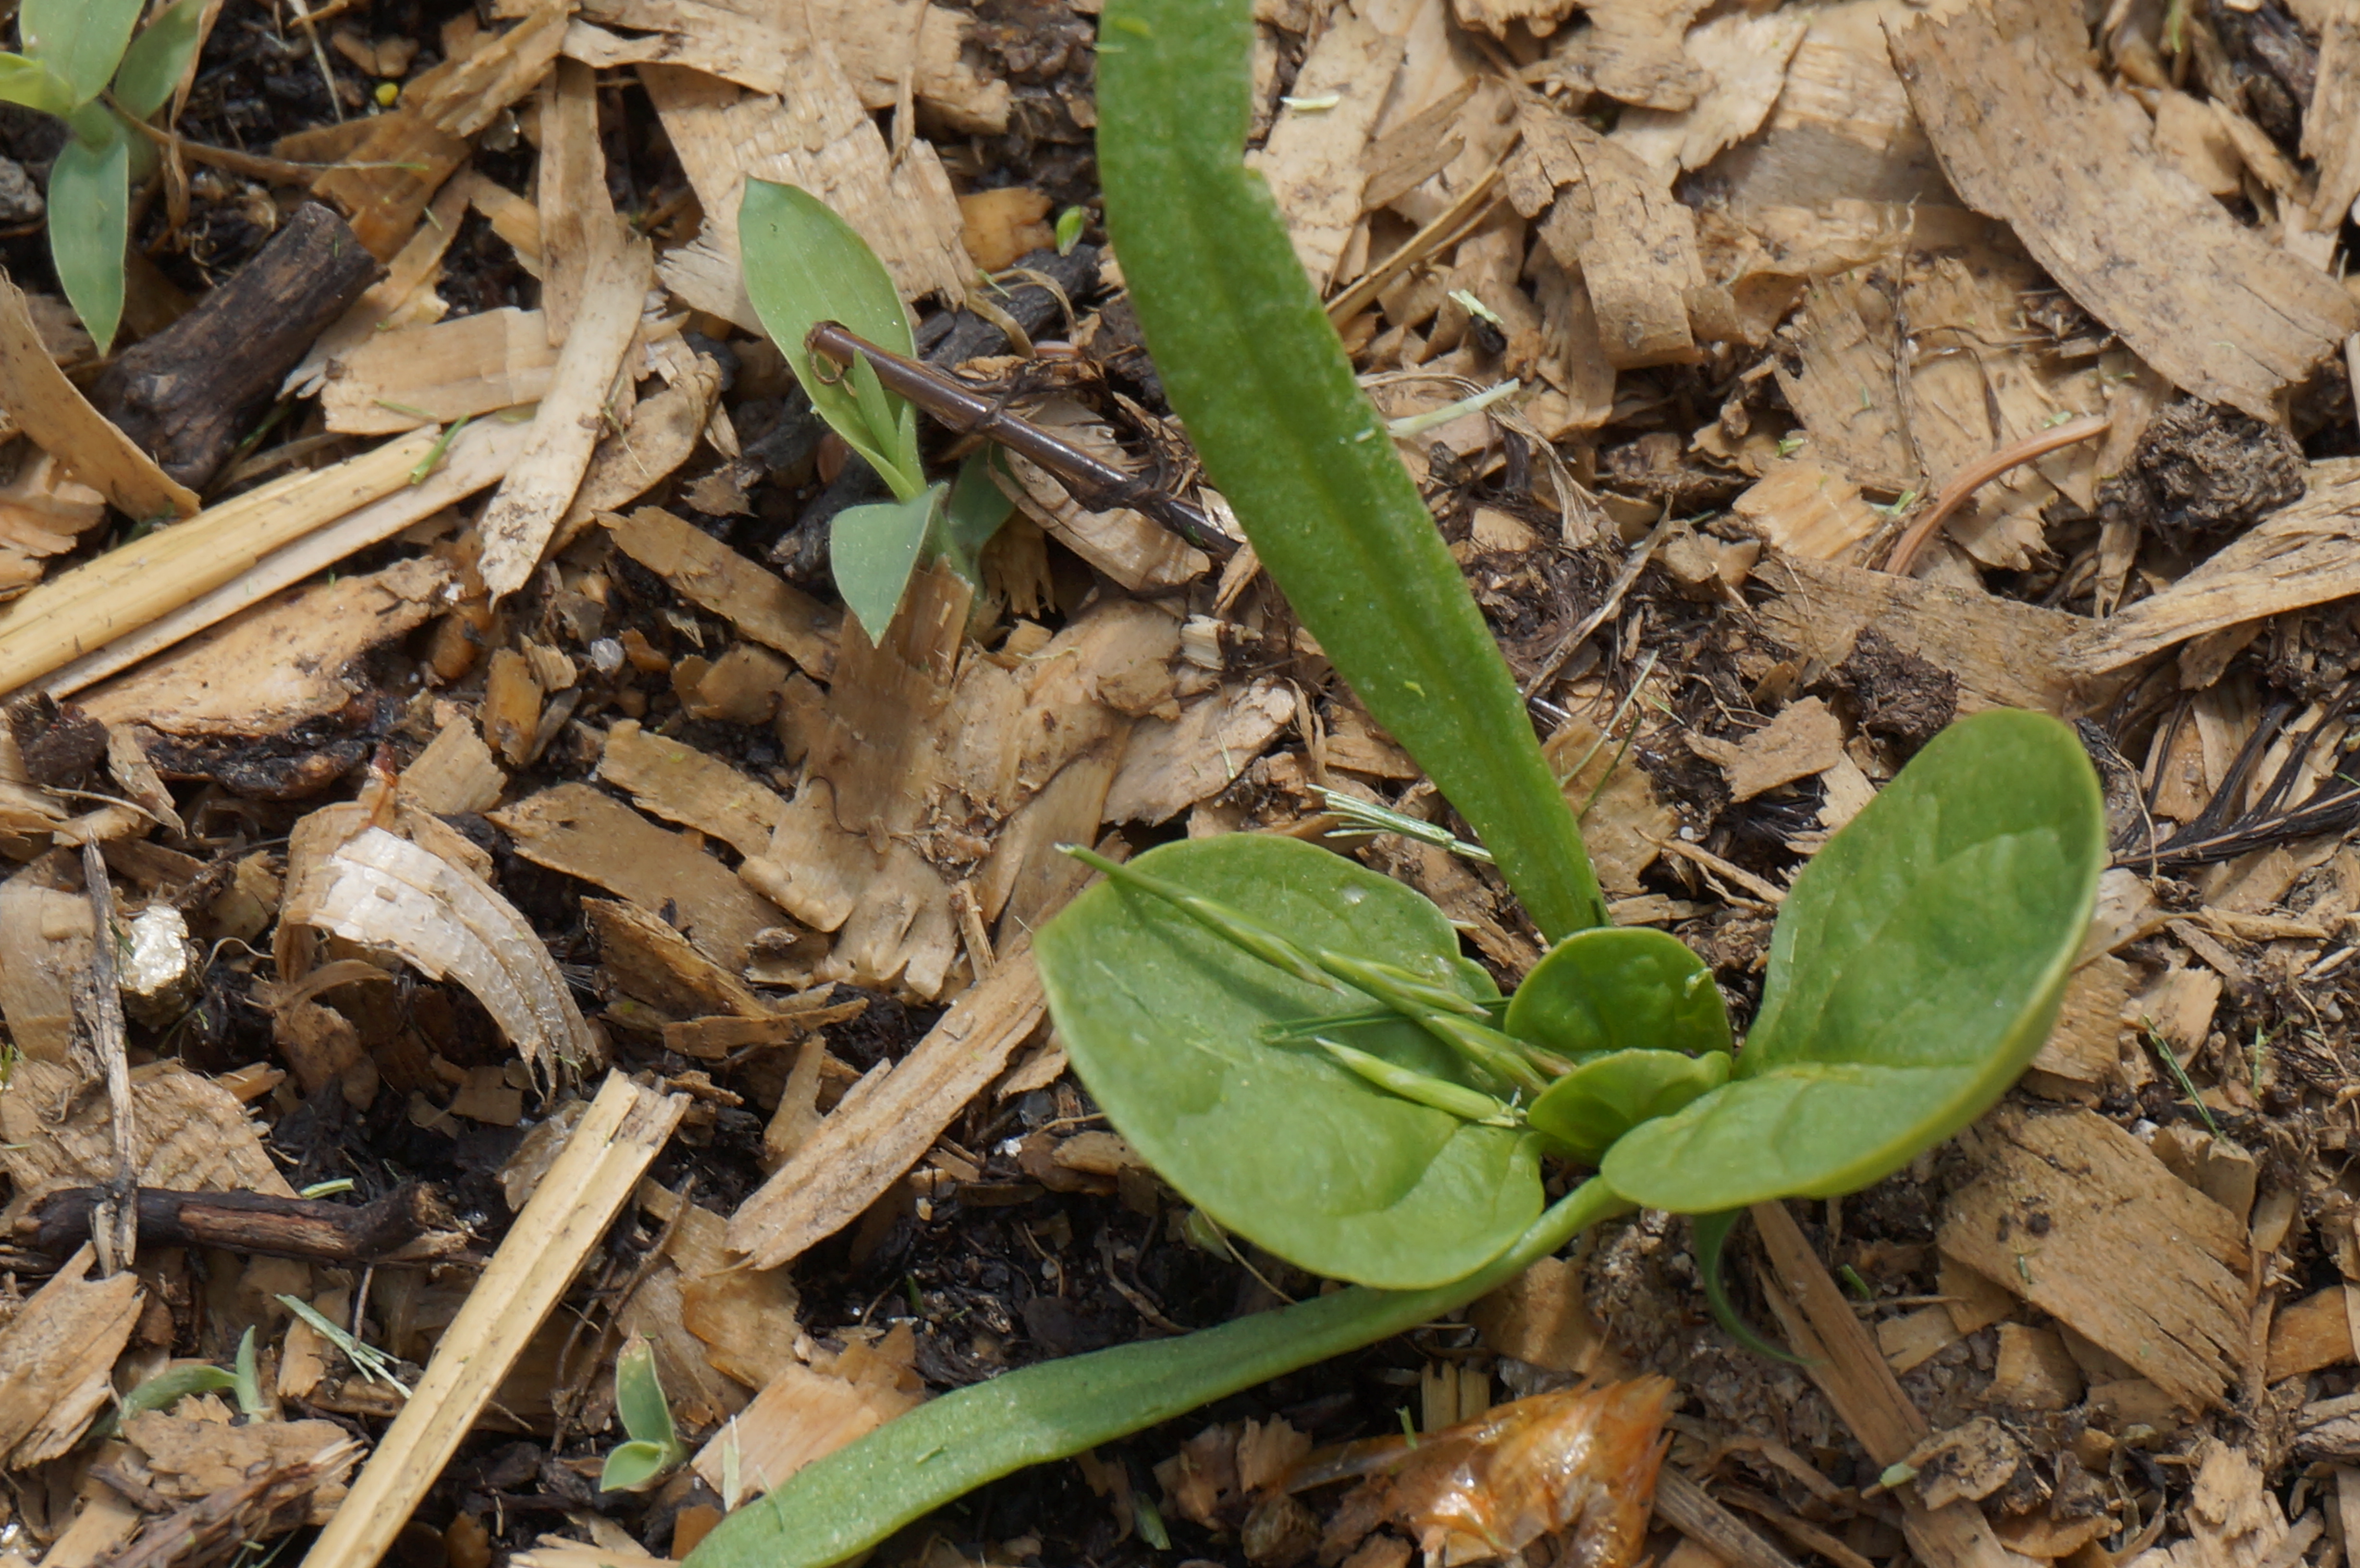 Spinach is so cute as a baby. Aww, wook at da widdle spinach weaves! So sweet! (I may need help.)
 Romaine is cute too! The wood chips are about the size of my thumbnail, just for scale comparison. Aren’t those leaves tiny? Someday they are going to be crunchy chunks of deliciousness drenched in Caesar dressing. Sniff. They grow up so fast!
 In front of the lettuce box are the snap peas. I’m not exactly proud of this contraption. There are probably 10 different ways to encourage these climbers that are snazzier and more efficient. But I’m saving my landscaping budget for more important things and this was made with things I already had. Plus it’s WAY better than my original design, which involved a collapsible drying rack and was far more embarrassing.
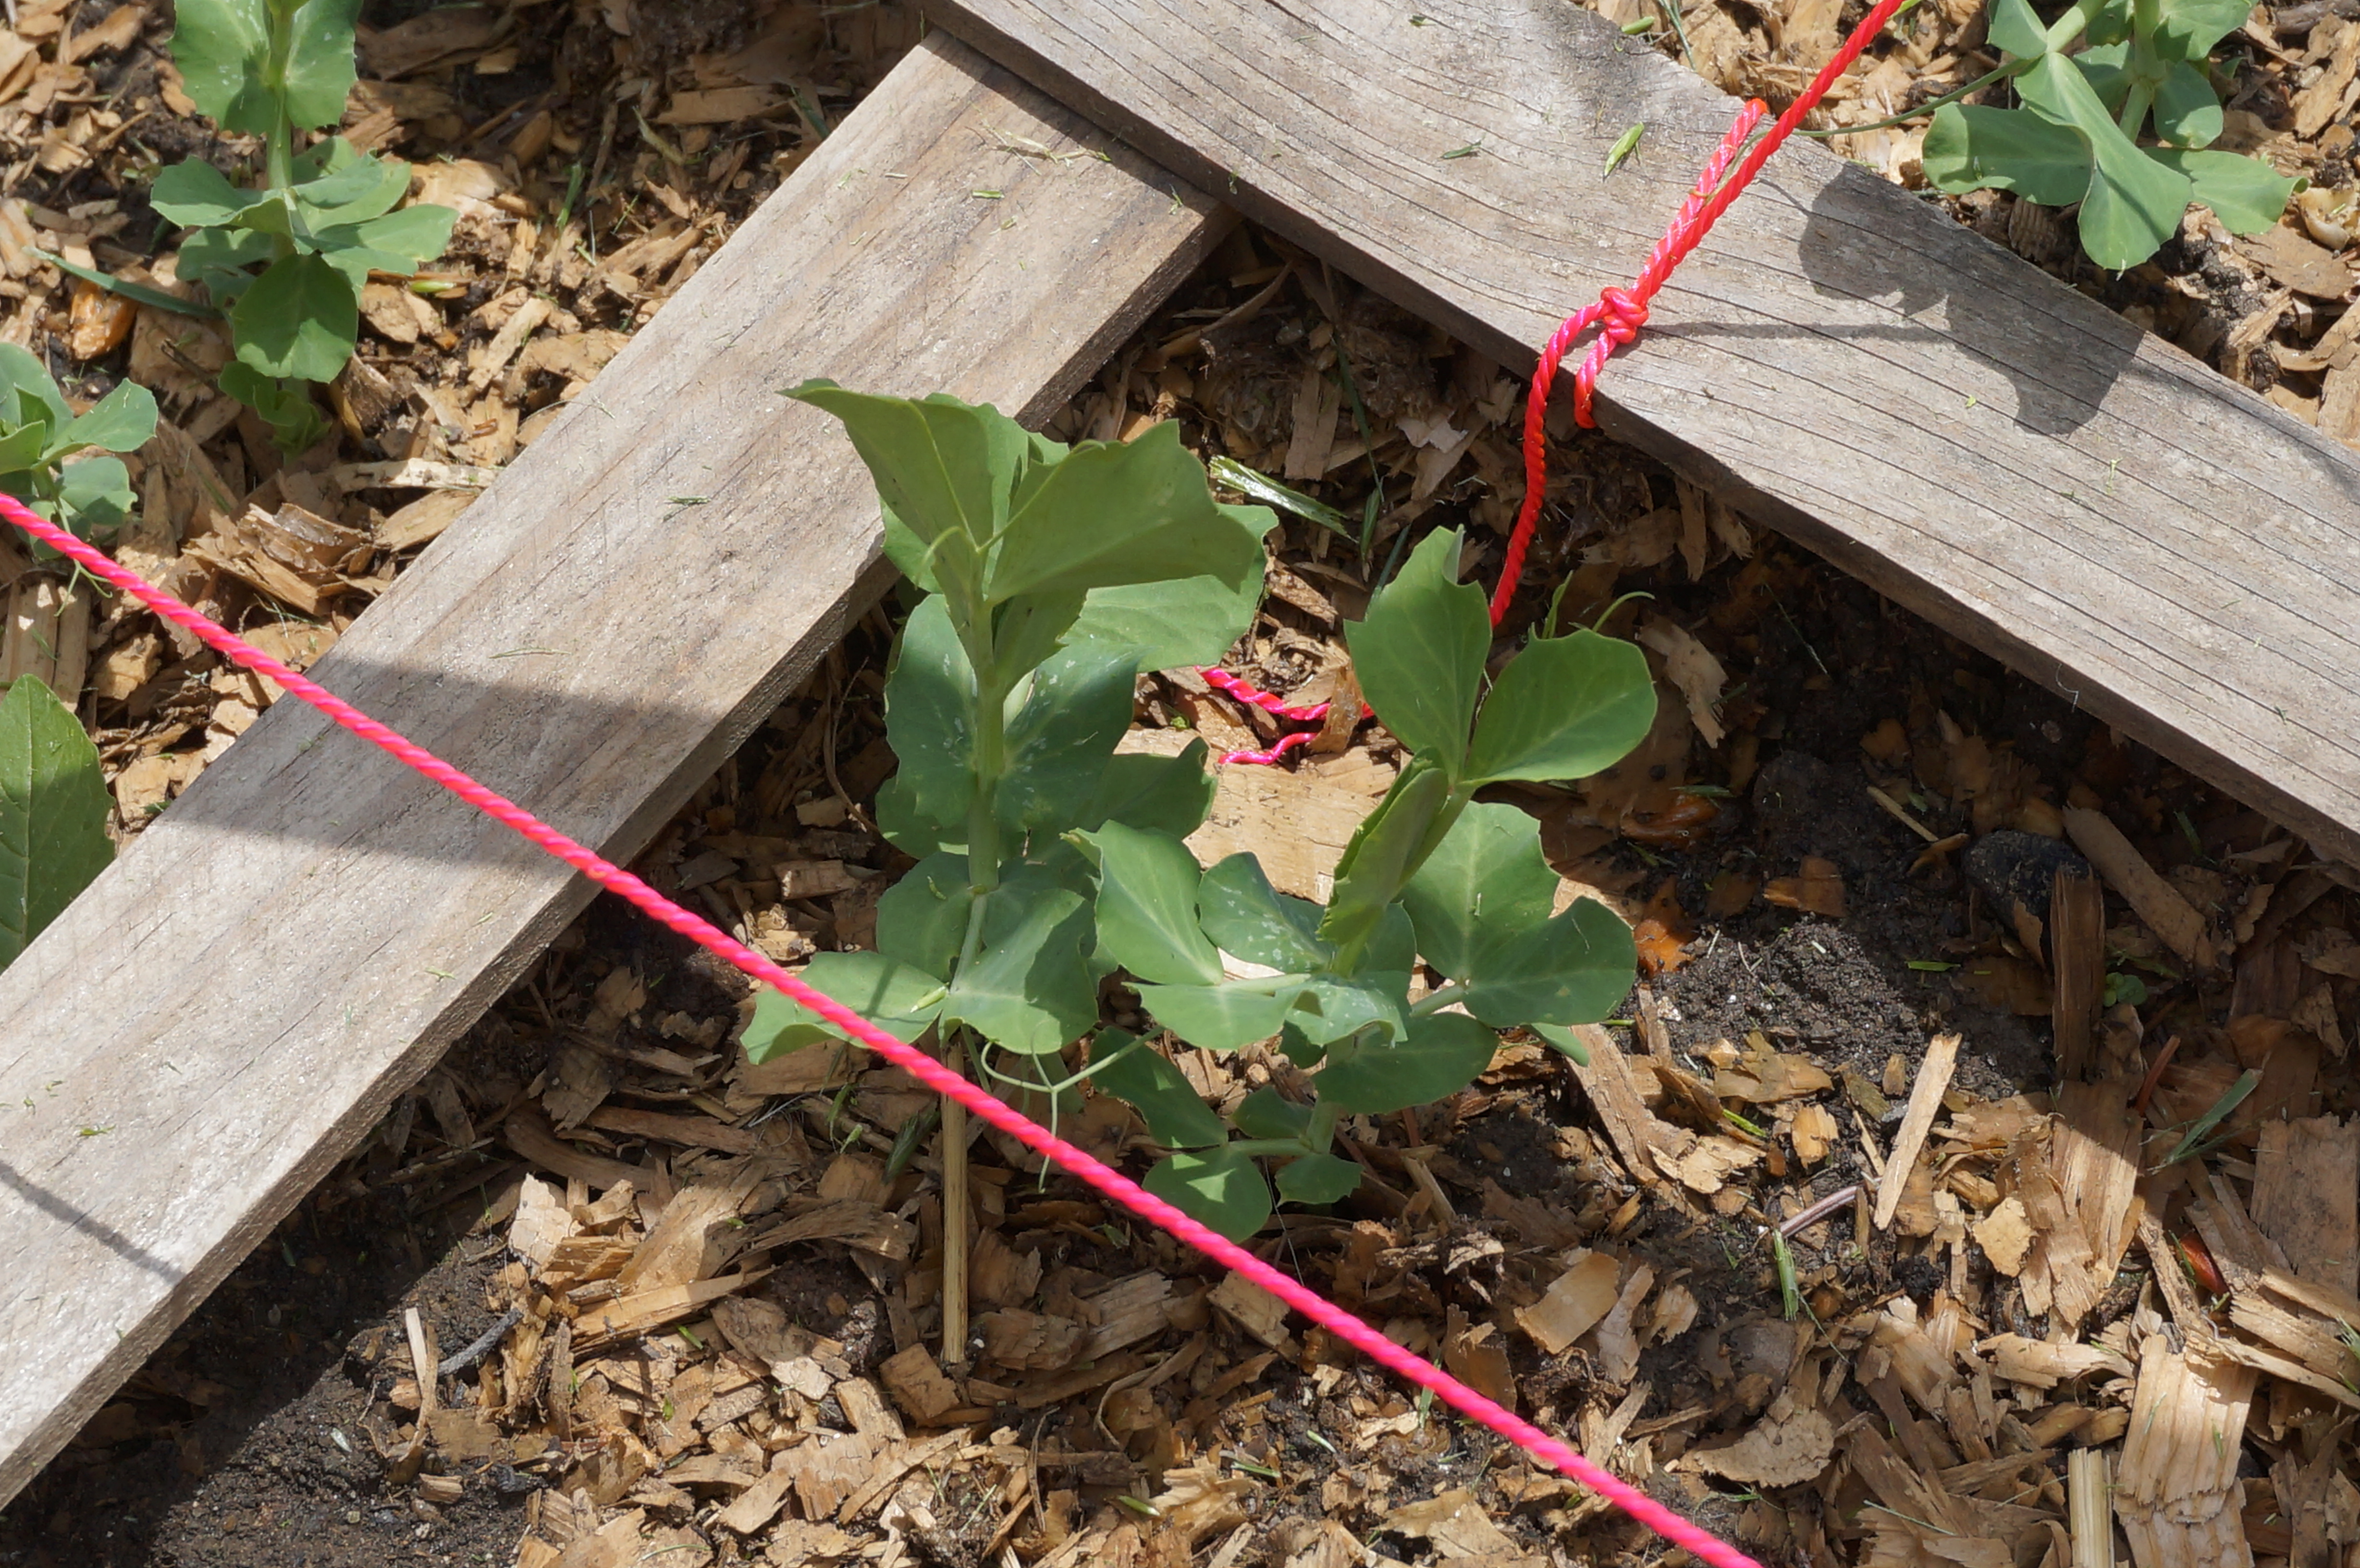 I think this will work. This is the most promising batch of snap peas I’ve grown yet. The first year I planted them too late and only got ONE pea. The second year my garden was consumed by weeds and I was too scared to enter it. Last year I foolishly planted the peas behind the tomatoes, which were foolishly planted behind the cucumber, which were foolishly planted to receive ALL the sun. The tomatoes and cucumbers were amazing, the most amazing crop I’d ever grown. But the peas? Oh the peas. Nary a one was able to even see the sun, and they were quickly completely consumed by the larger plants. This year looks to finally provide me with all the peas I can consume! Once the plants are happily climbing, I’m also going to interplant this box with red, Yukon, and sweet potatoes. (This was the potato box last year.)
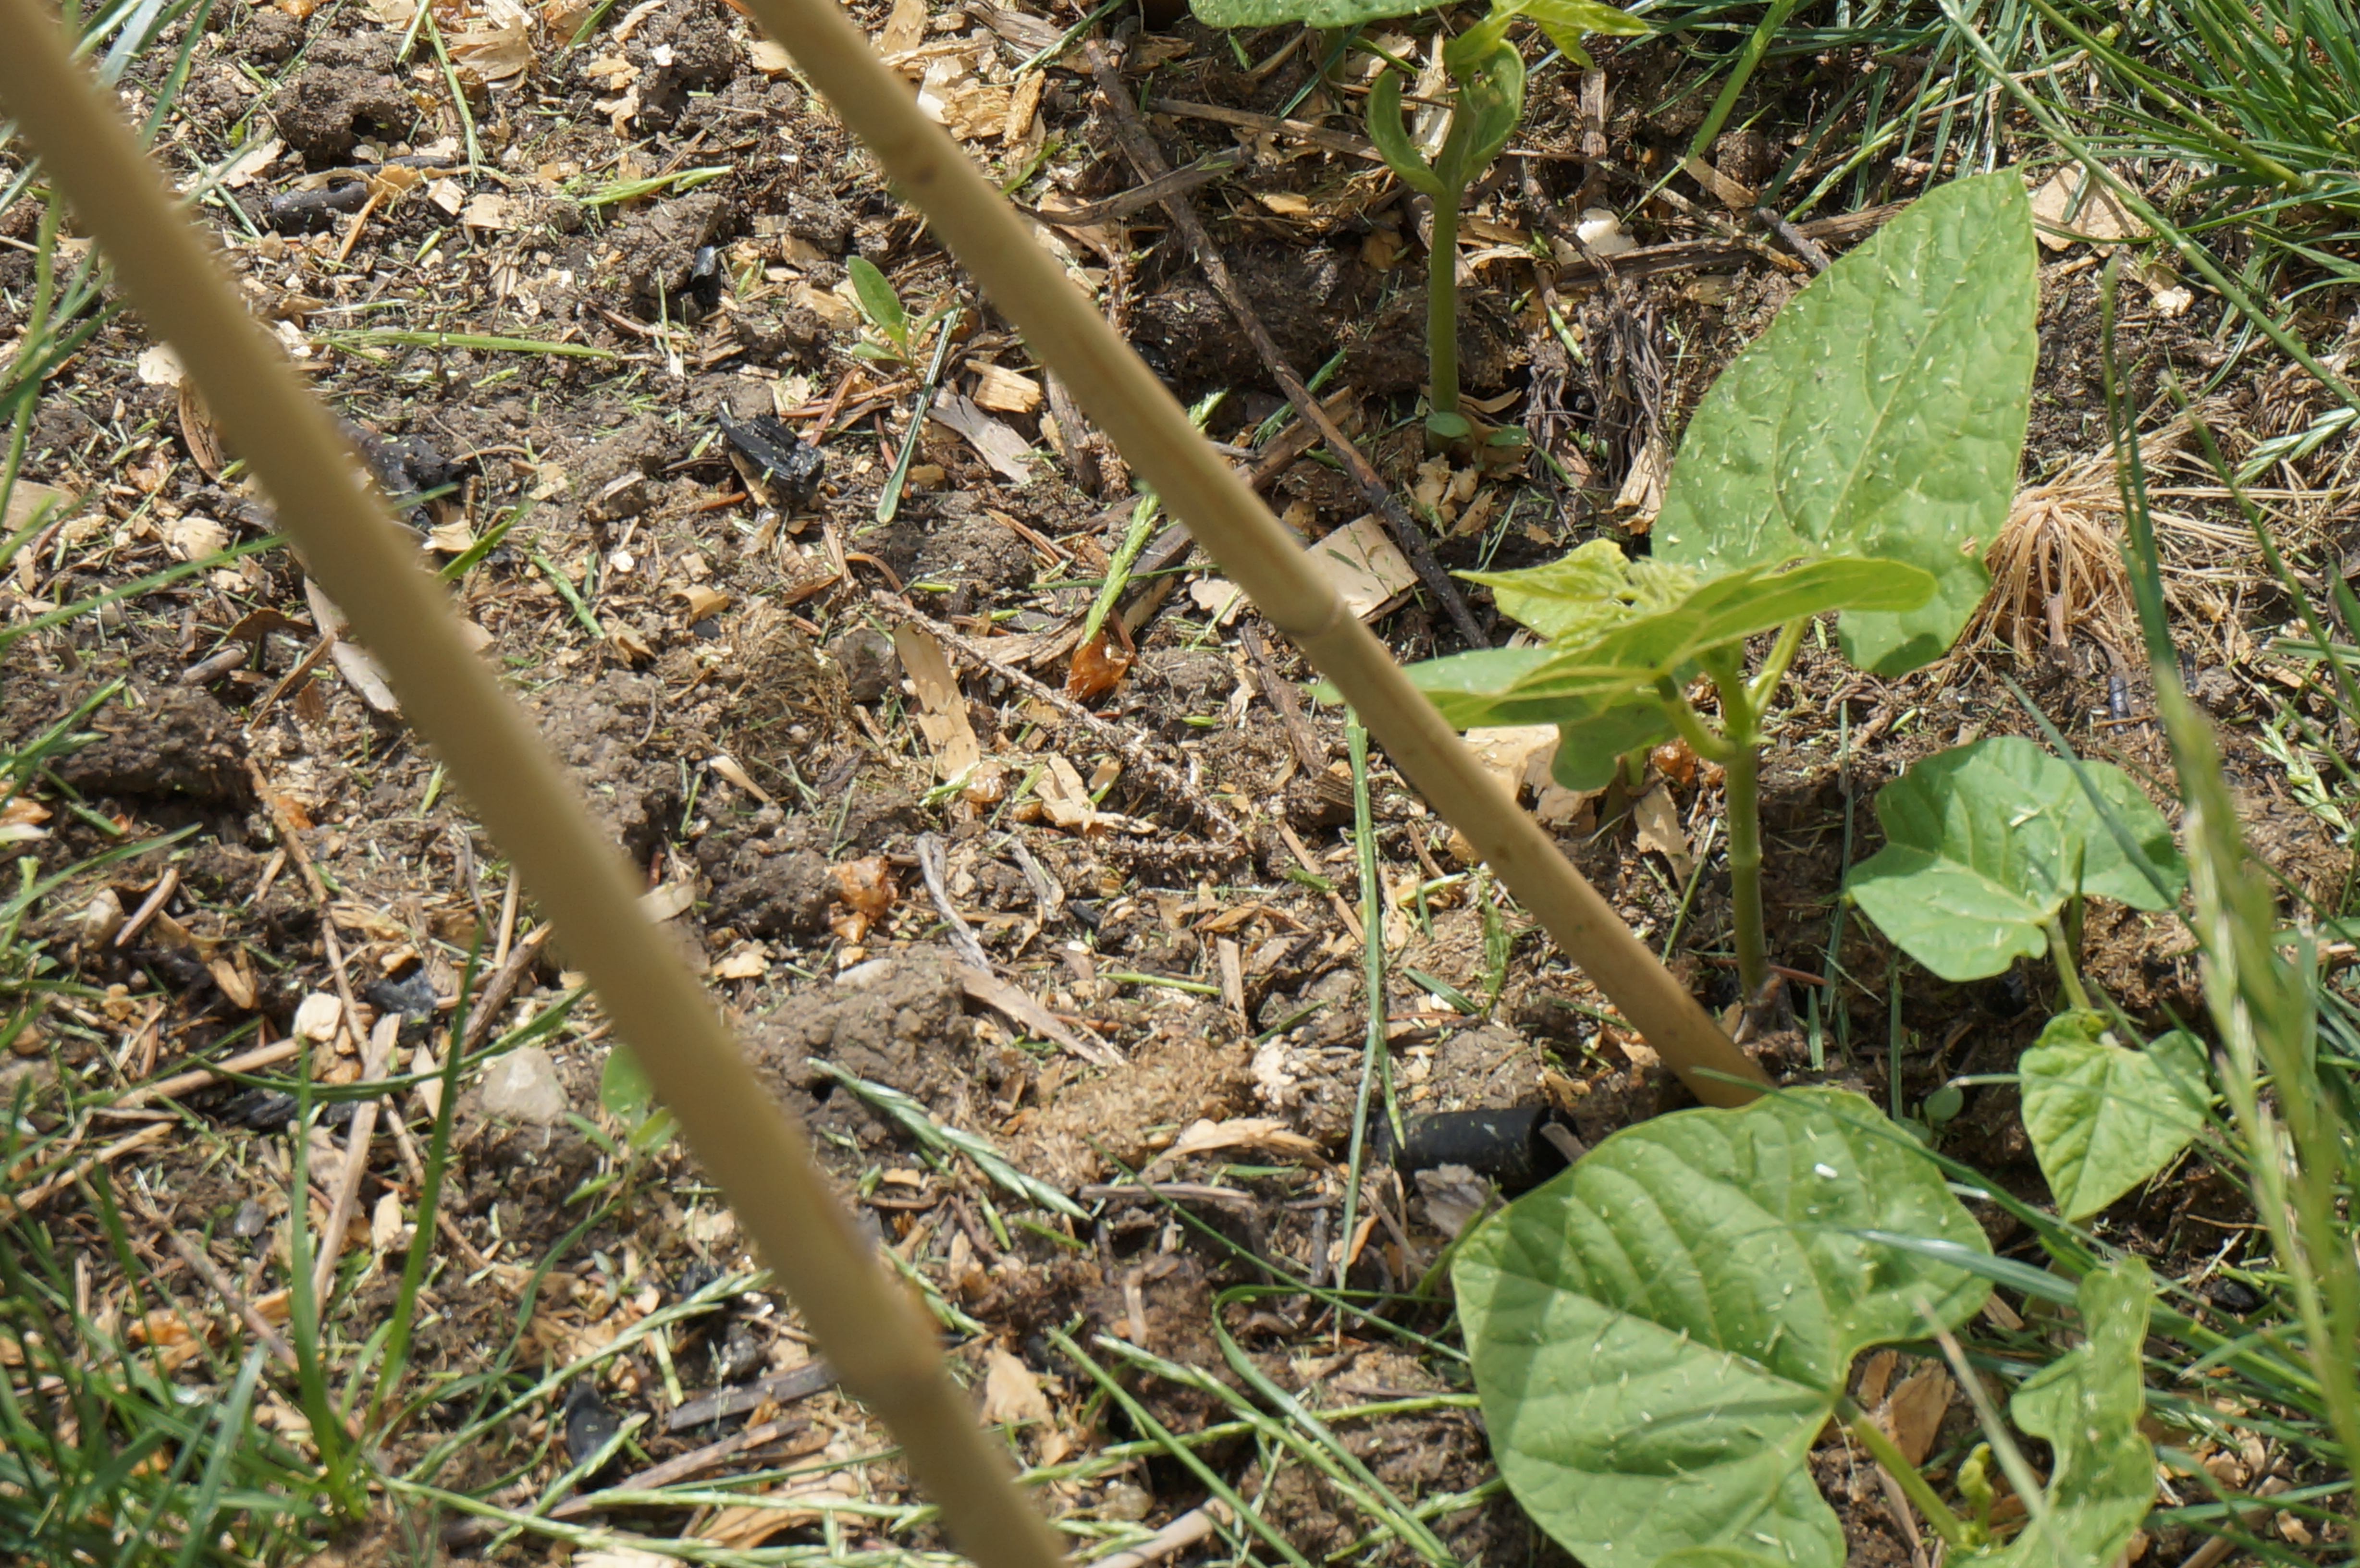
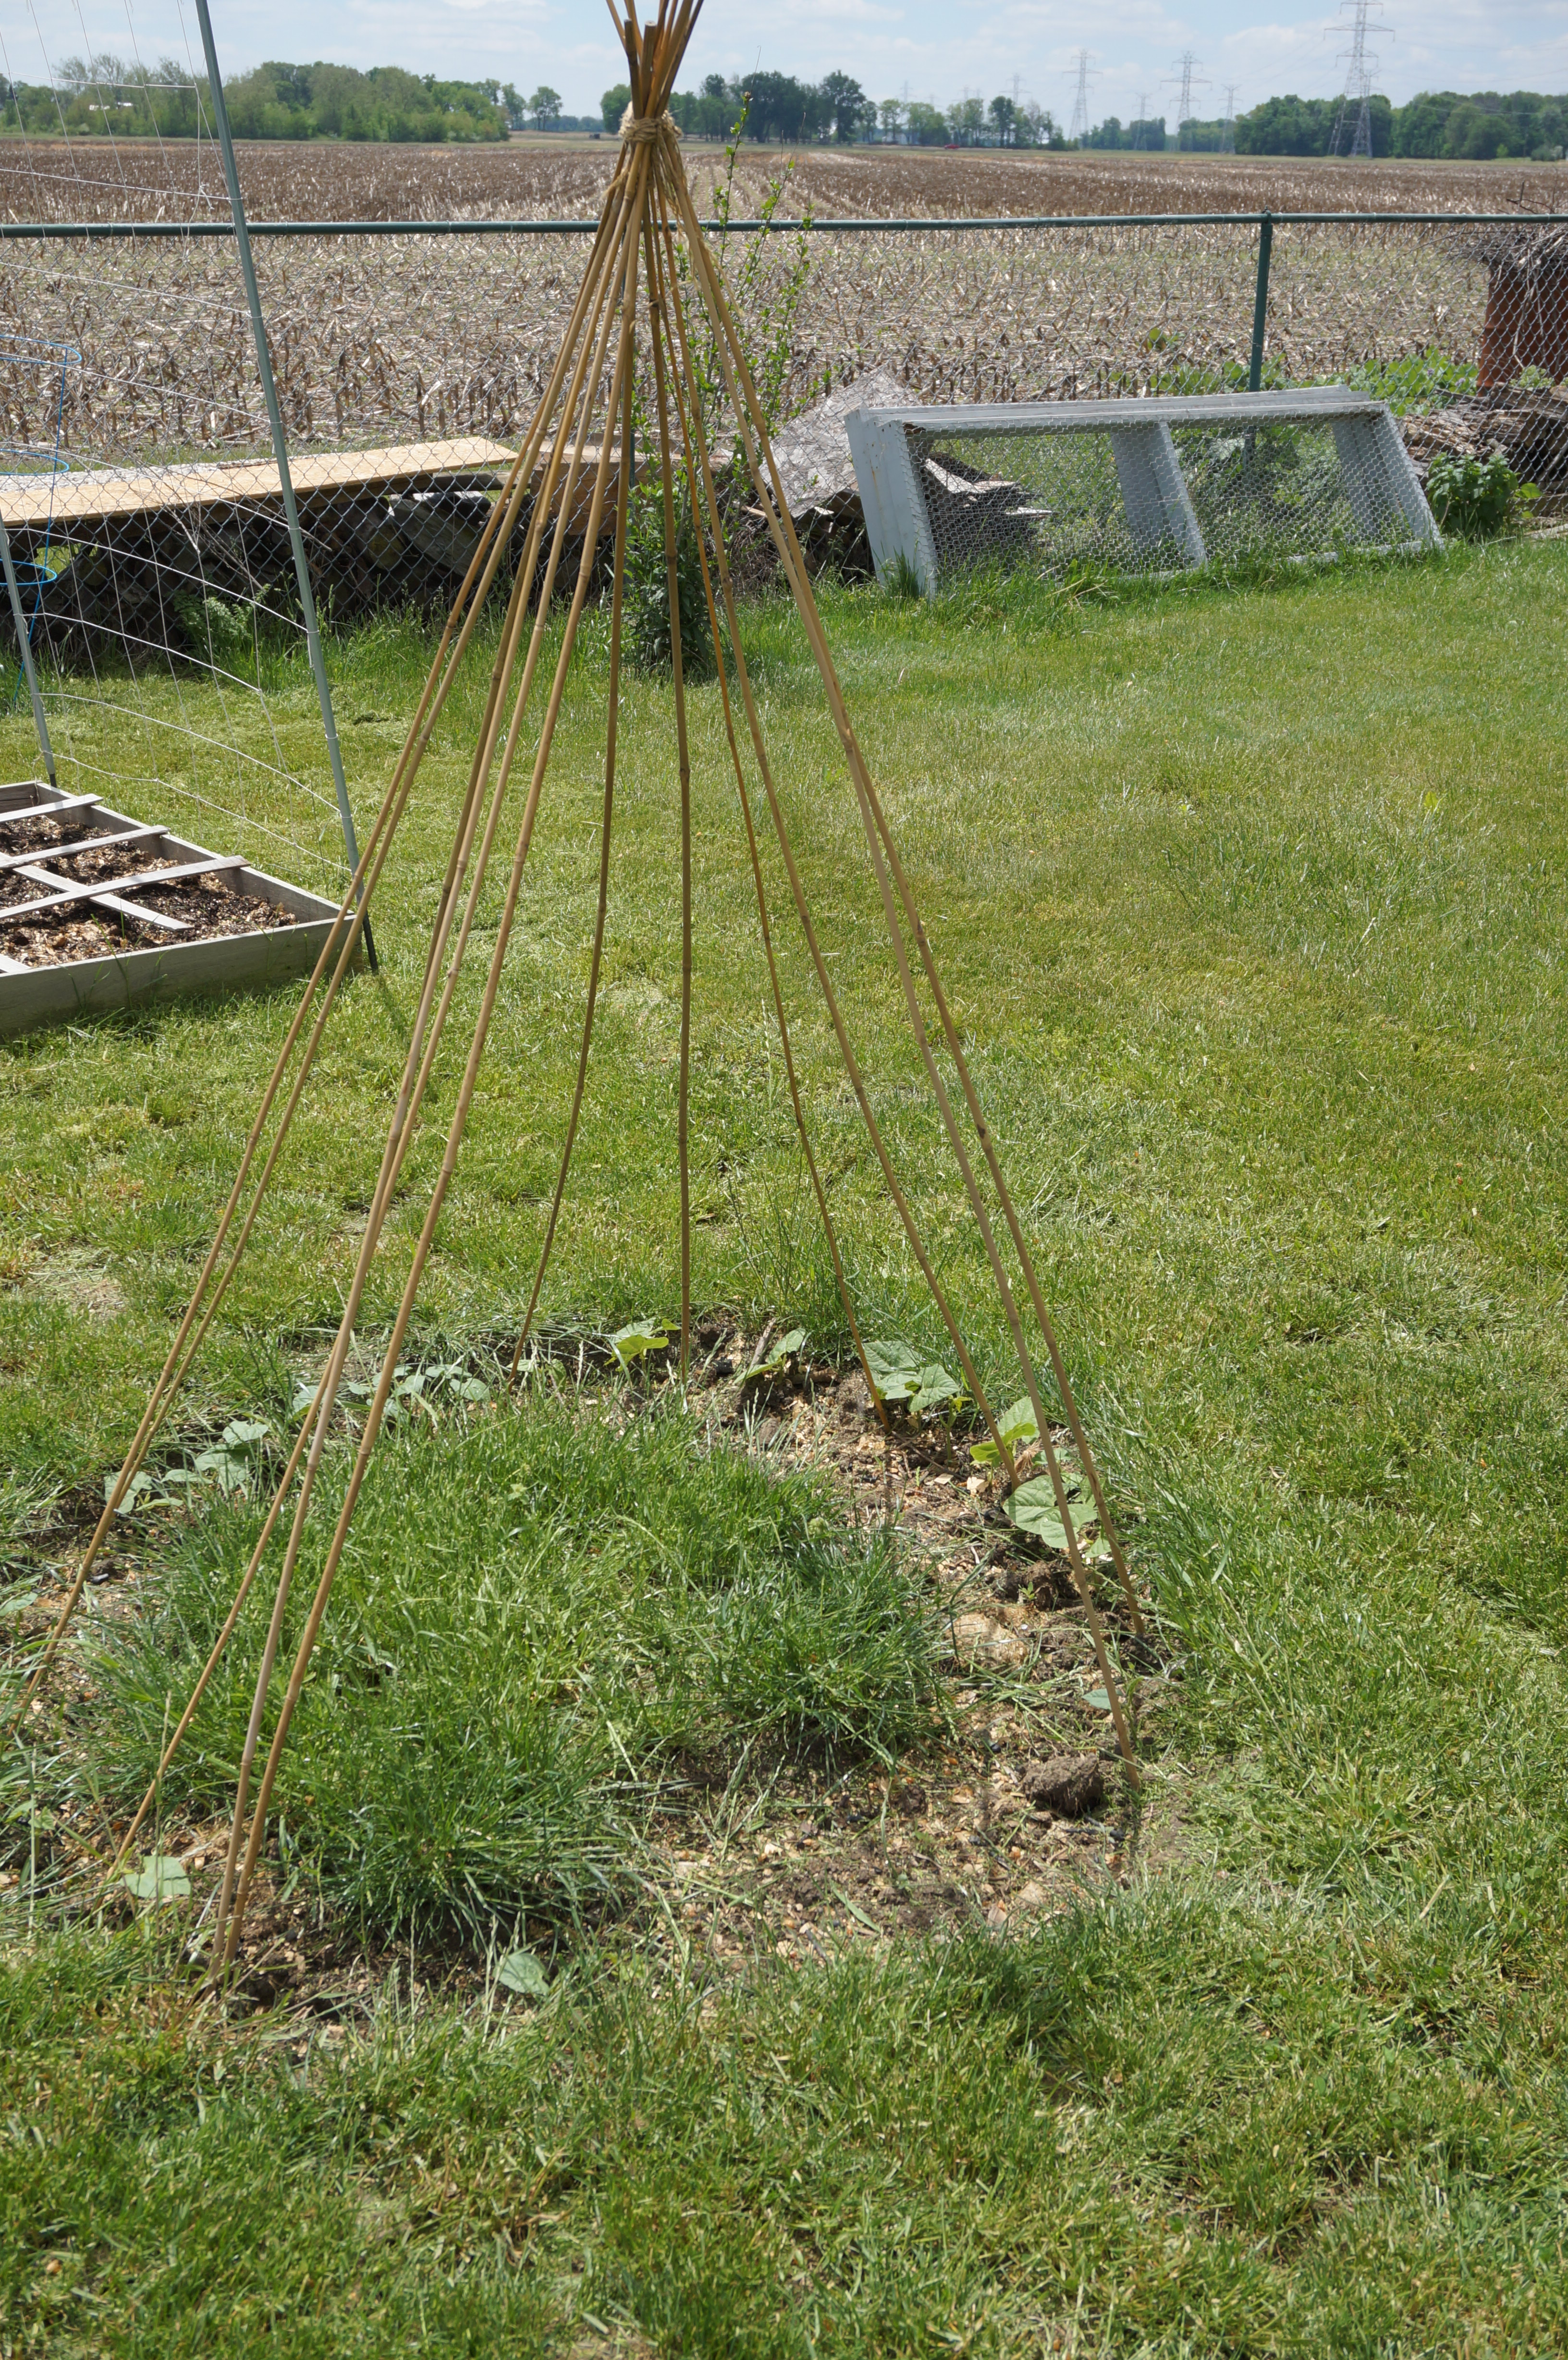 I am, however, REALLY proud of this! I saw this on Pinterest and had to do it. These are just bamboo poles tied together so that pole green beans can grow up it.
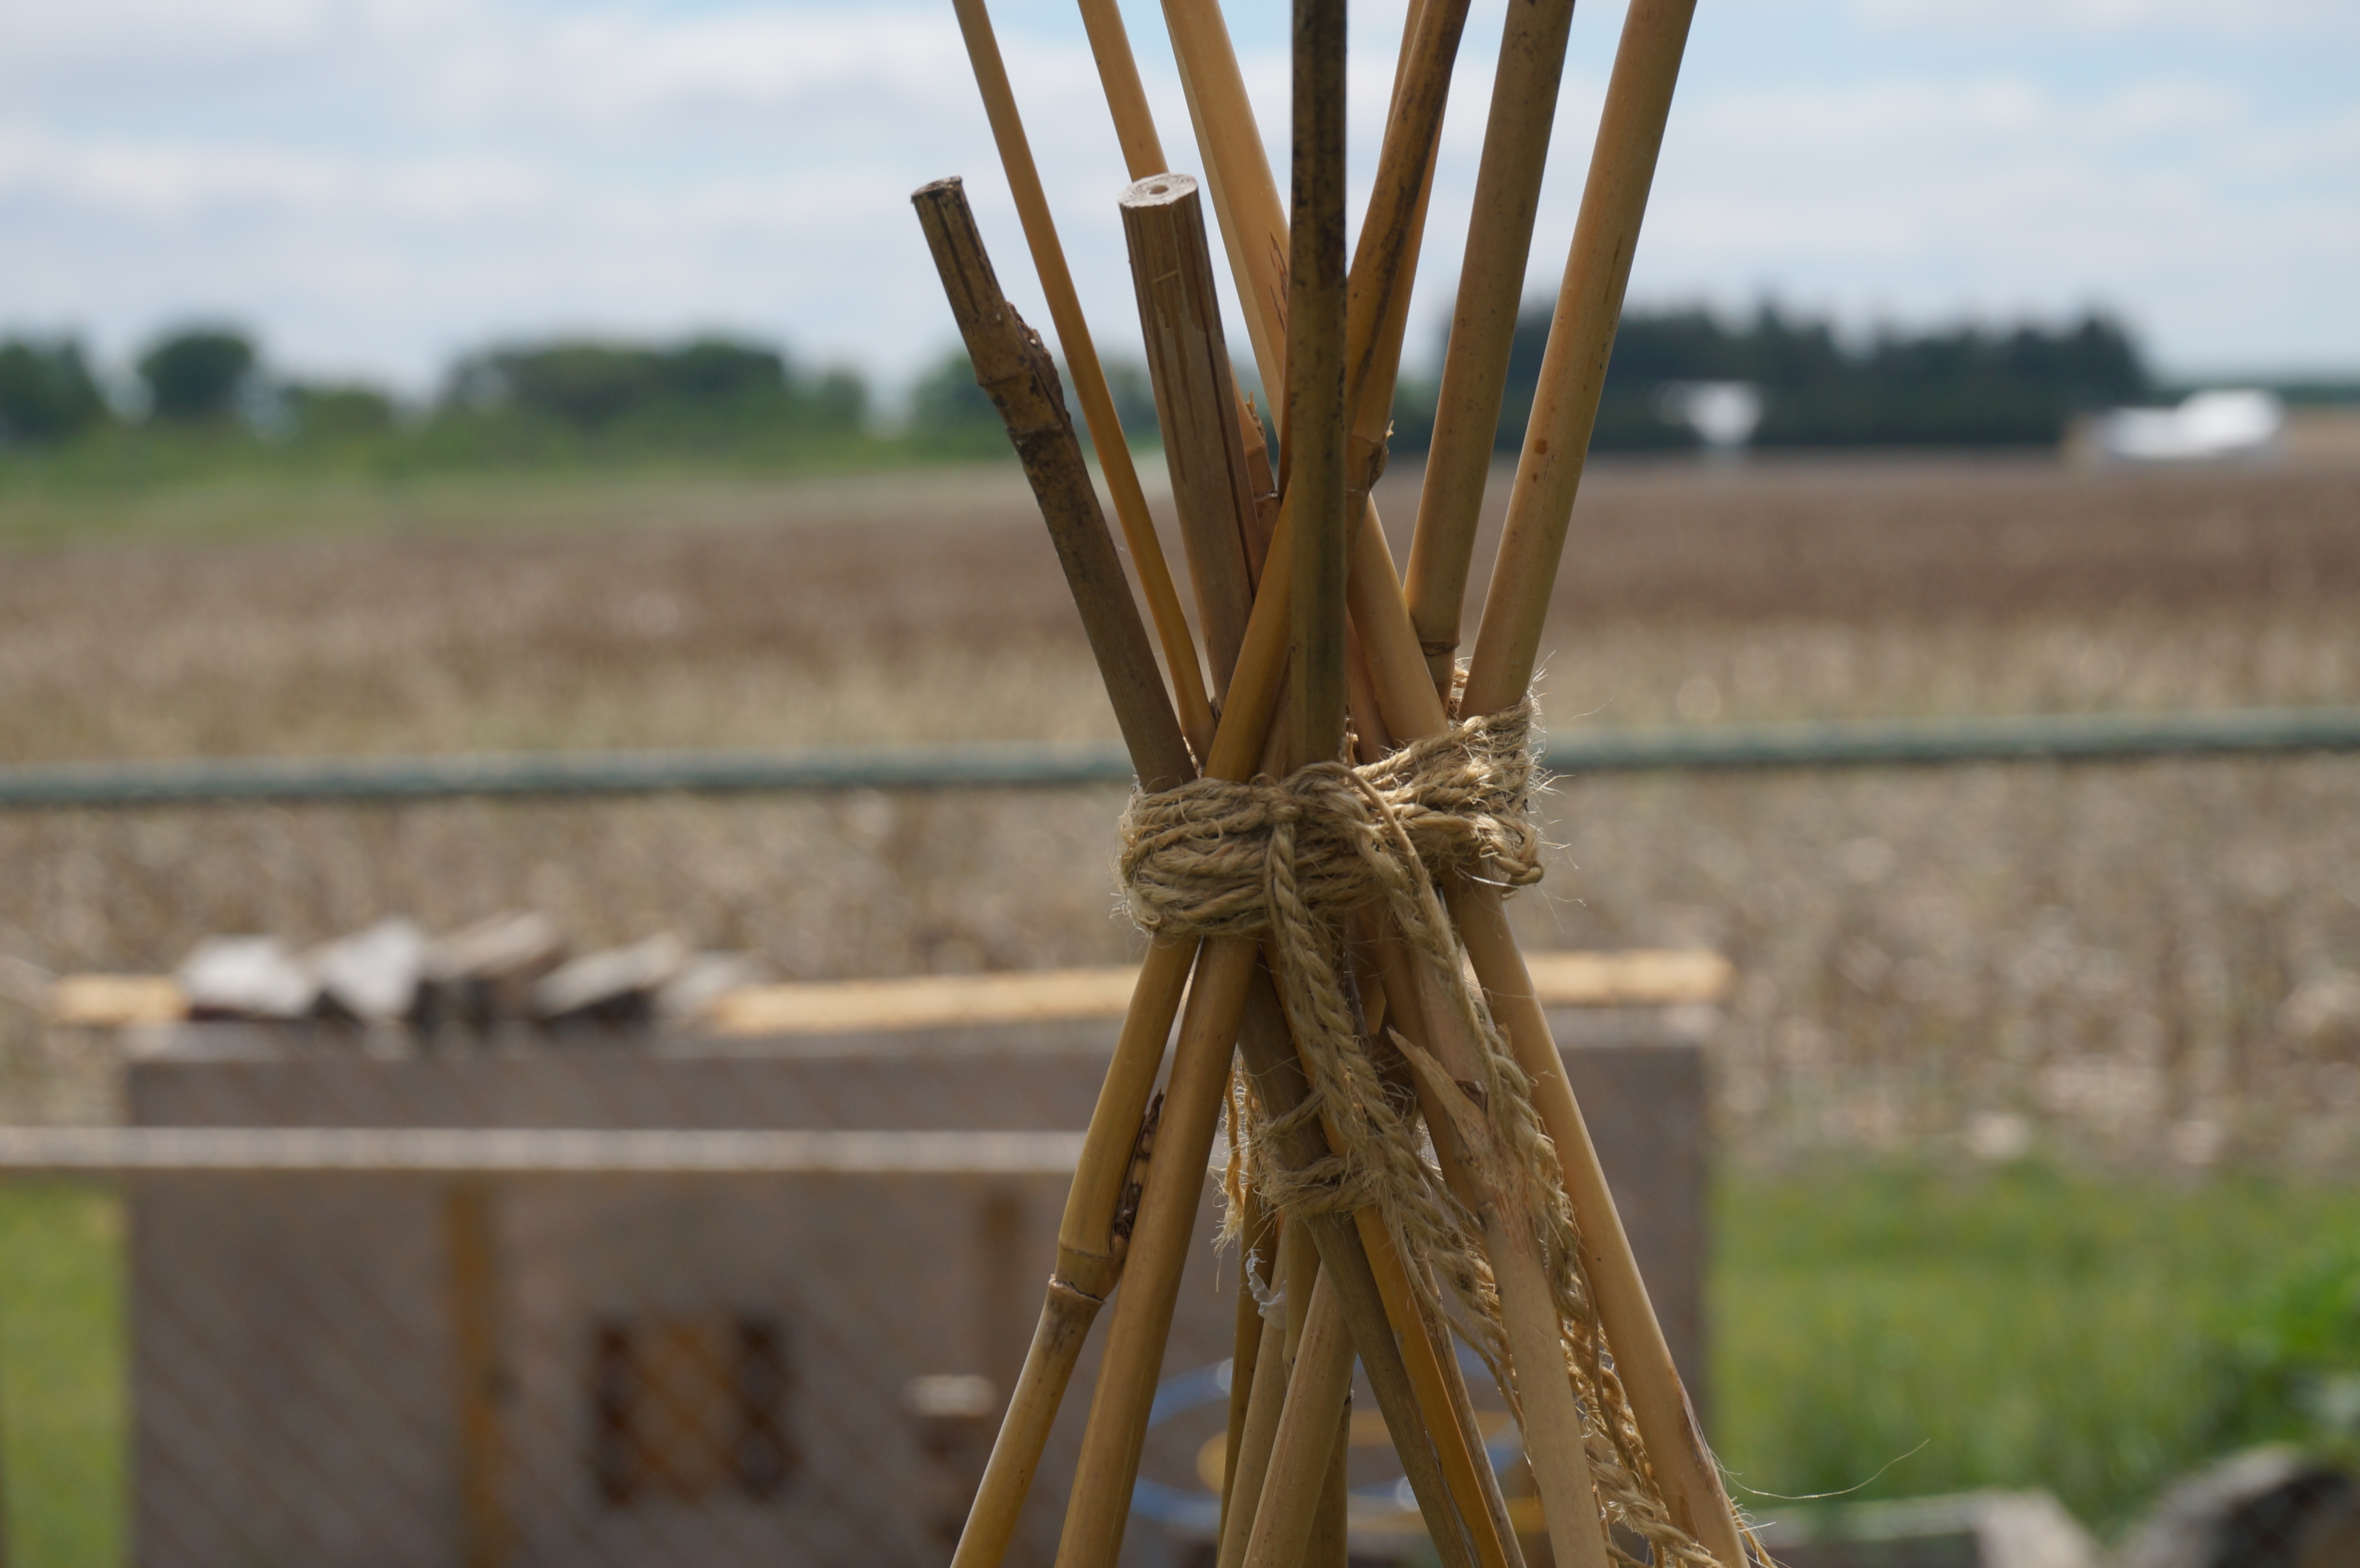 (Isn’t this a cool picture?)
As a little girl, I was always infatuated with fairies and tiny forts. I would have loved something like this as a little girl – a “secret” hide-out in the garden where the fairies were sure to be spotted.
 My oldest girl was named Cosette, after a character in one of my favorite musicals. (Name that show!) We nicknamed her “Cozy”, which completely epitomizes her personality. She is a lot like me in the way that she loves to create forts and is more than happy to hunt for fairies in tiny spaces. My plan is to try to train the beans up the poles in a weaving fashion, so that the fort will be completely covered. If any grow higher than the 6-ft poles I will try to encourage them to hang over the “door”, to complete the entrance to the hide-out. I’ve never grown pole beans before, so I’m not totally sure what to expect.
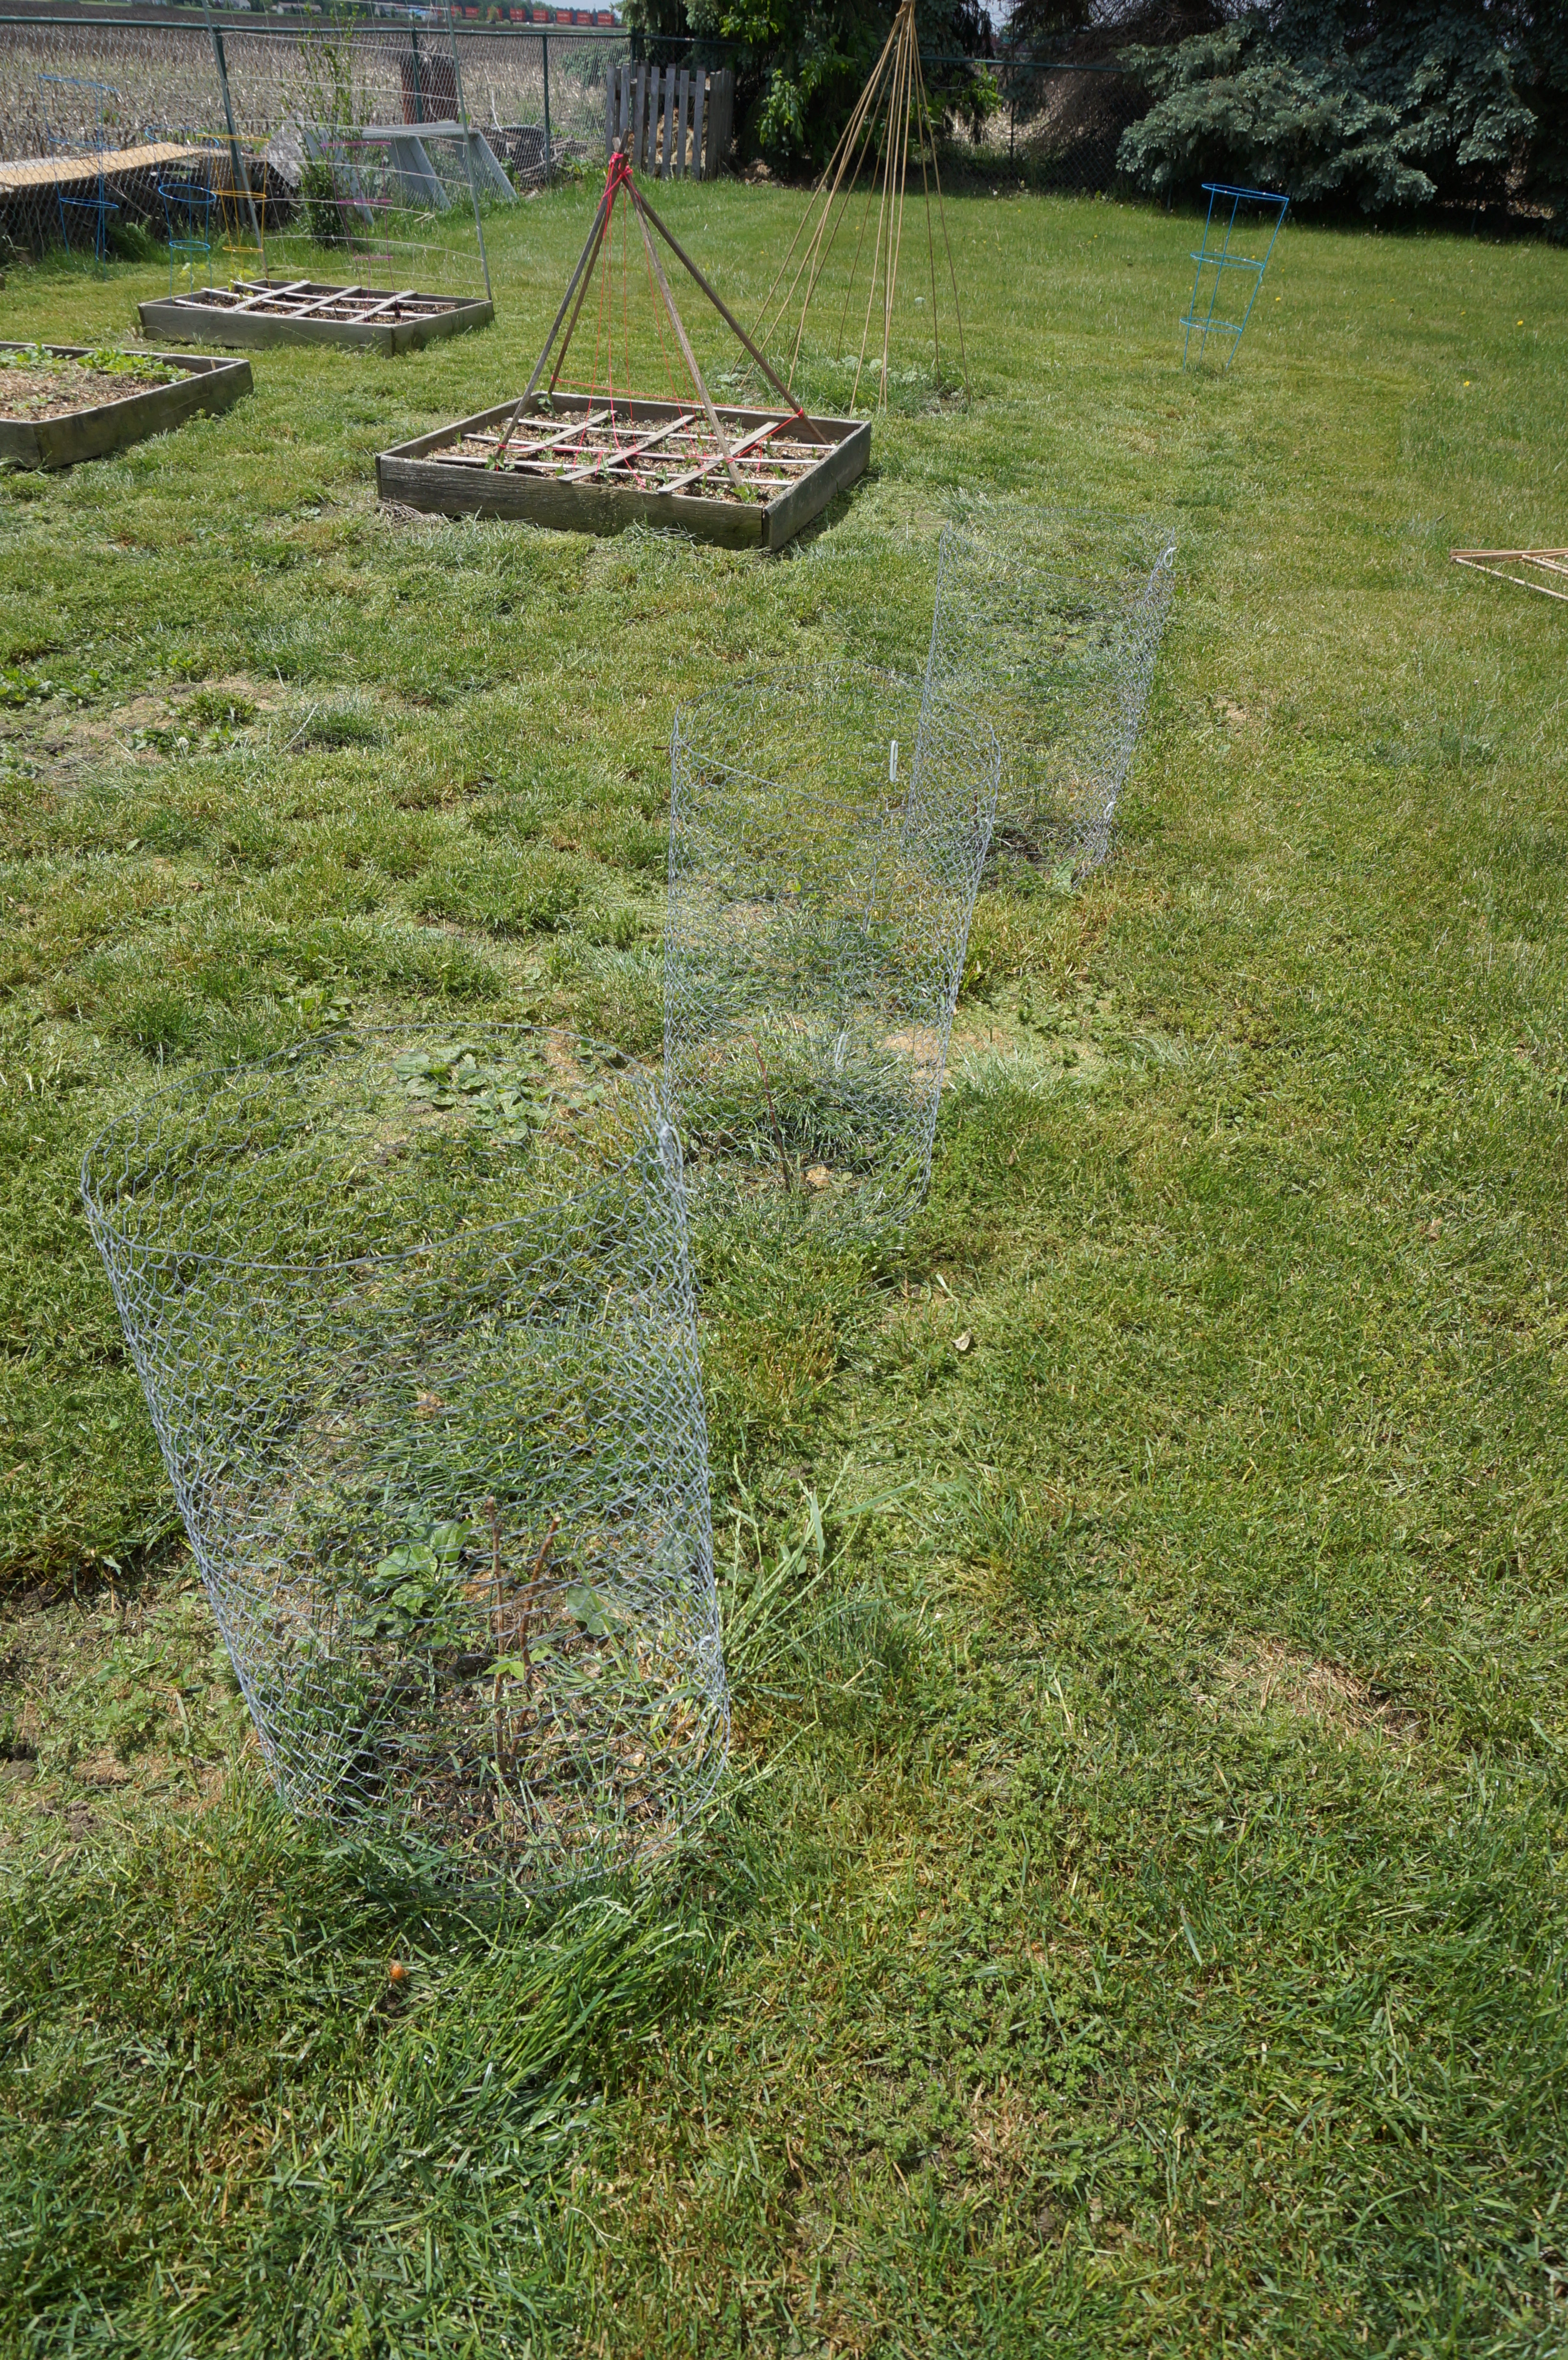
 This is the first year for pumpkins for us, too. I tried to grow them my second year of gardening, but the weeds and the heat wave won that battle. My plan is to just let the vines go across the right side of the yard. Can you see the seedling in there? It only took like 3 days to sprout like that! It totally shocked me. (I shock easily too, apparently) I’m not planning on leaving the tomato cage over it, I’m just a little distrusting of my chickens, so I’m leaving the cage there until the vines can fend for themselves.
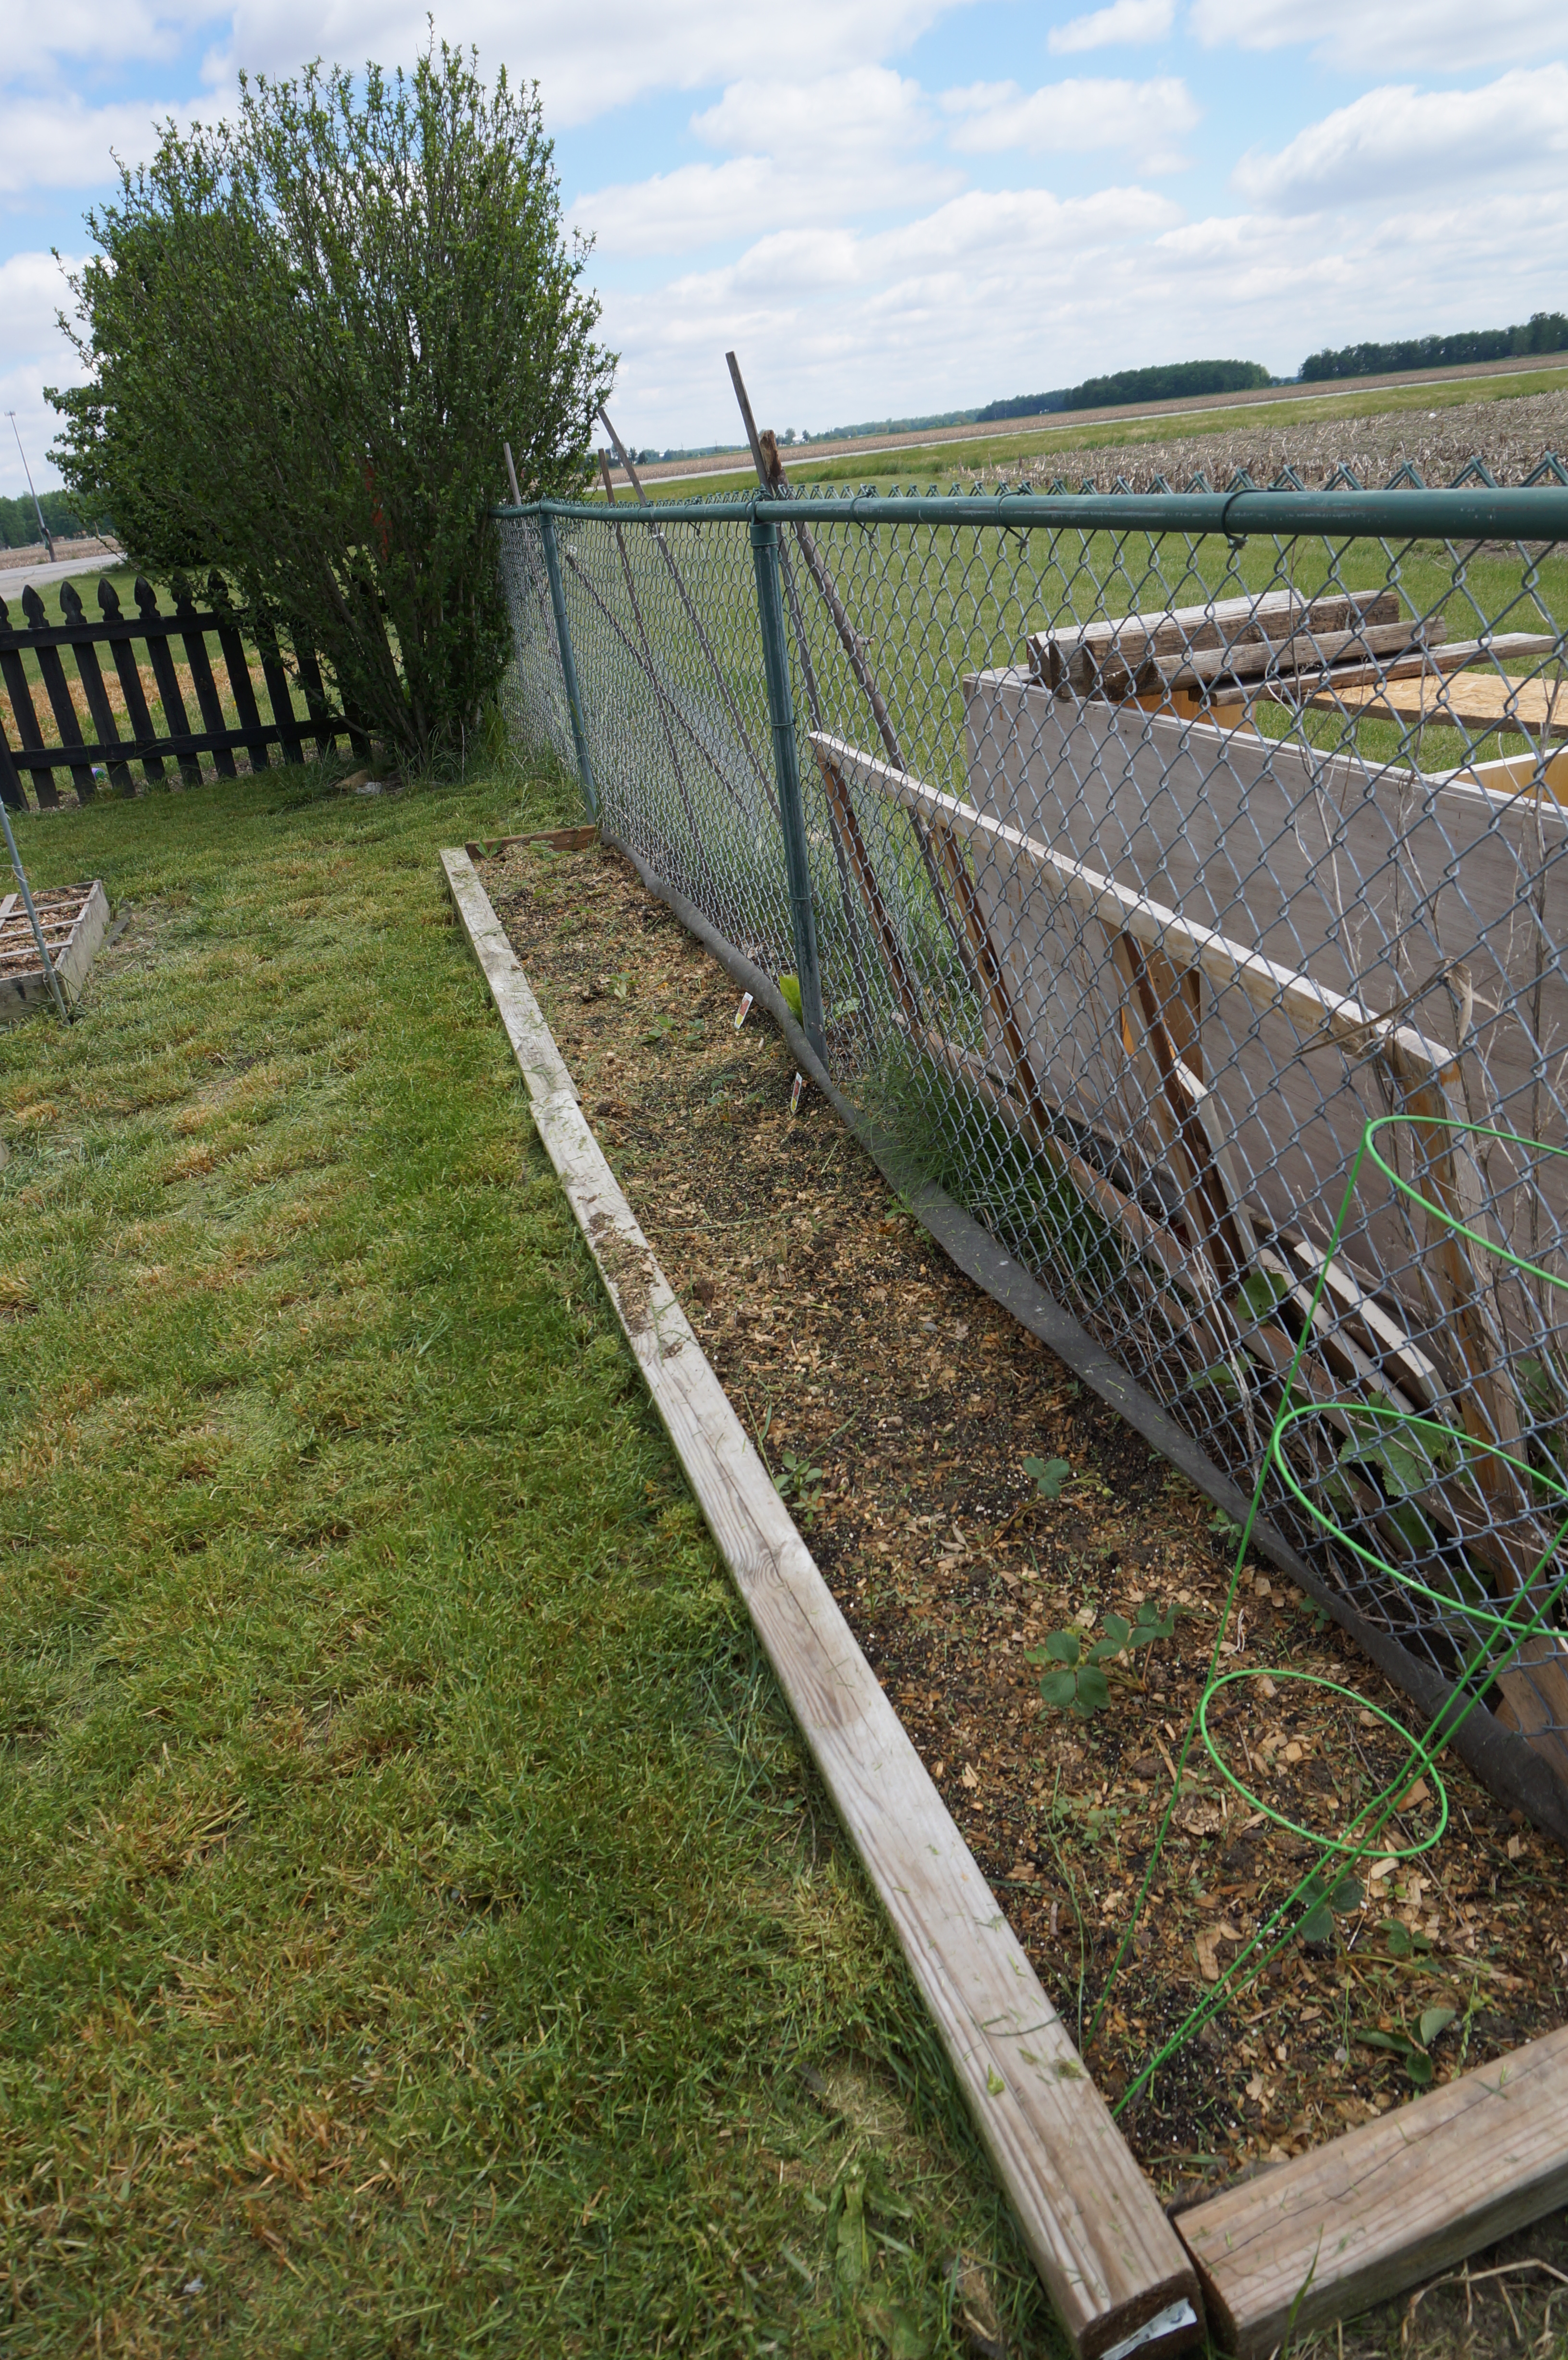
 Likewise, on the back fence, is the watermelon. I haven’t grown that successfully yet, either.
 I planted this the same day as the pumpkin, and look how wussy the seedling looks compared to the pumpkin! It took longer to sprout, too. I’m going to let these vines take over the back of the yard, too. I tried to grow watermelon up that chain-link fence last year. It did work, and I did get one melon – that I prematurely harvested because it was about to frost, anyway – but I have a big enough yard that it doesn’t really matter. The back end of the yard is only used for compost and my husband will be grateful to not have to mow it anyway.
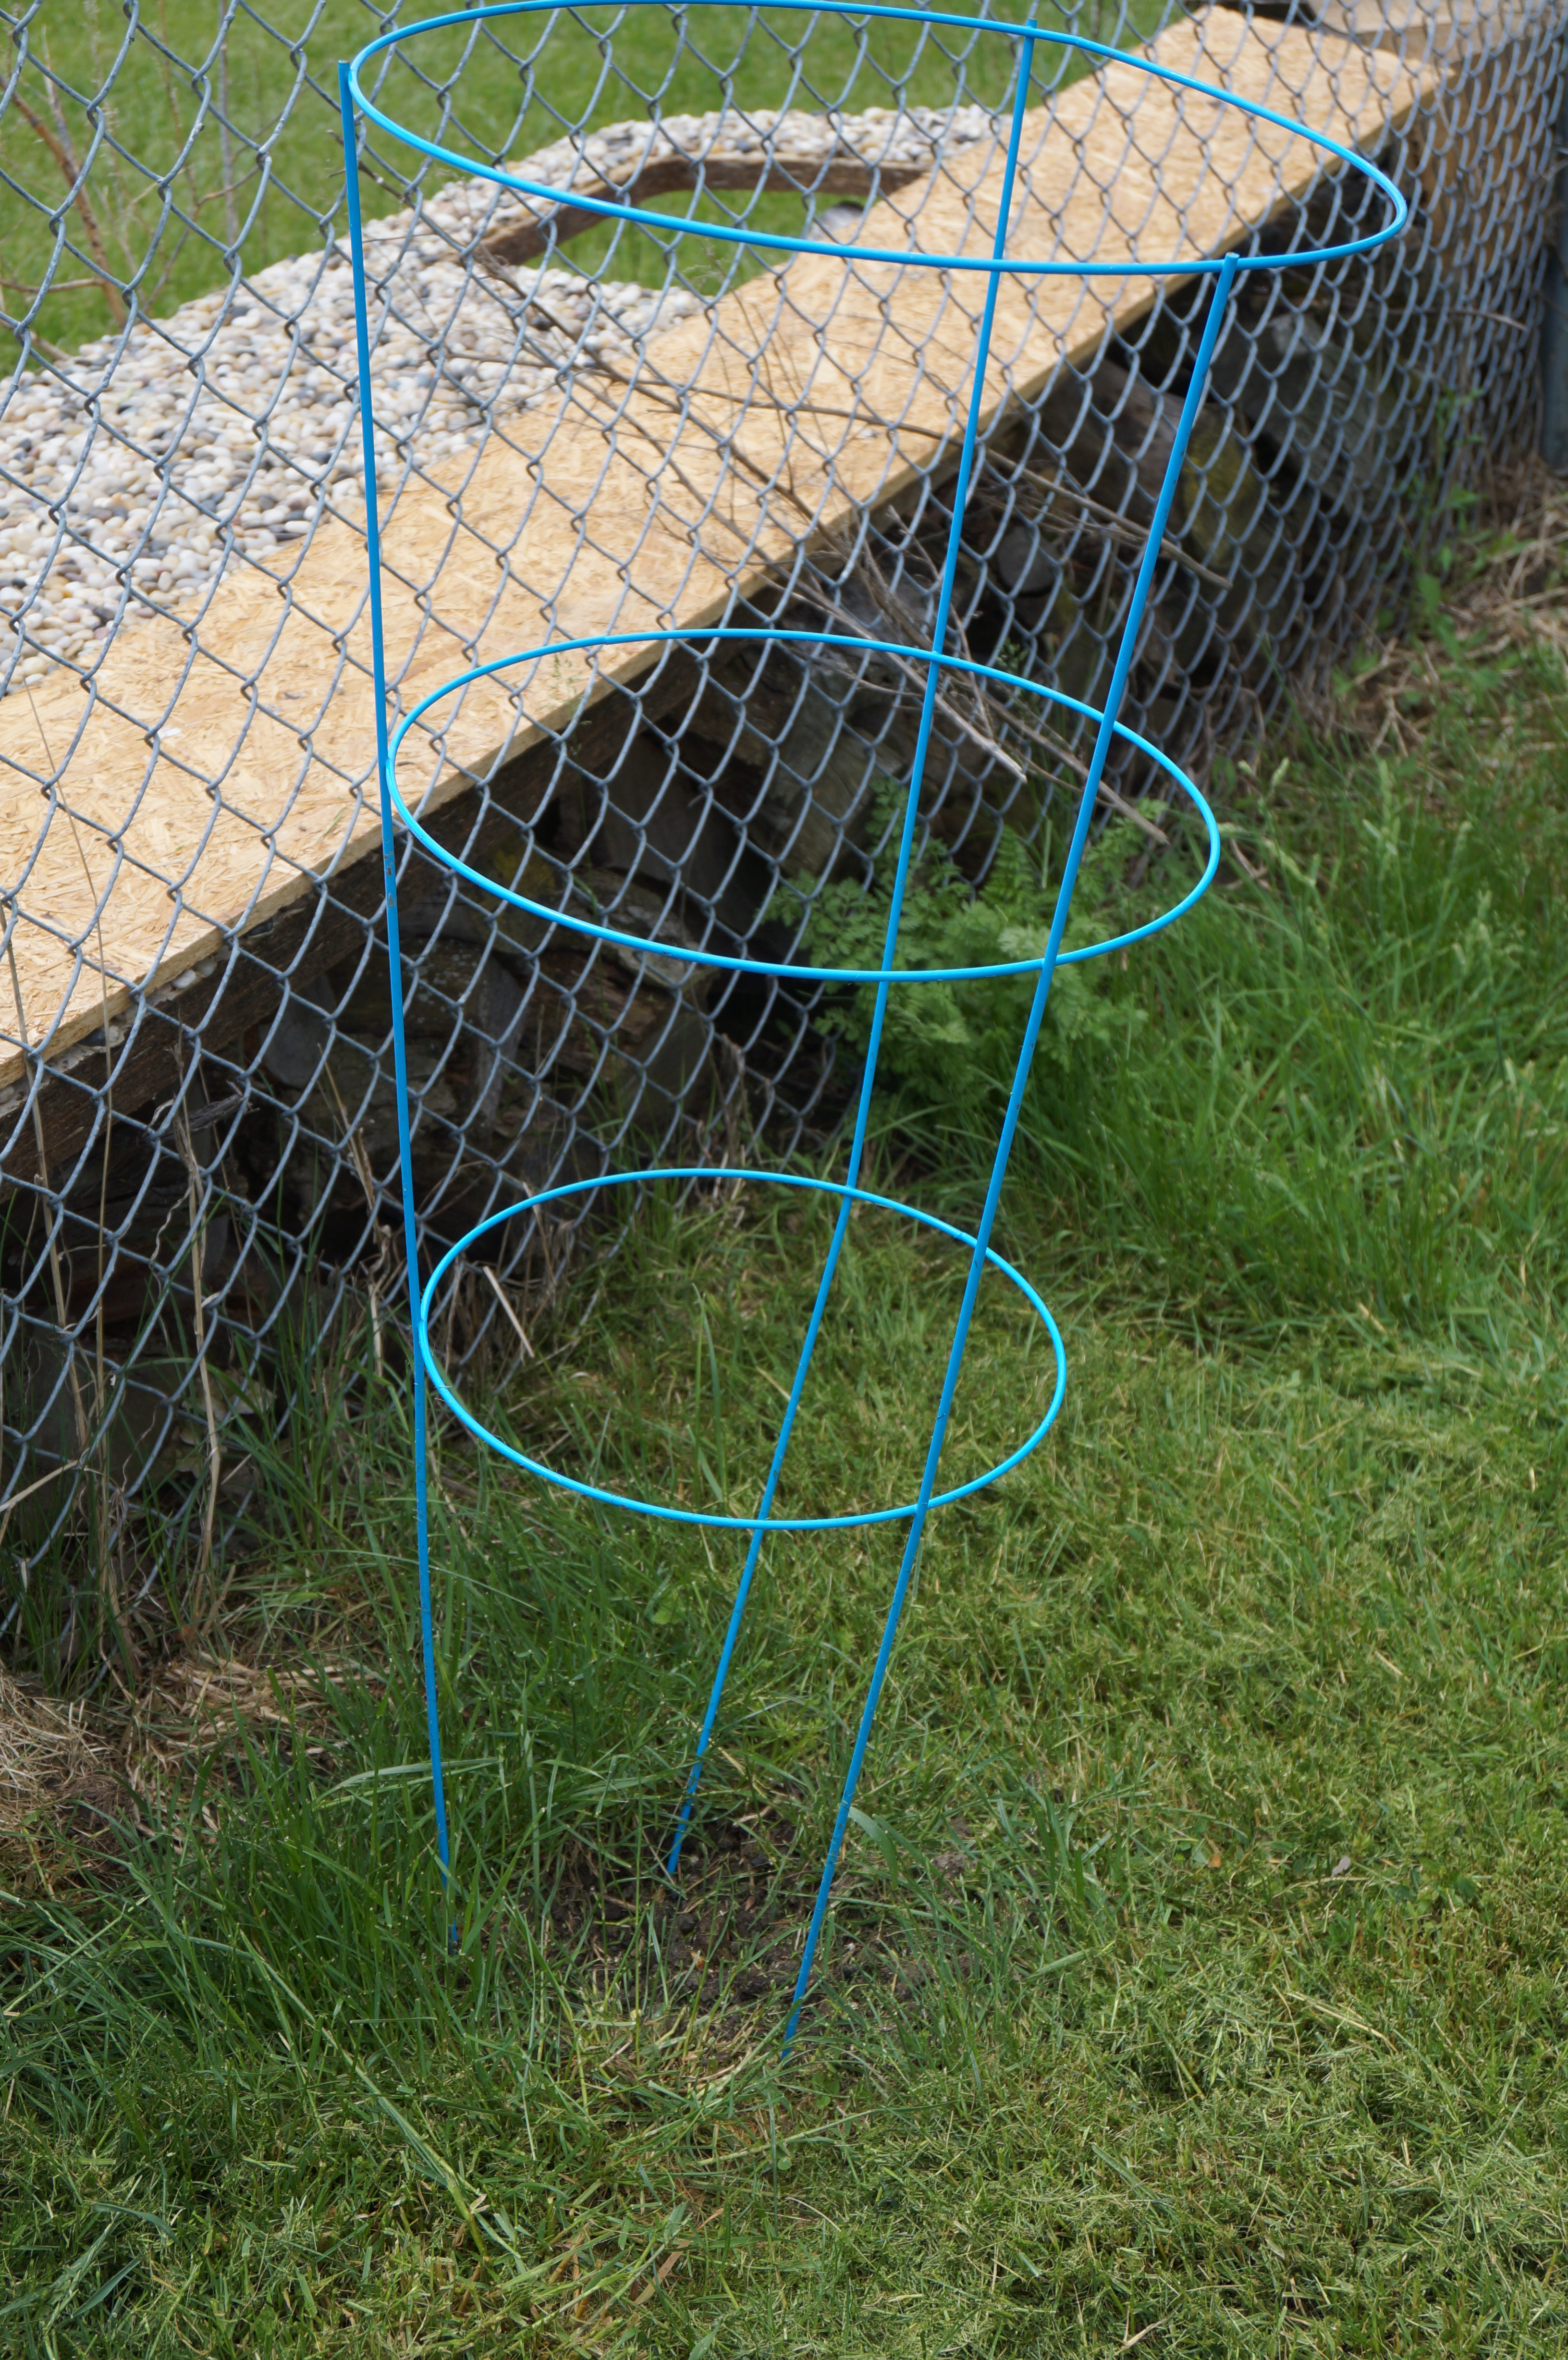
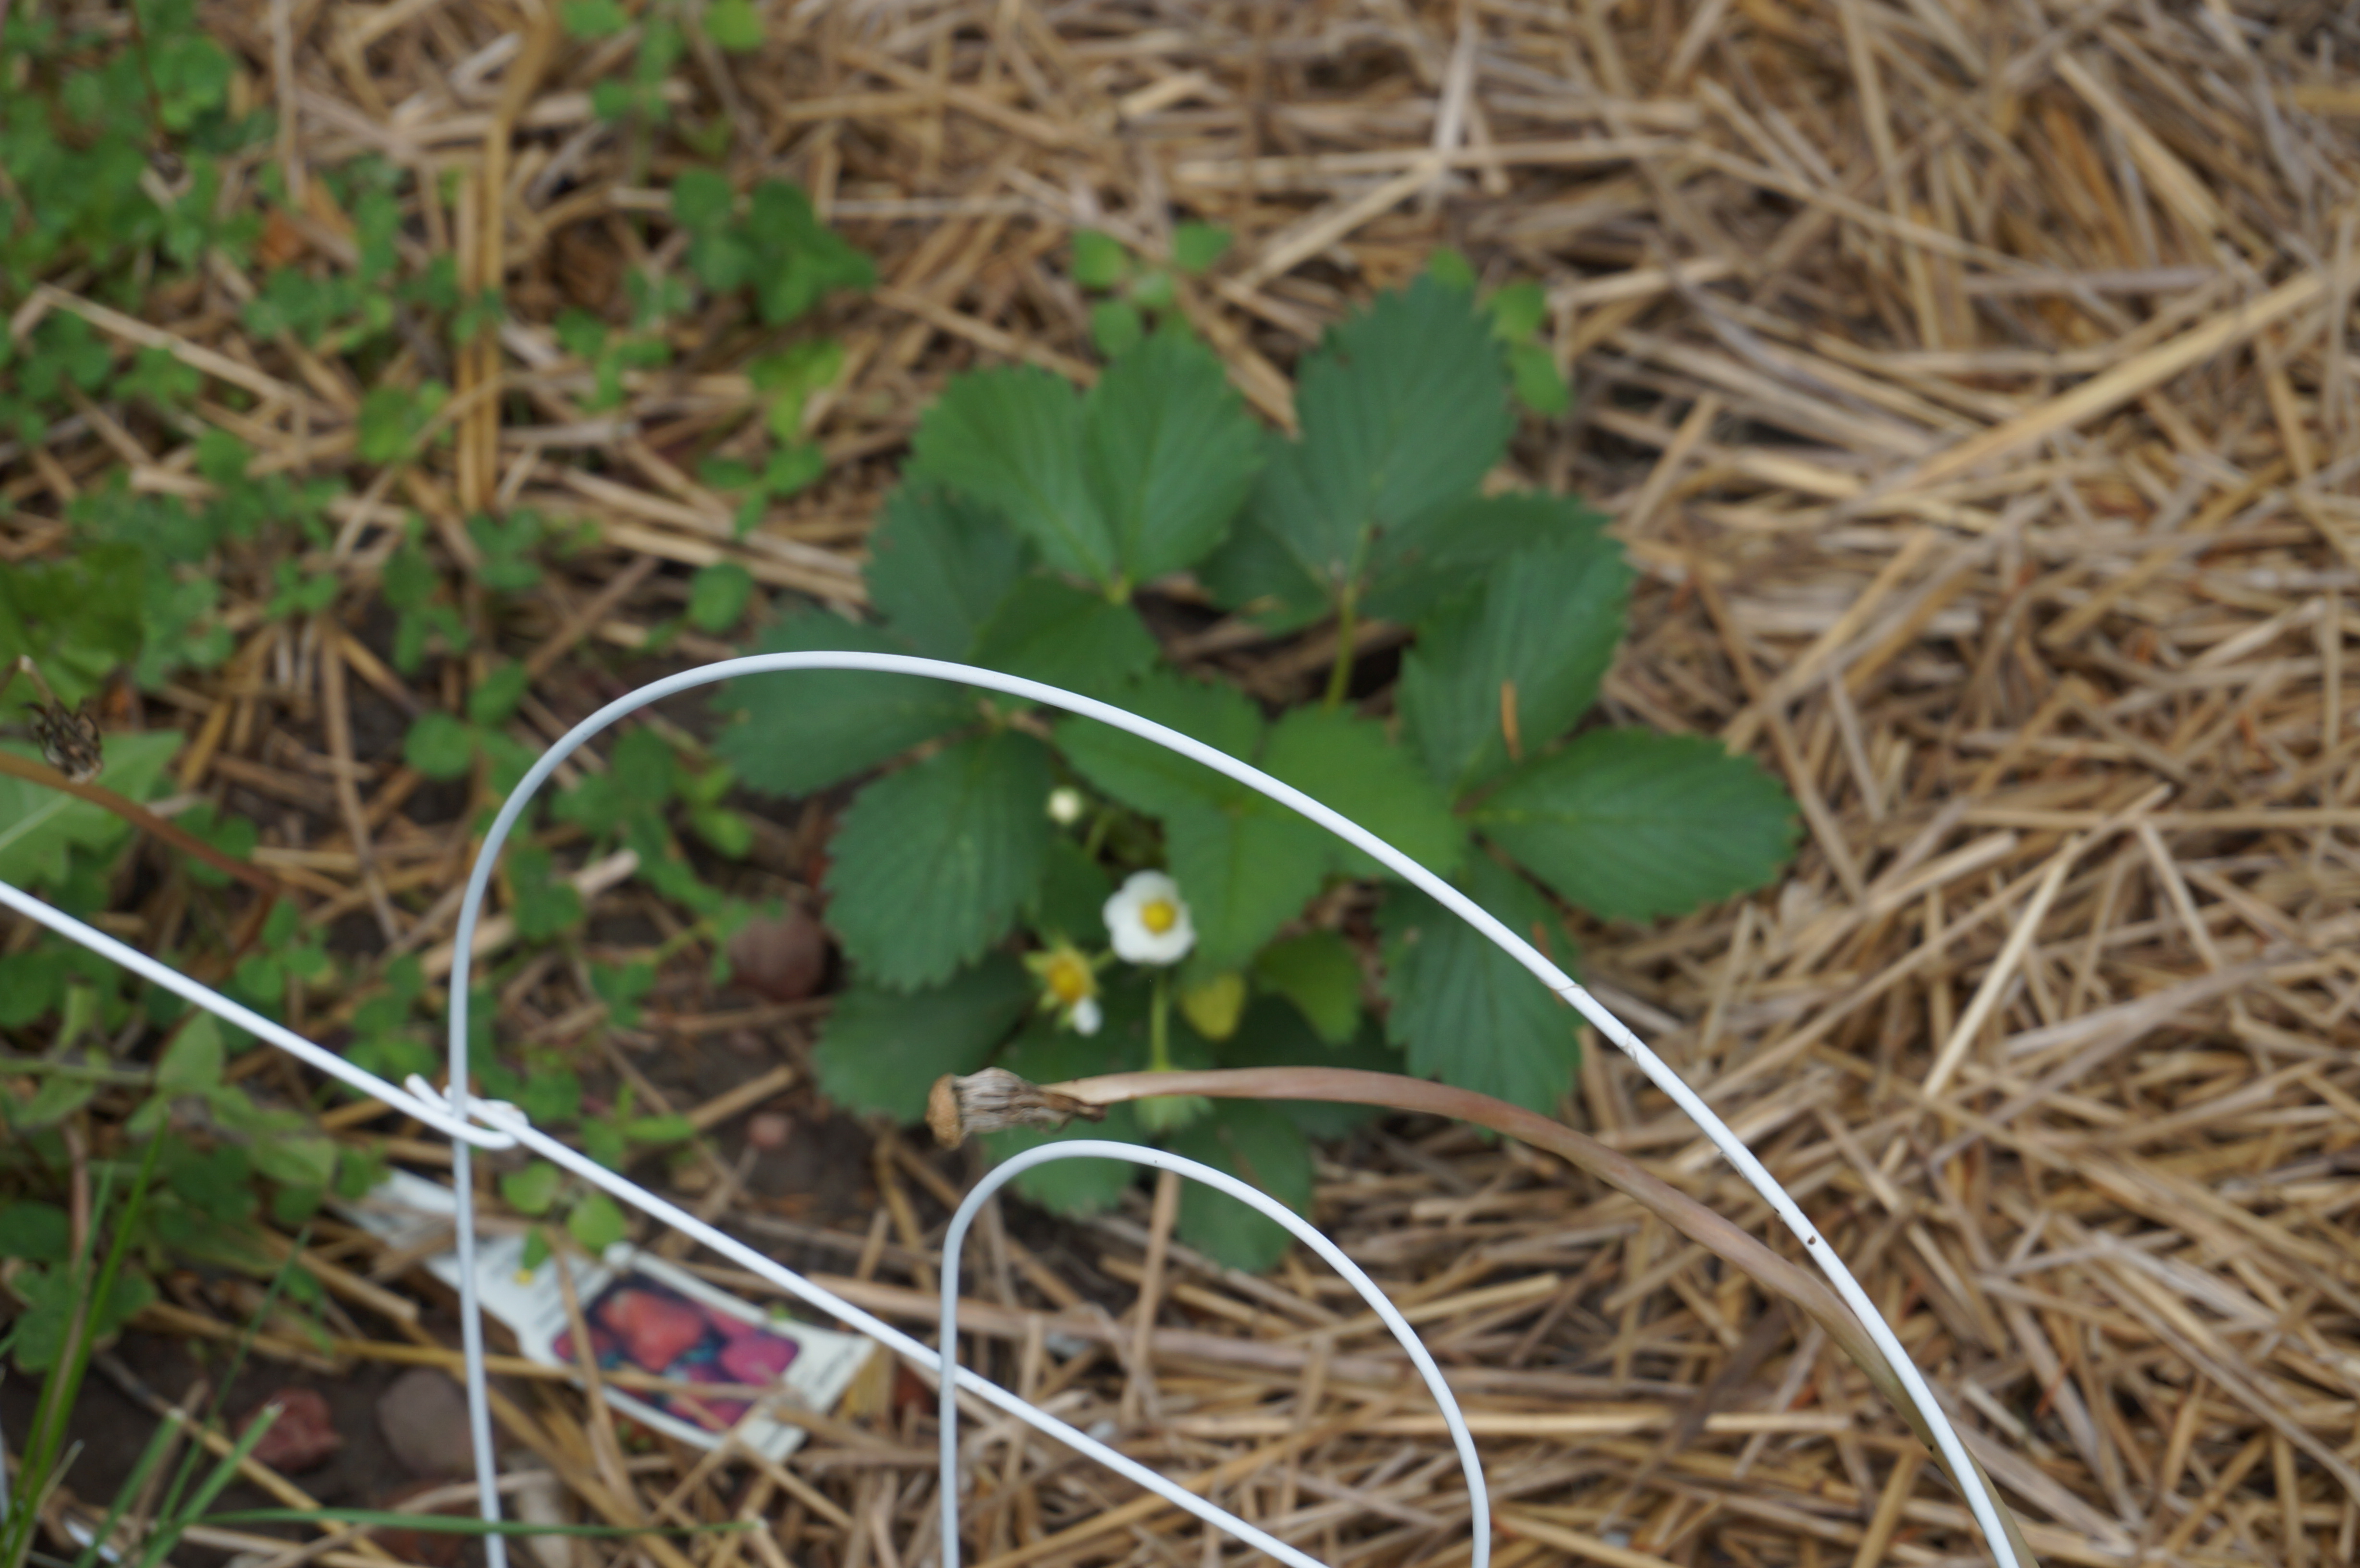
 The long back bed that was Romas and arugula last year now is the strawberry bed. I planted both Ever-bearing and June-bearing berries. The chickens have destroyed two of the June-bearing plants. I’m not really sure what the method to their madness is… why only two? Why both June-bearing? It’s a puzzle. I put a tomato cage in one end, hoping it would creep them out enough to stay out.
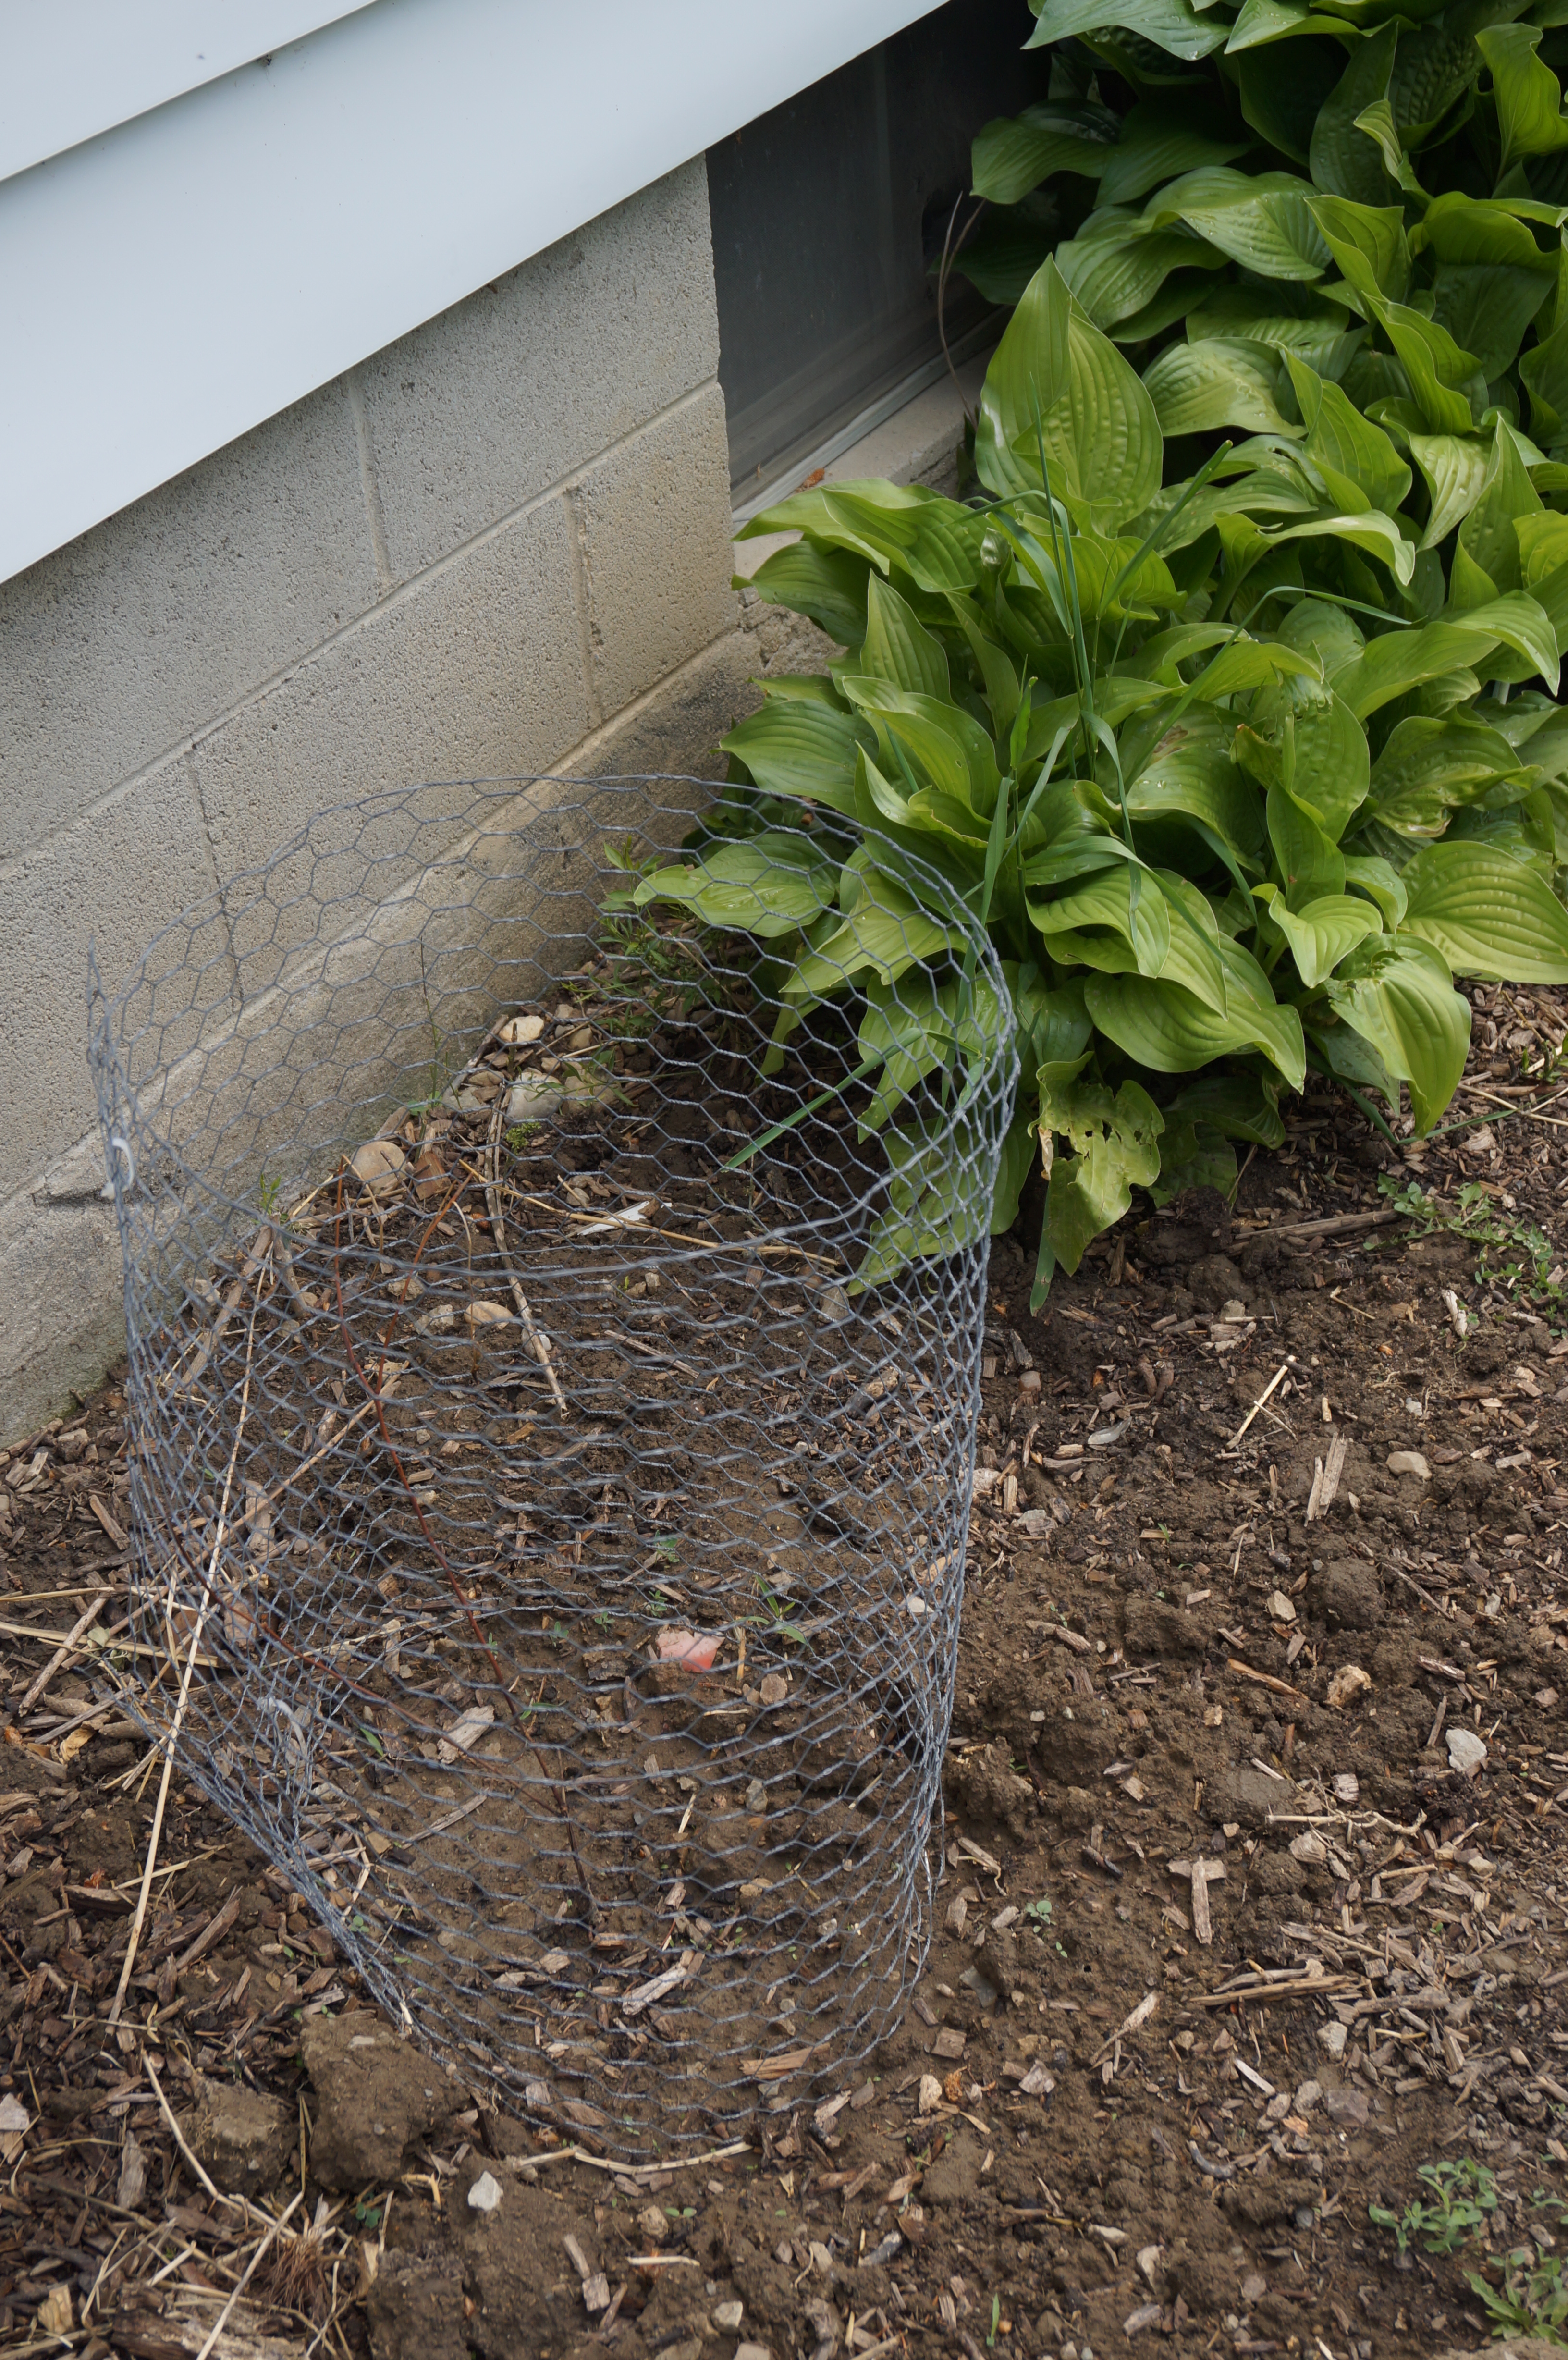
 This isn’t in my garden. It’s actually on the back of my house. This is from last year’s pitiful strawberry efforts. (News flash, strawberries like FULL sun, duh!) I was happy to see two plants return. It kind of vindicated my salty feelings from last year.
This is the view from the right side of the garden. Stage left, for you theater majors out there. The box closest to the camera is mostly empty still. I have two banana pepper plants given to me by my generous in-laws. They also gave me a jalapeno plant, but the chickens had their way with it. More tomato cages to the rescue! The rest of the box is going to be filled with beefsteak, Roma and cherry tomatoes. I bought all the seeds for these, but only started the seeds a few weeks ago. The seedlings are only about 4 inches tall, and I’m not sure that is far enough along. I might just buy plants to get in the ground now, and plant the seedlings I started later when they are stronger. That way if they don’t produce until late fall it won’t be a big deal and I will have already been able to can up some tomato products.
You can see that I have two big helpers, staying busy digging in the dirt for Mama!
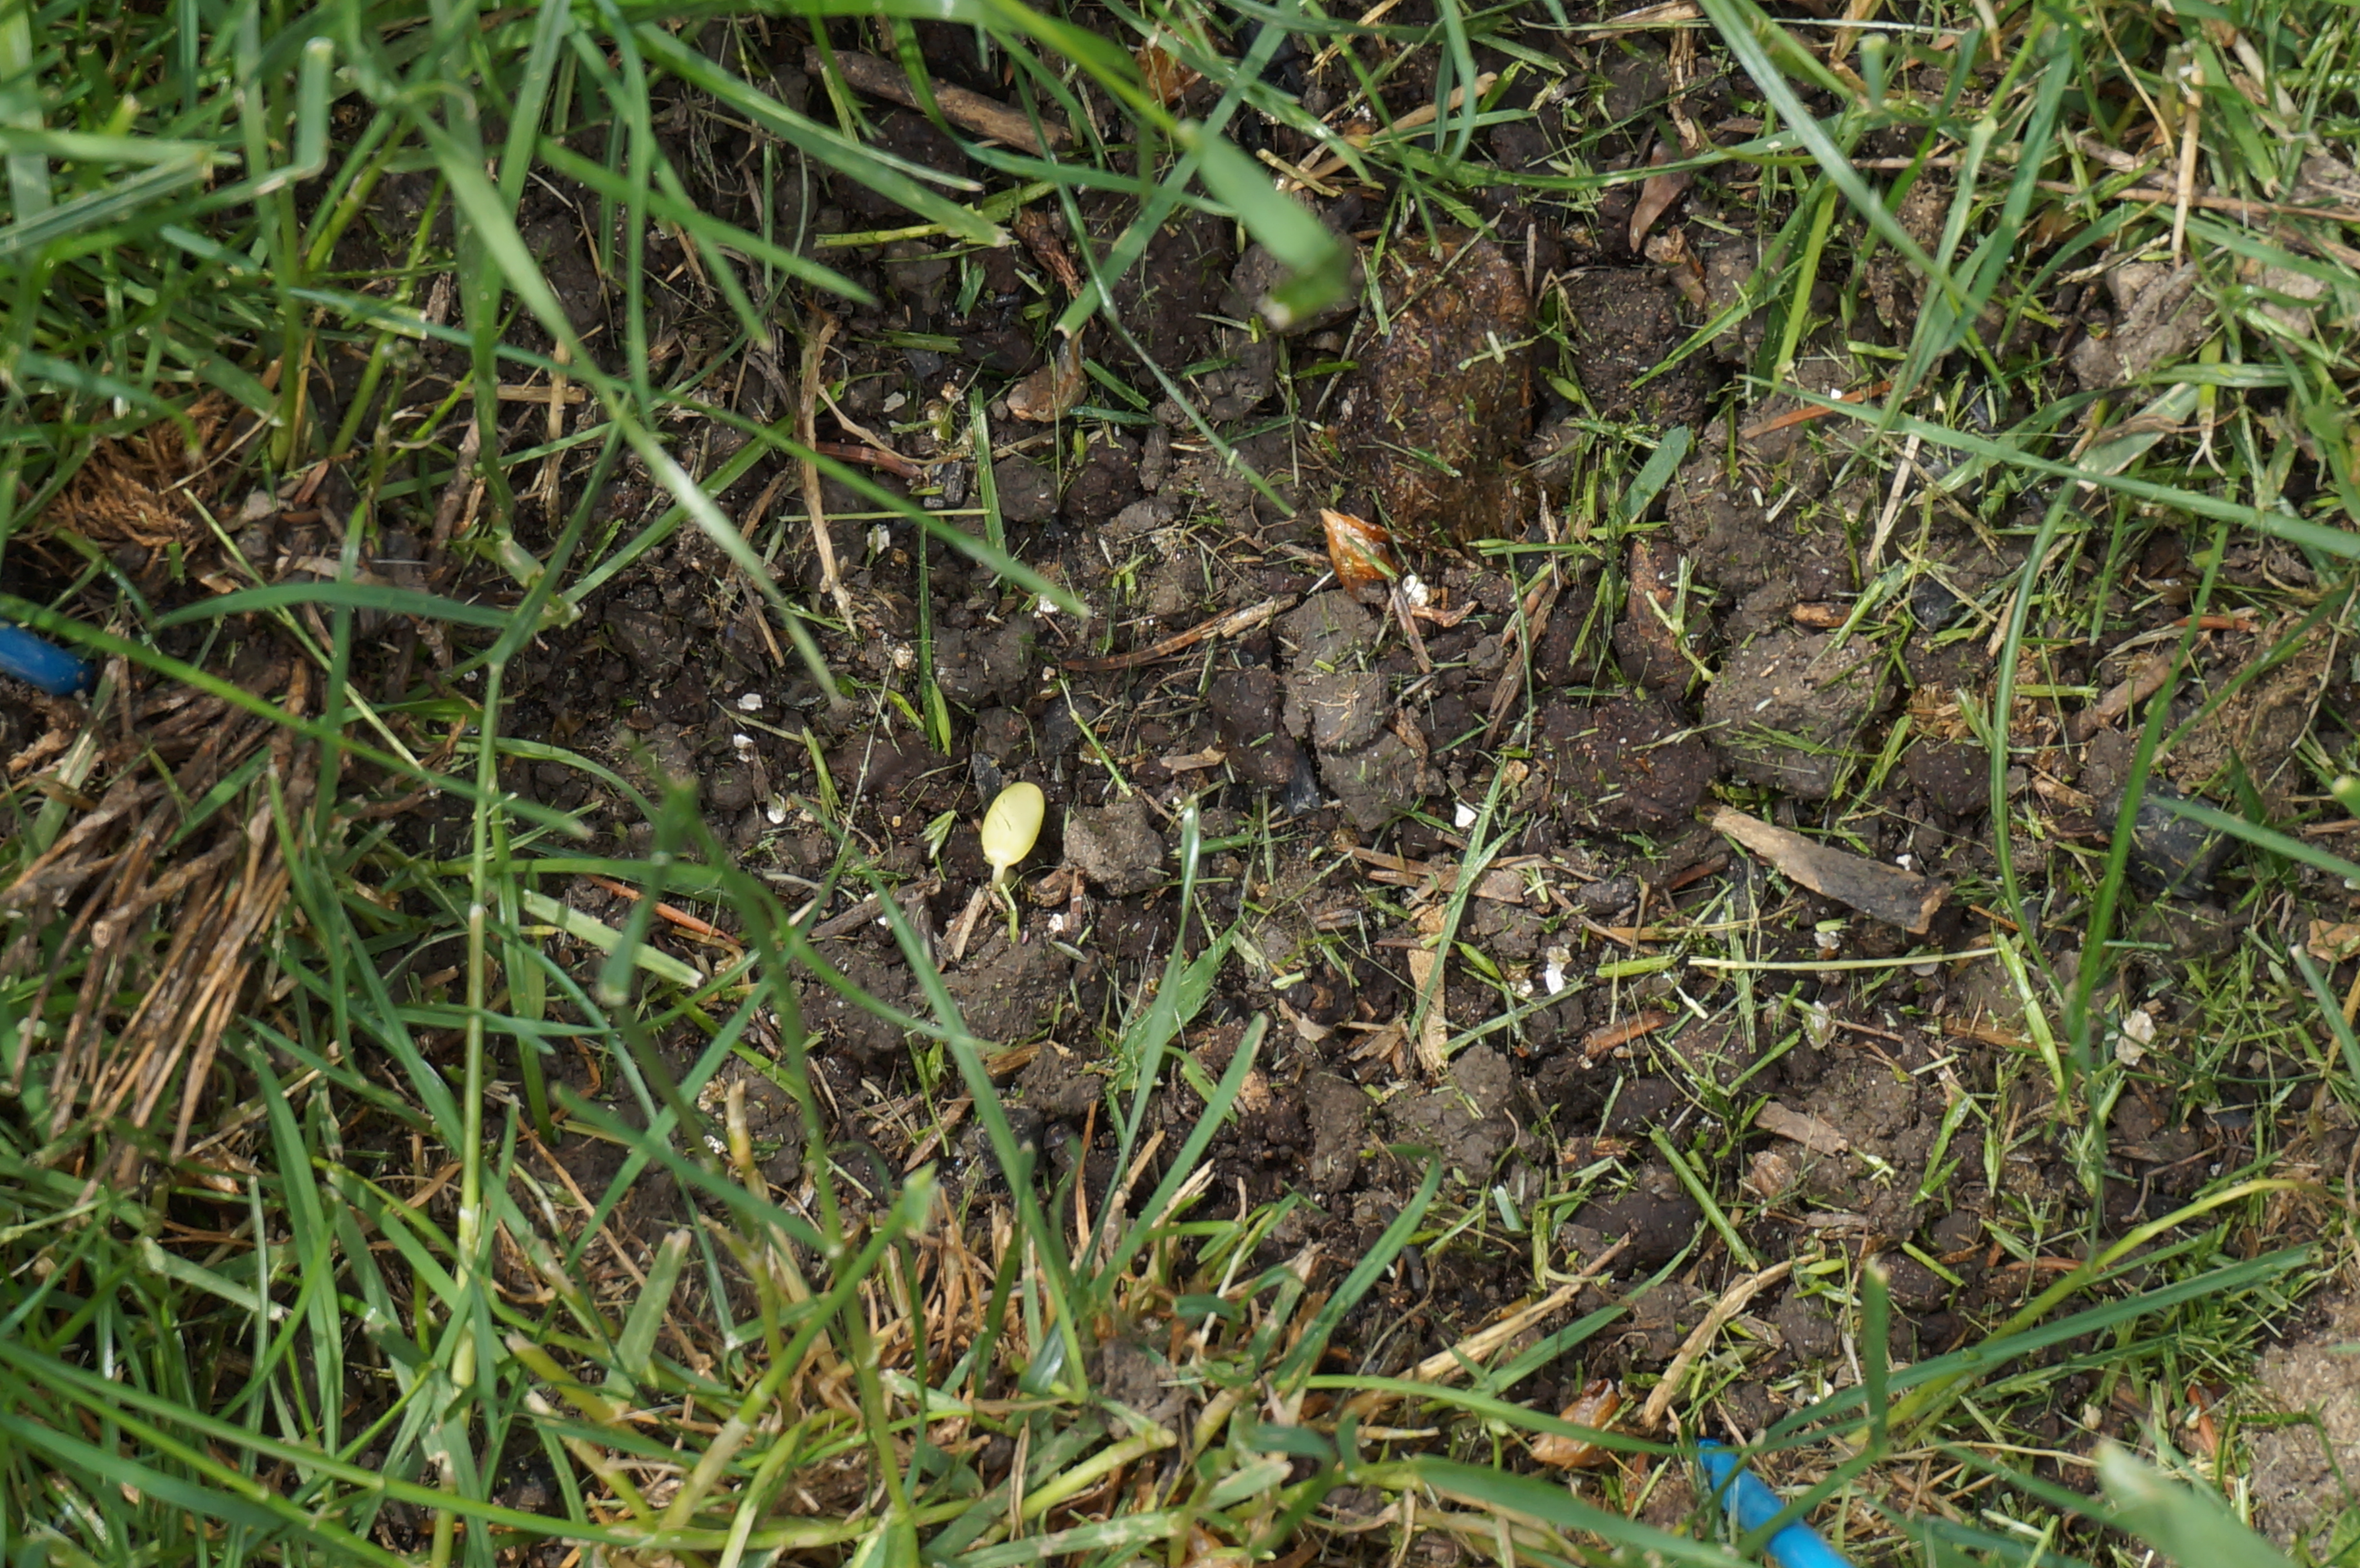
Behind the chain-link fence to the right, on the other side of the strawberry patch I planted sunflowers. I had started the seeds in decomposing pots and then planted the pots after the seedlings were about an inch tall. I then took some practical precautions and protected their row with chicken wire. A day later, the seedlings were all gone. In some of the pots there was even a broken sunflower shell, just sitting on top of the dirt, mocking me. Crafty birds.
So I replanted the seeds, but I don’t have much hope for their survival.
 The last thing I planted this year was a blueberry bush. I planted it by itself in a very empty space where a tiny propane tank used to live behind our house. It also just looks like a stick in the ground, but hopefully next year or in a few years we’ll have fresh blueberries!
I still have a few things to get in the ground, including a blackberry bush. I’m not sure where I’m going to put that yet, though.
If you have any tips for some of the things that are new to me (berry bushes, asparagus, pole beans, sunflowers) I would greatly appreciate it!


