Posts Tagged With: tomatoes

Garden Update – Summer 2013

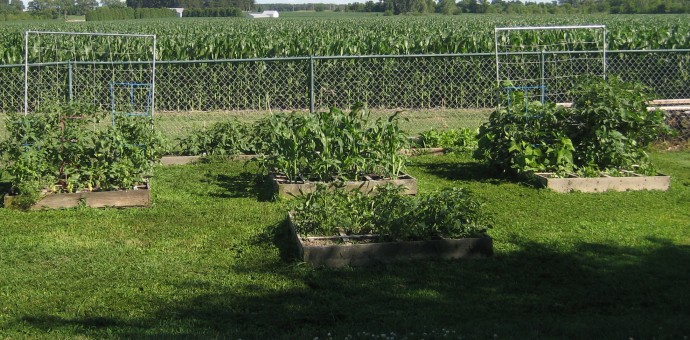
DSC02192It was such a promising spring… I had so much motivation, I planted nearly everything I intended to although there’s always a few things that I don’t get around to planting, like kale- boo hoo!  I was even staying on top of the weeds and I thought I was pretty clever with my inter-planting.  I’m not really sure what happened, exactly…but I really did not get much harvest this year!

DSC02197

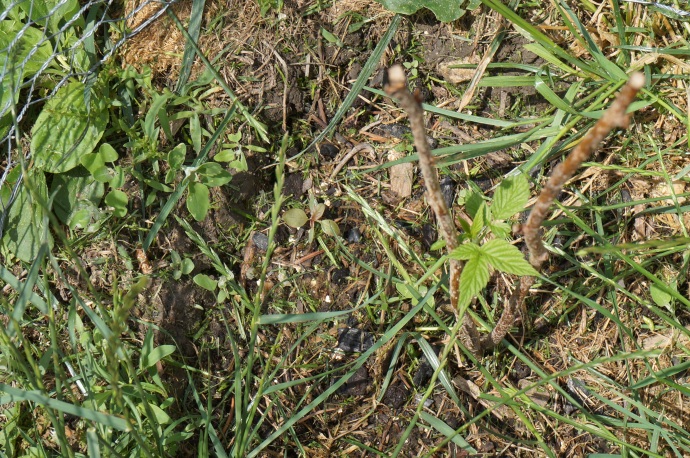
For starters, ALL my fruit bushes that started out as expensive sticks ended up as…expensive sticks.  I’m guessing they didn’t “take”.  Huge bummer!  I was really hoping to get them established this year so that soon I would have fresh berries from our own yard!  I’ll try again next year!

Arugula Seeded

Although my arugula came in quickly and was plentiful, I actually MISSED the harvest and it went to seed!  I just never had a chance to make my huge batch of Italian Wedding soup, which is really the only thing I want the arugula for.  I think I can still re-plant that though, so all hope is not lost.  We did have several fresh salads off the Romaine and spinach, though.  Yum!

DSC02200

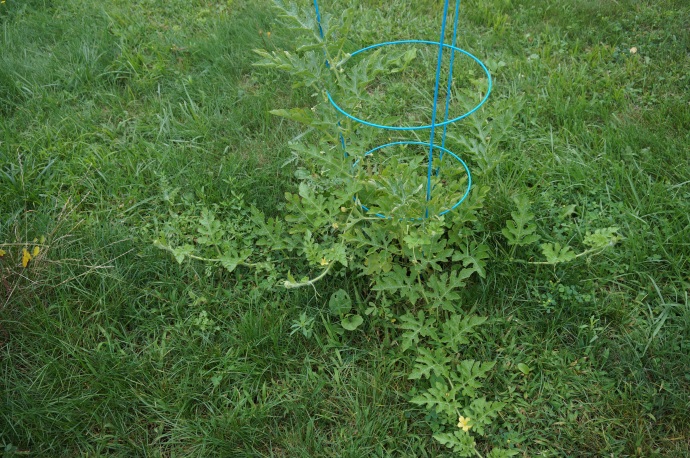
I planted two watermelon plants.  One was brutally murdered by the lawn mower, but the other is thriving nicely!

DSC02201

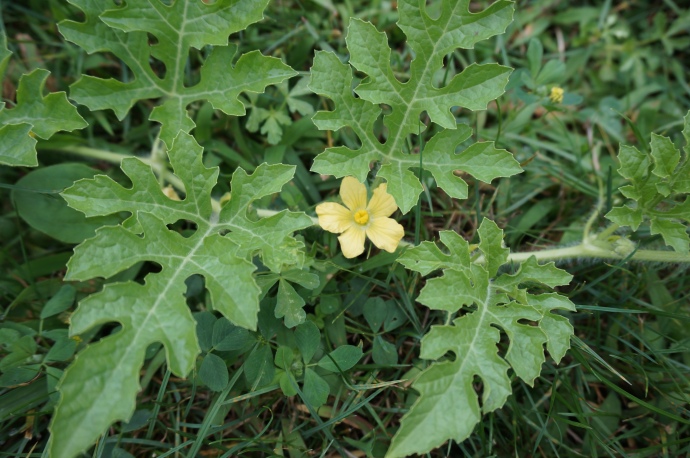
I even have two watermelons already…although they are both quite small still.  This picture was taken mid-August.  I’ll have to get an updated picture soon.

DSC02193

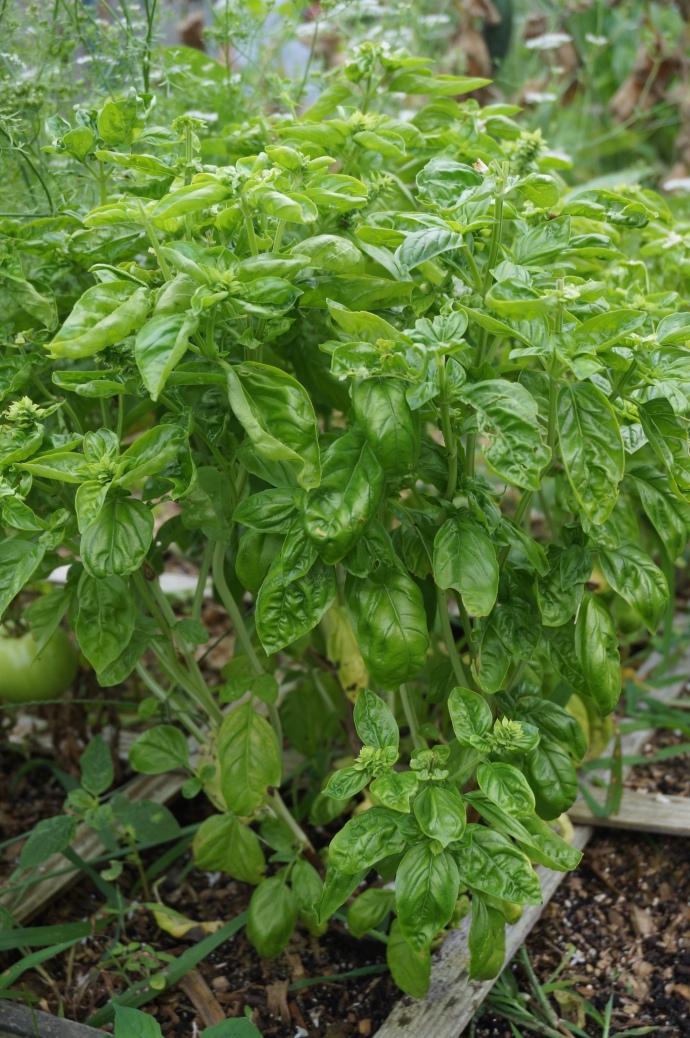
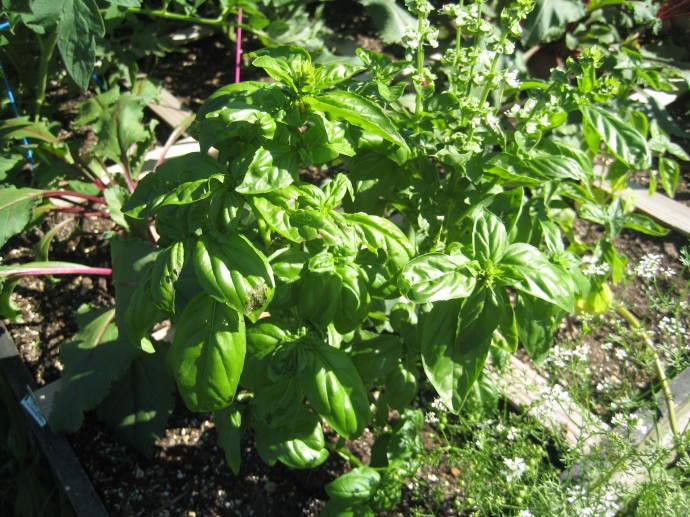
The basil was probably the healthiest crop in the garden.  This is amusing to me because I’ve tried to grow basil so often before and never had much success.  But I’ve made tons of pesto from this one plant, bruschetta, and sometimes I just like to go pinch off the flowers just so my hands will smell delicious all day!

DSC02192

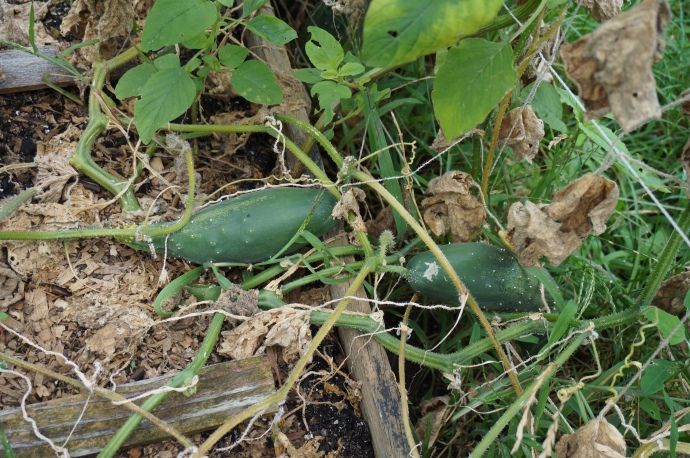
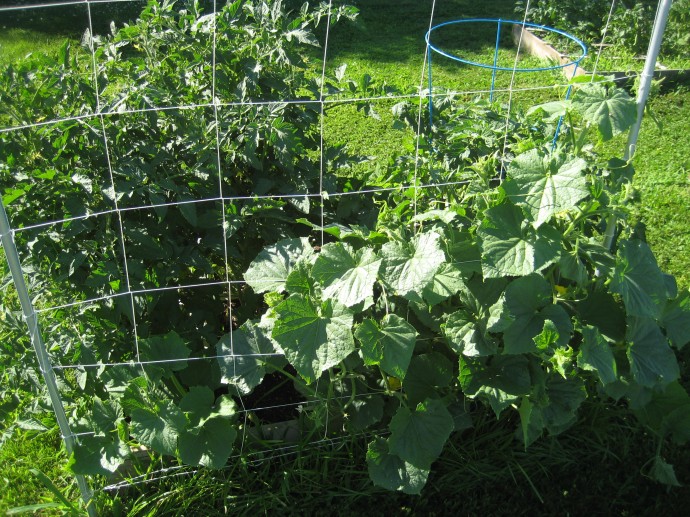
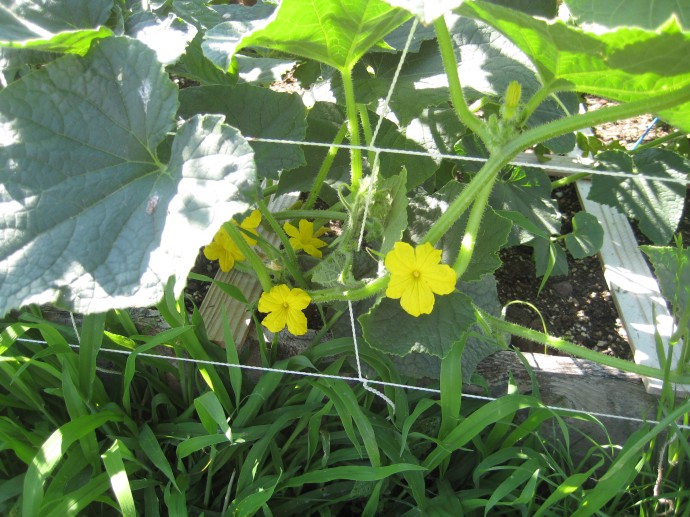
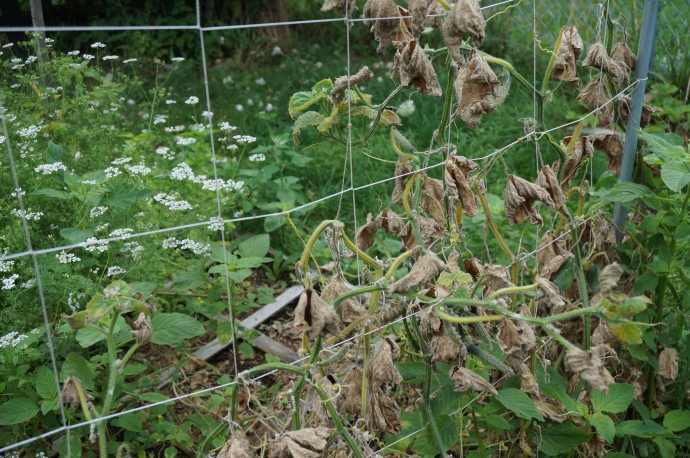
My cucumber vines were doing amazingly, and then all of a sudden dried up and died completely.

DSC02195

I kind of suspect I may have overcrowded them.  Next year just ONE seed per square.  No one needs 4 million cucumbers anyway.

DSC02196

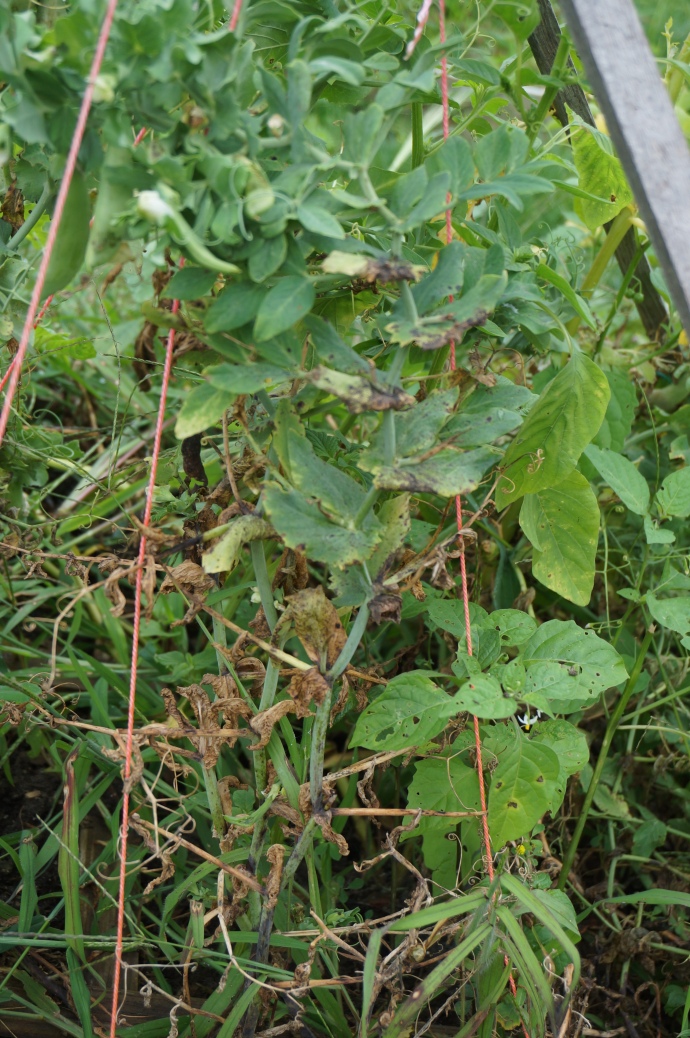
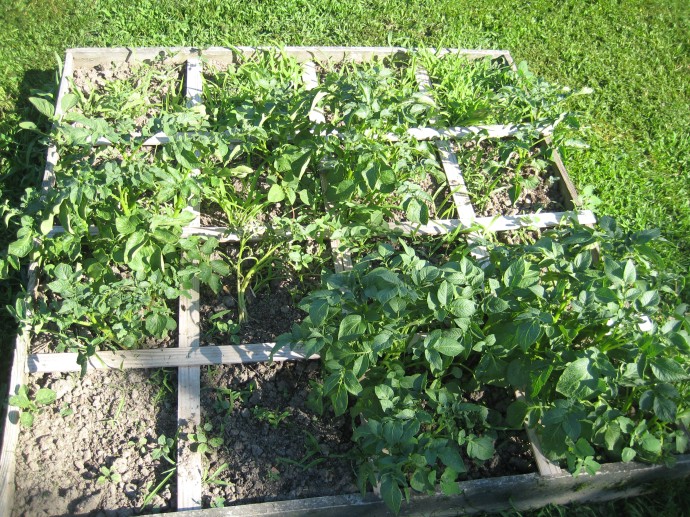
The snap peas were AWESOME this year! (It’s hard to tell from this picture because the peas are sharing a bed with three kinds of potatoes and of course, weeds)  This was my biggest triumph because I LOVE snap peas madly, and have never been able to get a respectable harvest from them!  I finally figured them out though, and had as many as I wanted this year!

DSC02202

The pea harvest is over, unfortunately, but I have no complaints there!  I did inter-plant potatoes in there, which I will not do next year.  I think it is fine, it just made for a lot of extra vegetation as well as made it a little harder to weed.  I have already harvested the white and red potatoes, but the sweet potatoes aren’t quite ready yet.

DSC02190

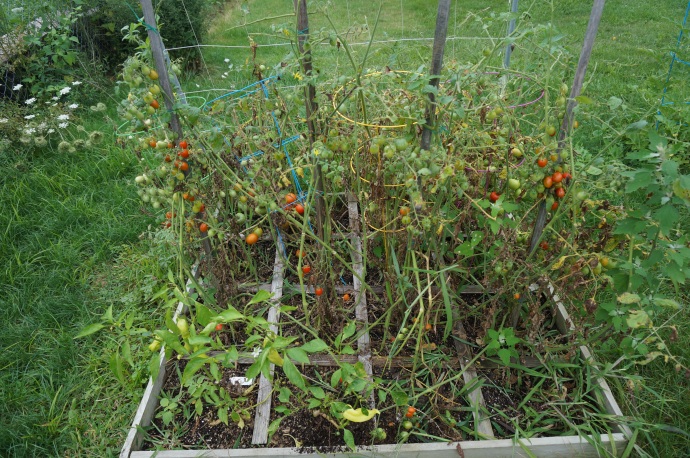
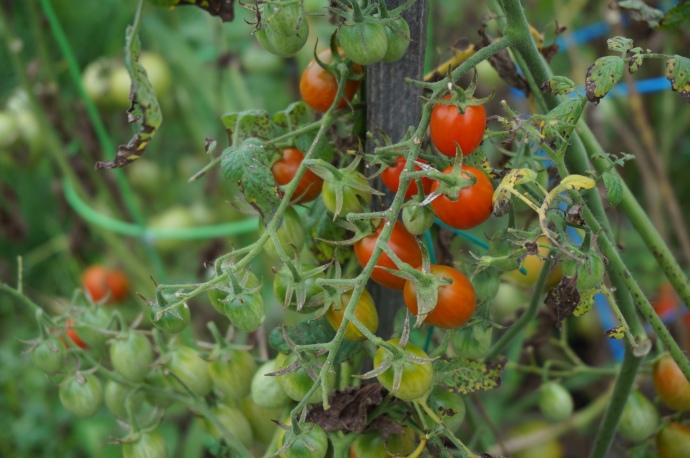
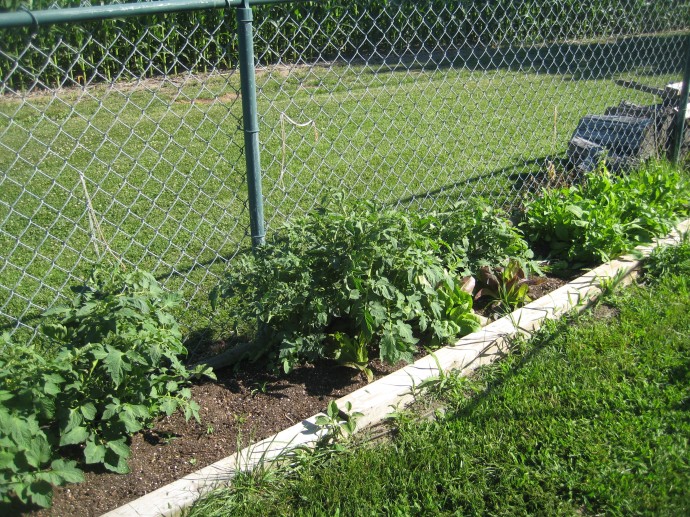
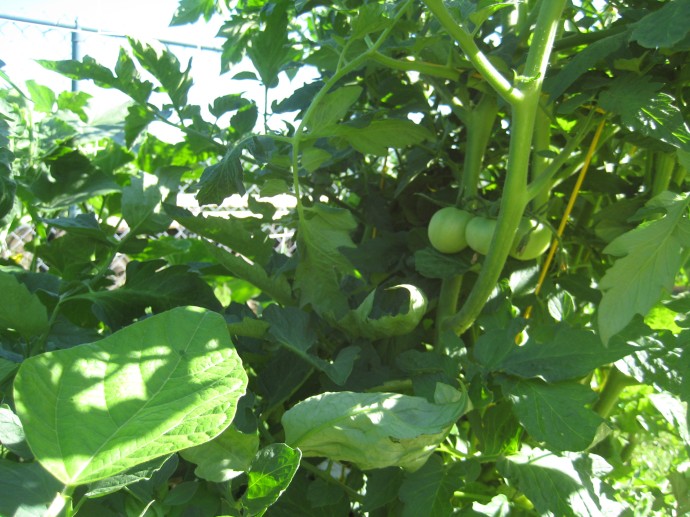
The saddest part of this year’s garden to me is my tomato plot.  I have no idea what happened, but just like with the cucumbers, the plants completely dried up.  The green tomatoes still ripened, and at least on the cherry tomato plants I had plenty of tomatoes, but on all my canning plants there’s hardly anything.  Fortunately, my parents planted tomatoes this year and had tons of rogue plants come up and do well, so they’ve given me enough to stock my tomato sauce supply.

DSC02199

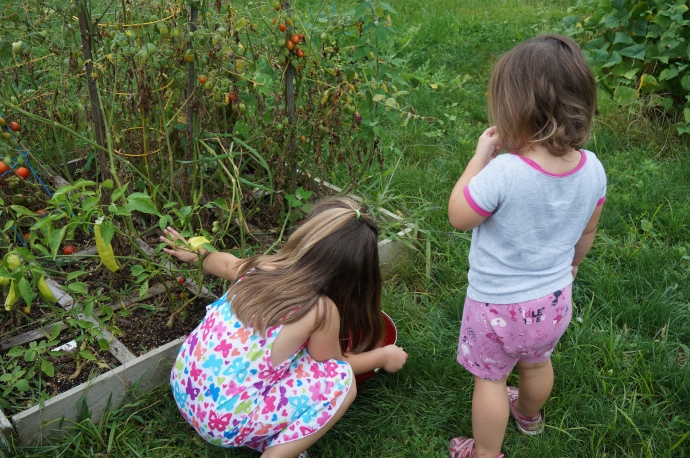
One thing that did bring a smile to my face though was watching my Dagny-girl eat her cherry tomatoes straight off the vine.  The only reason I even planted them was for her!

DSC02191

The cherry tomatoes did pretty well, and I’ve made plenty of “sun-dried” tomatoes (using the dehydrator) that will last me at least a year.

DSC02189

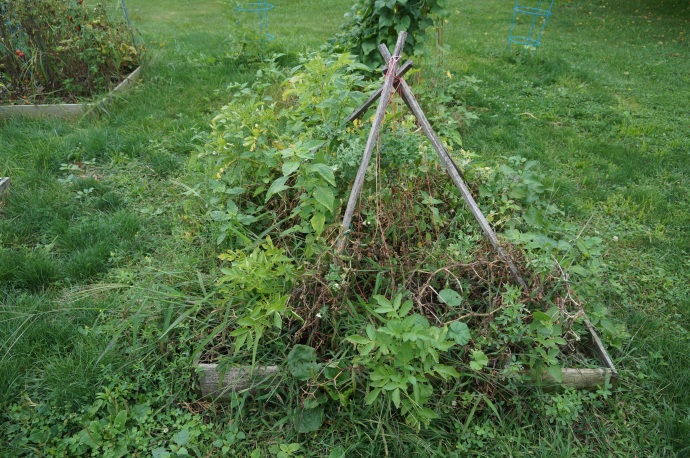
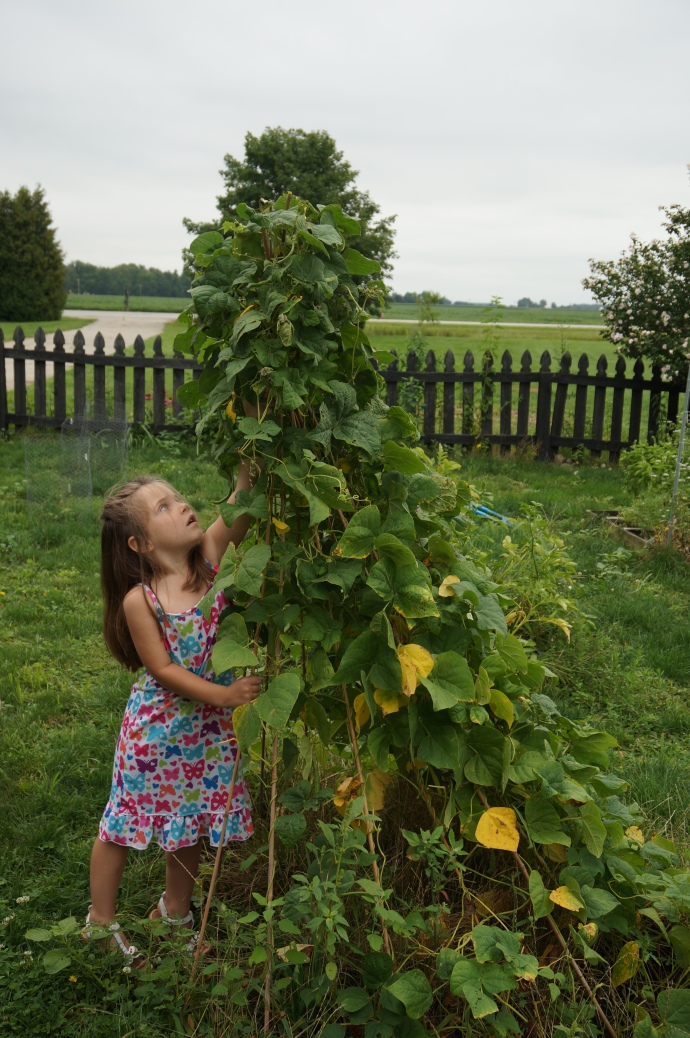
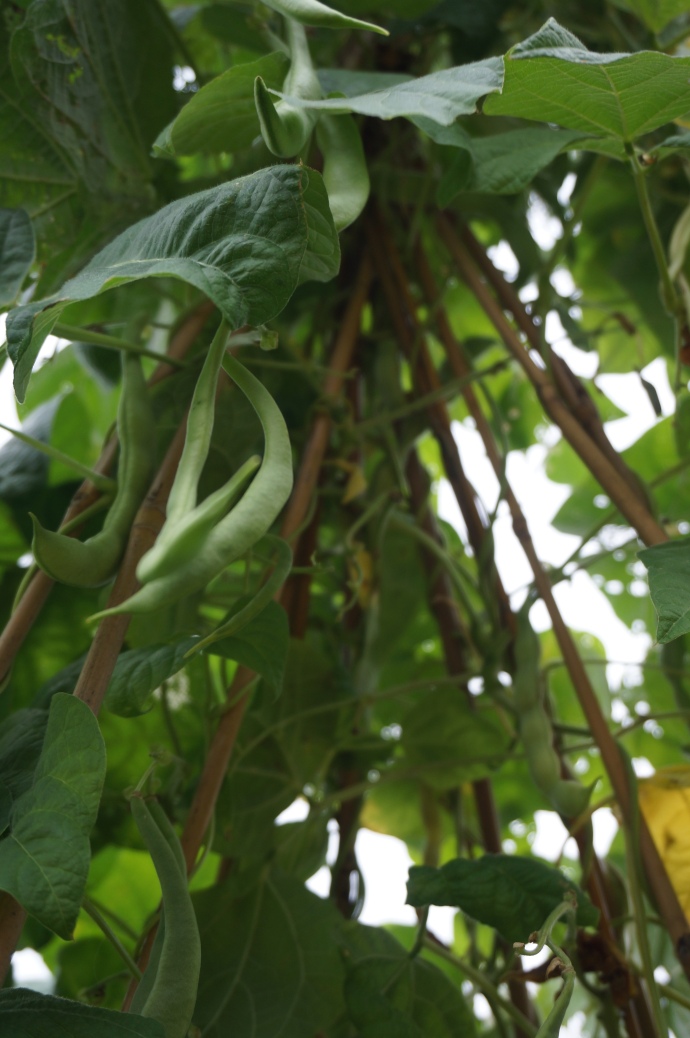
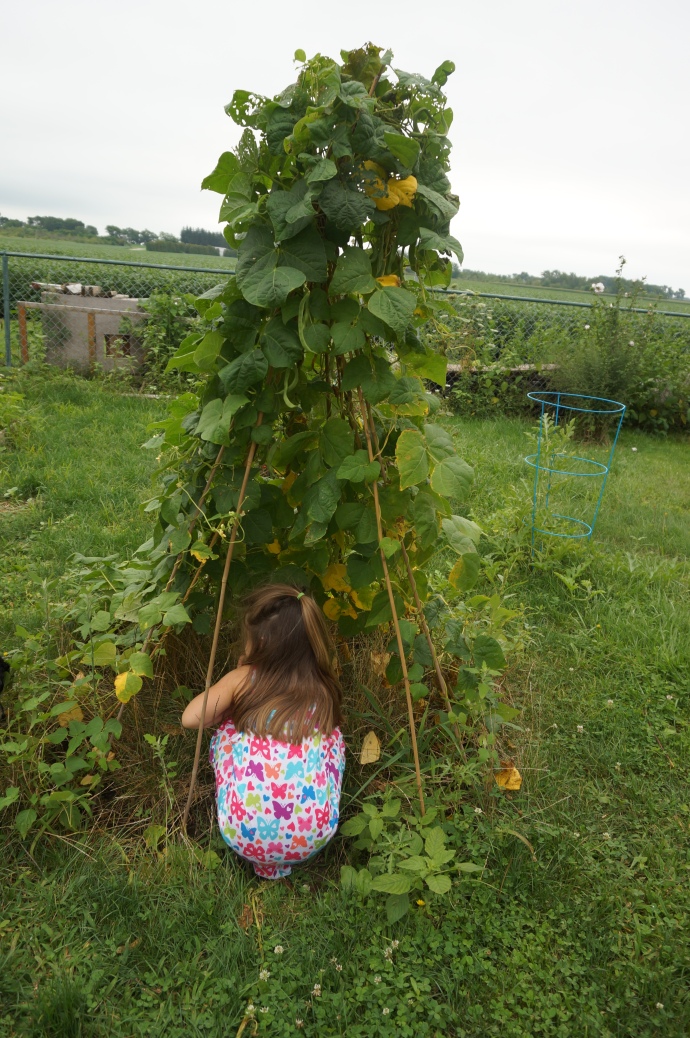
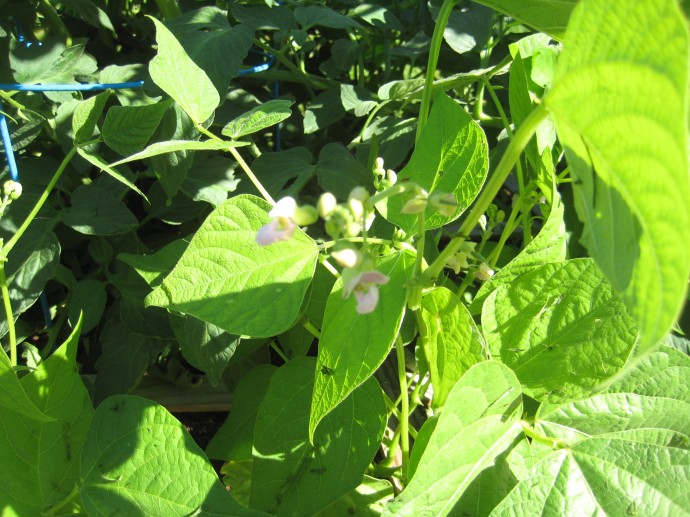
The green bean teepee turned out so cool!  I’m so glad we did this, and the kids have loved picking beans off it.

DSC02188

I’m going to plant something else on the teepee next year though because I didn’t really care for the stringy texture of the pole beans.   I’m going to stick with bush beans from now on.

DSC02198

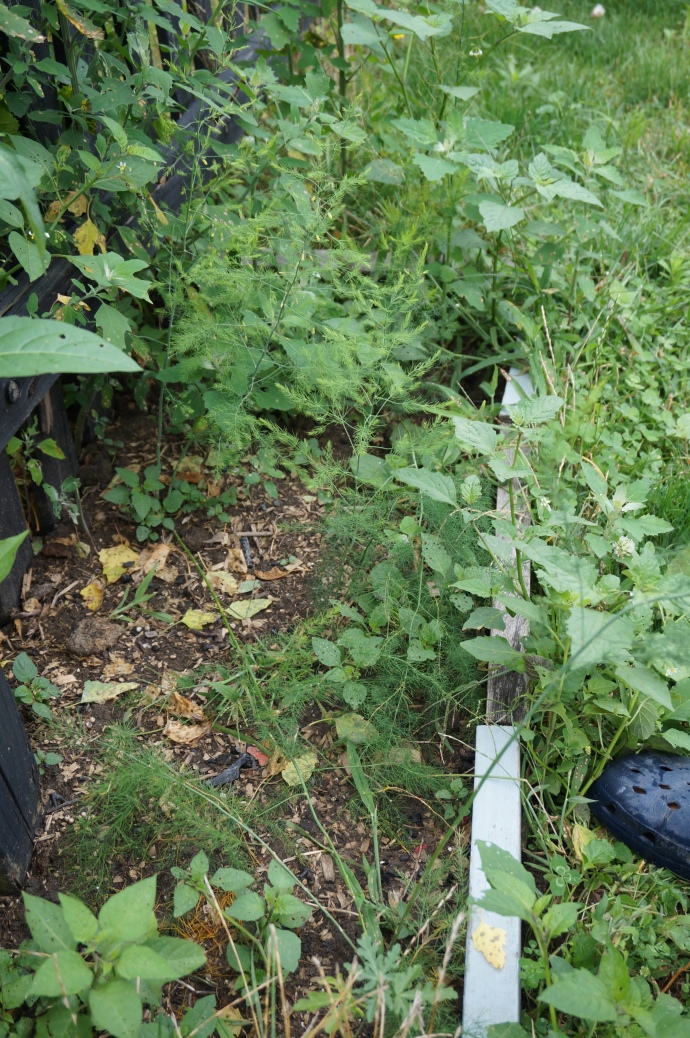
The asparagus patch did pretty well, albeit the constant fight against weeds.  Asparagus is supposed to take three years to mature, and enough shoots came up this year that I feel confident that in two more years I’ll be frying asparagus straight from my garden!

DSC02194

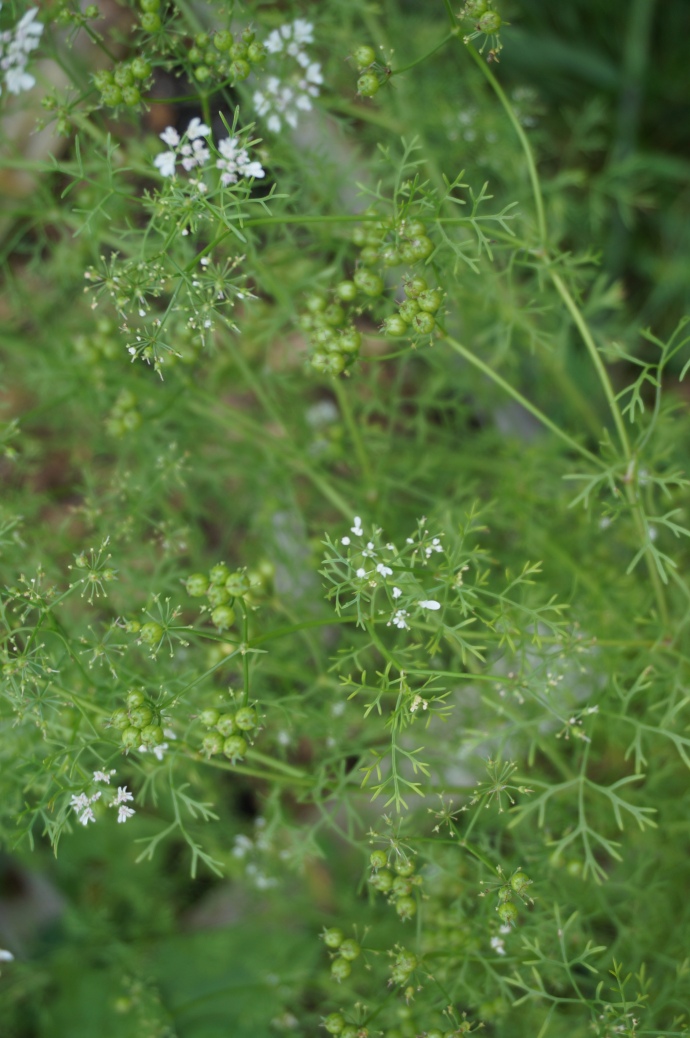
One of the more unique-to-me crops this year was the cilantro.  I’d never  successfully grown it before, nor did I ever know that coriander seed was another harvest from cilantro.  Ironically, I didn’t use ANY of the cilantro.  I forgot.  I did, however, harvest fresh and dried coriander, which I’ll detail in a different post.  It was fun!

We only got a few strawberries.  Honestly, this has been mostly a weed patch all summer.  It seems like every time I go out there the weeds have doubled.  Three times now I’ve completely cleared the weeds and still they persist in returning.  The June-bearing berry plants kept getting uprooted by pesky chickens and I don’t think there’s even one plant left, but fortunately the ever-bearing plants seem to have survived and even sent out shoots!  I’m looking forward to that crop next year!

The pumpkin plant started off healthy, and then decided to drink coffee or something because it never hit puberty.  It looks like we’ll be buying a pumpkin from Pumpkin Pete again this year!  That’s ok, even though I really wanted to over-decorate with pumpkins this year, we had a lot of fun playing at Pete and Gwen’s last year!

All in all, it was rather unsatisfying.  I was kind of hoping that I would be a professional gardener by my fourth year of gardening, but still I persist in making mistakes.  My biggest mistake was fairly obvious, and that was using compost that I had thrown weeds into last year.  (Duh).  This year the weeds went into their own pile, and what little kitchen scraps and chicken manure I have went into a weed-free pile.  I’m not really an advocate for composting.  I’ve tried it several times and generally lose interest halfway through the season.  Anyway, next year, I’m going to return to Mel Bartholomew’s Square Foot Gardening concept and make fresh Mel’s Mix to put in ALL my beds.  That made it so much more fun last year to hardly have any weeding to do AND get a nice healthy crop.  If the budget allows, I’d also like to do a little landscaping to “pretty up” the space.

Lastly, I’m also going to plant garlic in each of my beds next month.  (I’m going to try to remember, anyway!  Someone remind me!!)  I think that will help fight any diseases/fungus that may think has a home in my garden.

DSC02184

Categories: Gardening, Journal | Tags: , , , , , , , , , , , , , , , , , , , ,

A Very Lengthy Tour of My Garden

DSC01182(First of all, don’t those clouds look like something from The Simpsons? HA!)

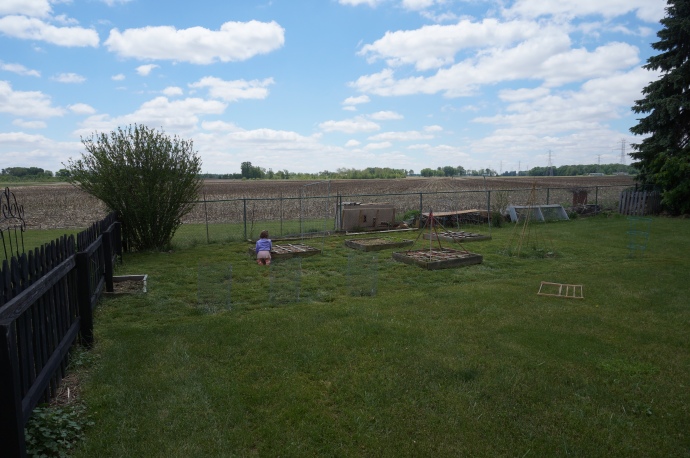
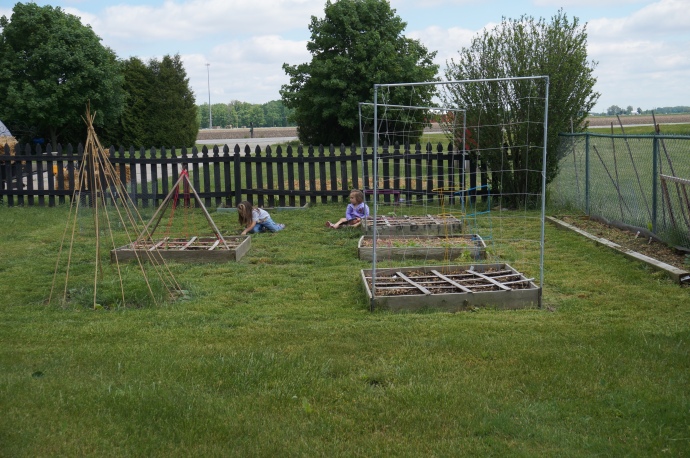
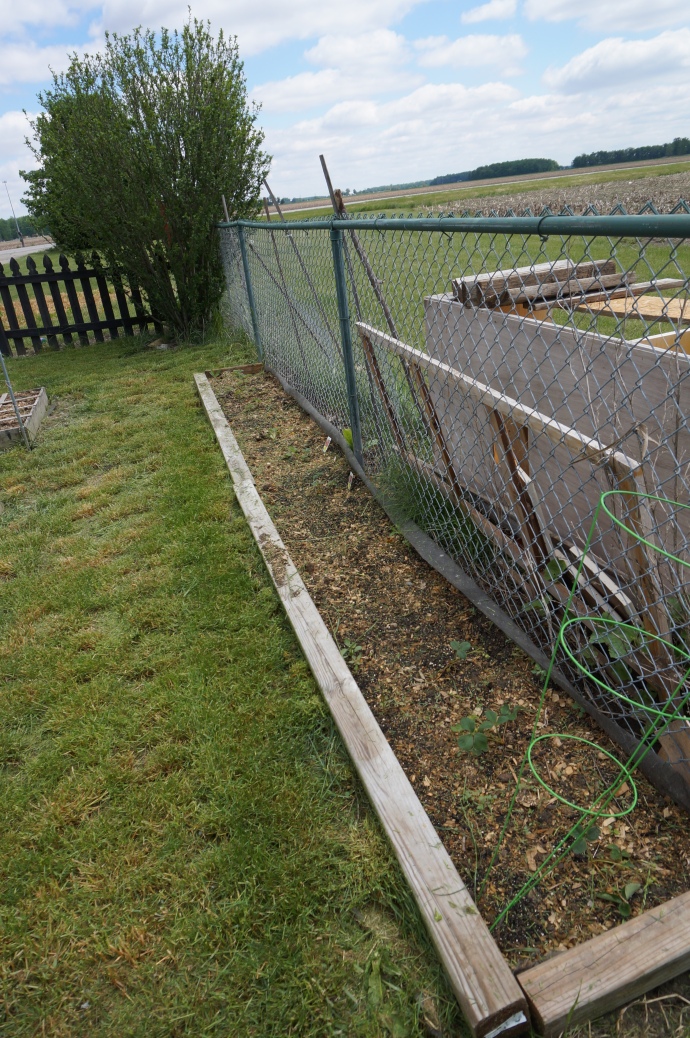
My garden is mostly planted and I am just so pleased with it!  Last year, I tried Square Foot Gardening for the first time and loved it.  I learned a few valuable lessons regarding over-crowding last year, and I think I made the right adjustments this year.  This is the straight-on view of my entire garden.  On the very left up against the fence is a new addition, an asparagus patch!

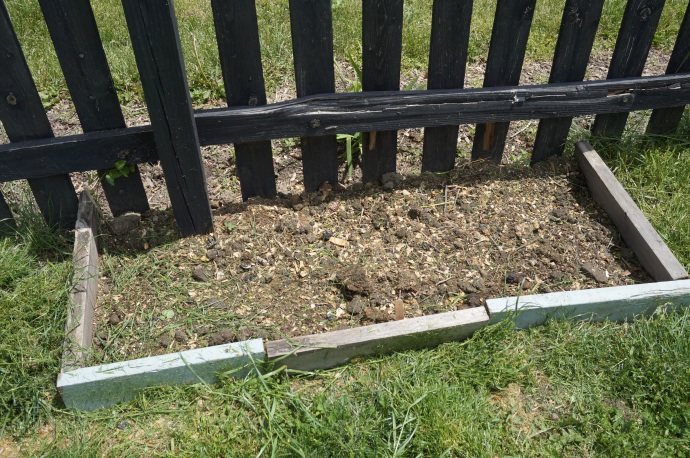
DSC01185Nothing to see yet, really.  Asparagus takes three years before you can harvest it, and then it grows prolifically as a perennial, apparently.  I’ve  never had asparagus straight out of a garden before, so that will be a real treat!

DSC01183Right next to the asparagus patch is something else that is new to my garden and my experience:  Raspberry bushes!  I planted two red bushes and one golden, just for funsies.  I doubt I’ll get a harvest this year, but hopefully next year?  I’ve never grown raspberries before, so I’m really not sure when I can expect to harvest.  I know my girls are going to be all over them, though!  They are berry-crazy!  (Ha ha)

DSC01184It’s alive!  The other two bushes just look like expensive sticks that some crazy person planted, but this one actually has a few leaves!  (Doesn’t take much to excite me…)

DSC01181Behind the raspberry bushes is a raised bed.  Last year I grew pickles, basil, beets, cilantro and two kinds of heirloom tomatoes in this bed.  They all did fairly well here, so I didn’t change much.  I planted basil, cilantro and cucumbers this year.  I have room for more, but haven’t decided what to put there yet.  I will probably put cherry tomatoes in there once my seedlings are ready for transplant.  I decided not to grow beets this year, even though they were lots of fun, because I pickled and canned them up, and no one ever ate them.  I also decided not to grow pickles, because it was too frustrating to me that there was never a batch ready at the same time for pickling.  This year I’m just going to order pickles, and that way I’ll get all my pickling done at once.

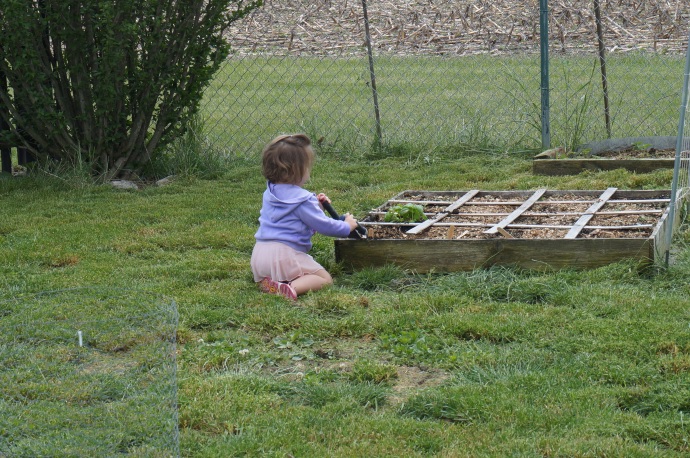
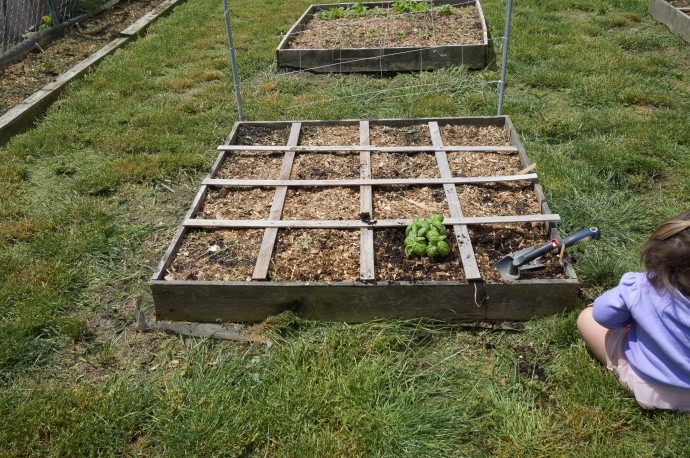
I took these pictures the same day that I took the chicken pictures, as is evident by Dagny’s outfit.  See my big helper?  (There used to be basil seeds in that square…I’m guessing that they aren’t there anymore…)

DSC01186

I did start my basil this year from direct-sow seed.  I’ve never done that (successfully) with basil, so it wasn’t too surprising to me that most of them didn’t come up.  I ended up buying a healthy-looking plant just to guarantee I would get some basil this year.

DSC01187It looks like at least one seed worked, though!  This is definitely not a weed!  Exciting!

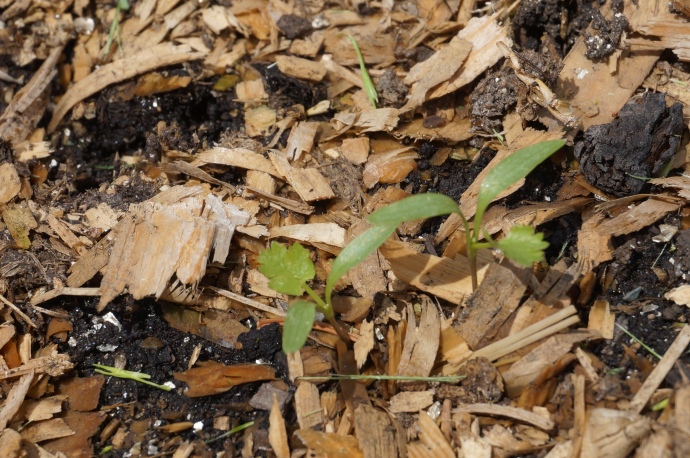
DSC01188I also started cilantro from seed, and there are three seedlings that sprouted!  Aren’t they so cute?  I will probably still buy a larger plant though, because it’s getting to be salsa season and I need cilantro, dang it!  On a related note, you probably already knew this, but I’m still a beginner in the gardening world and this was new information to me.  Did you know that coriander is actually the seeds from cilantro?  I’ll definitely be learning more about harvesting coriander once my cilantro goes to seed later this year and posting about it.  Interesting, isn’t it?

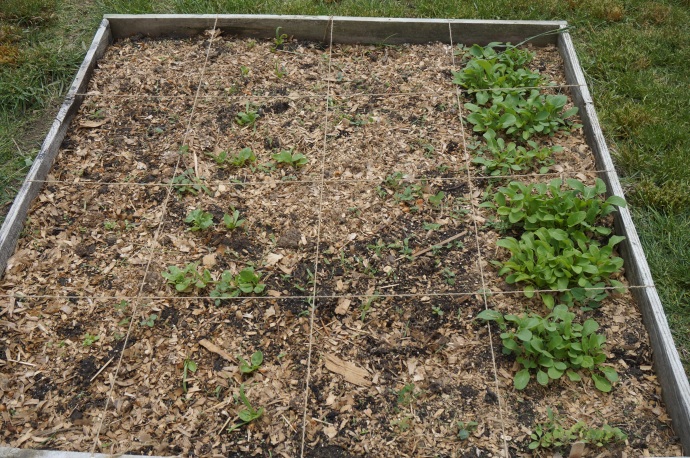
DSC01199The next raised bed, which was all corn last year, now is my lettuce bed.  I decided not to grow corn because I tried it three years in a row, and although I did finally get good corn last year, I just decided it’s cheap enough in season that I don’t need to waste space worrying over it.  So this year I planted Romaine, spinach and arugula, just like last year.  I still want to plant kale, as well, but haven’t gotten around to it yet.  I might have missed the window… not sure.

DSC01200It is my opinion that arugula is the EASIEST vegetable to grow.  It is as talented as a weed and nearly as invasive!  Last year I used my arugula in my Italian Wedding Soup and also made arugula pecan pesto.  It was delicious, and I kicked myself all pesto-less winter for not making more! In fact, I went through a lazy streak in the crucial week before the arugula went to seed and didn’t preserve it at all!  (For shame!  Boo!  Hiss!)  I was definitely regretting that over the winter, because arugula isn’t something that shows up in my grocery stores.

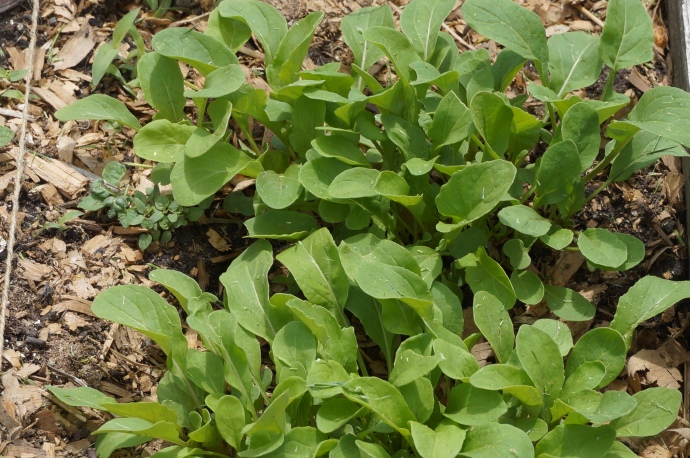
DSC01201Spinach is so cute as a baby.  Aww, wook at da widdle spinach weaves! So sweet!  (I may need help.)

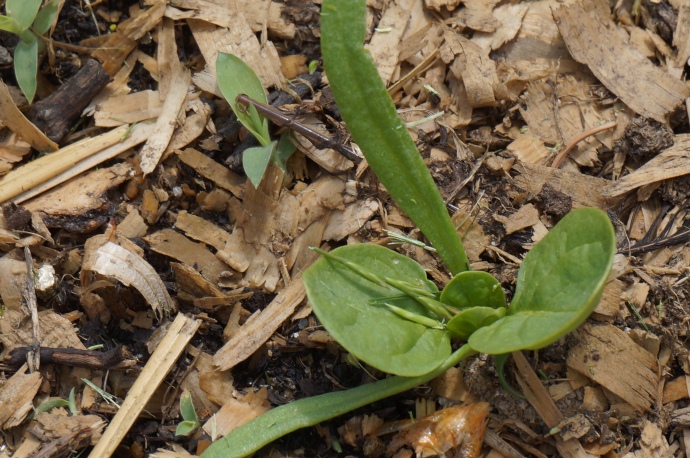
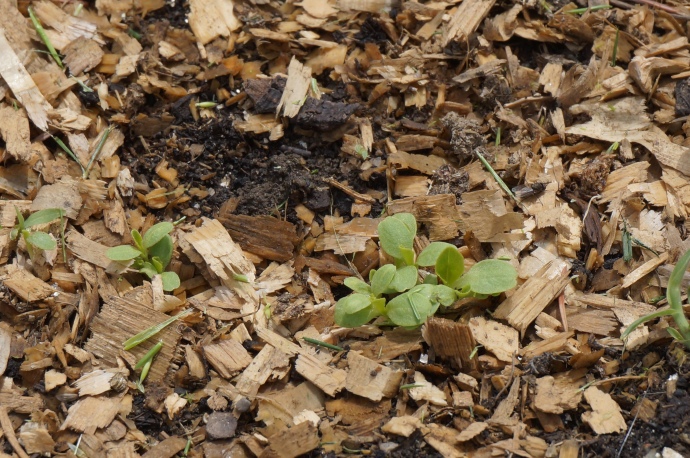
DSC01202Romaine is cute too!  The wood chips are about the size of my thumbnail, just for scale comparison.  Aren’t those leaves tiny?  Someday they are going to be crunchy chunks of deliciousness drenched in Caesar dressing.  Sniff.  They grow up so fast!

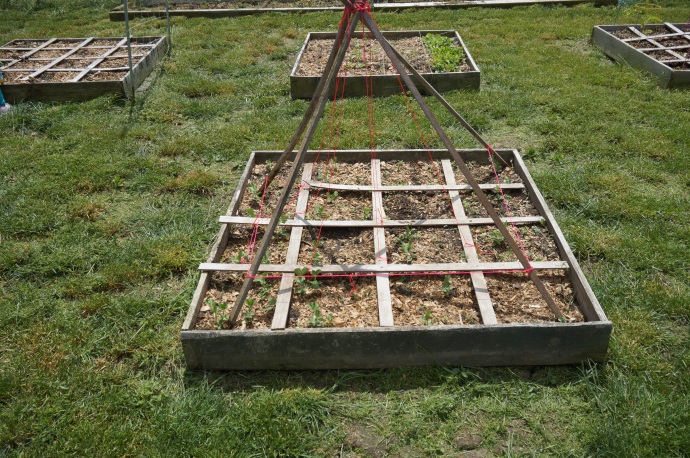
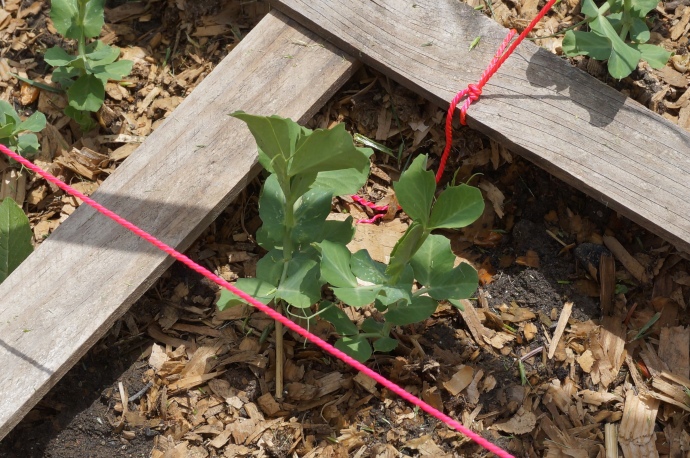
DSC01190In front of the lettuce box are the snap peas.  I’m not exactly proud of this contraption.  There are probably 10 different ways to encourage these climbers that are snazzier and more efficient.  But I’m saving my landscaping budget for more important things and this was made with things I already had.  Plus it’s WAY better than my original design, which involved a collapsible drying rack and was far more embarrassing.

DSC01192I think this will work.  This is the most promising batch of snap peas I’ve grown yet.  The first year I planted them too late and only got ONE pea.  The second year my garden was consumed by weeds and I was too scared to enter it.  Last year I foolishly planted the peas behind the tomatoes, which were foolishly planted behind the cucumber, which were foolishly planted to receive ALL the sun.  The tomatoes and cucumbers were amazing, the most amazing crop I’d ever grown.  But the peas?  Oh the peas.  Nary a one was able to even see the sun, and they were quickly completely consumed by the larger plants.  This year looks to finally provide me with all the peas I can consume!  Once the plants are happily climbing, I’m also going to interplant this box with red, Yukon, and sweet potatoes.  (This was the potato box last year.)

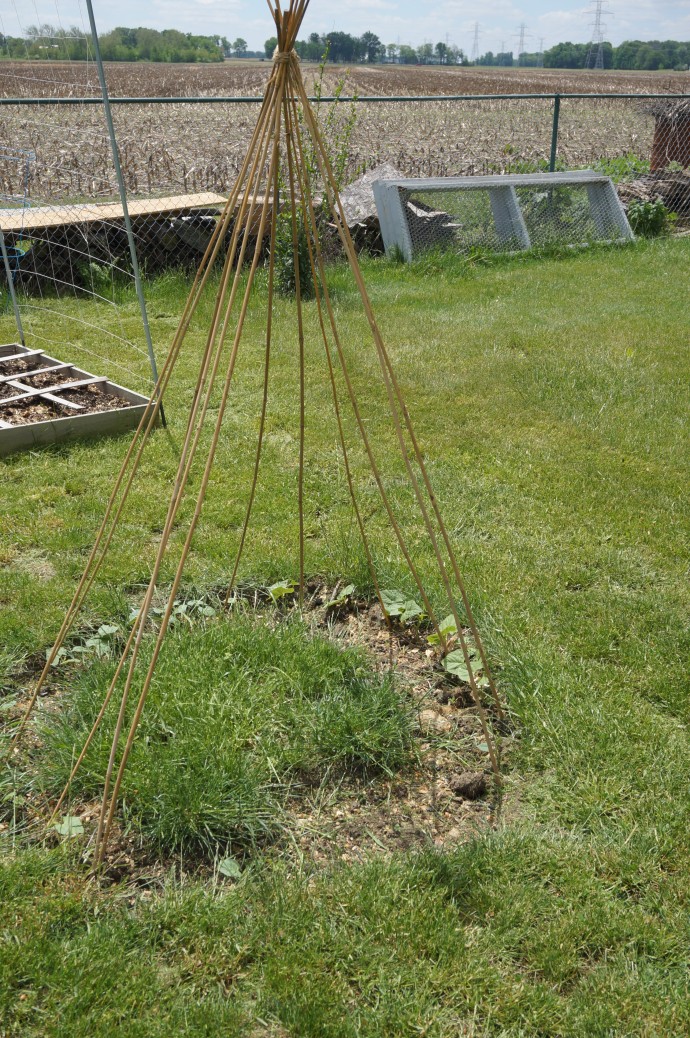
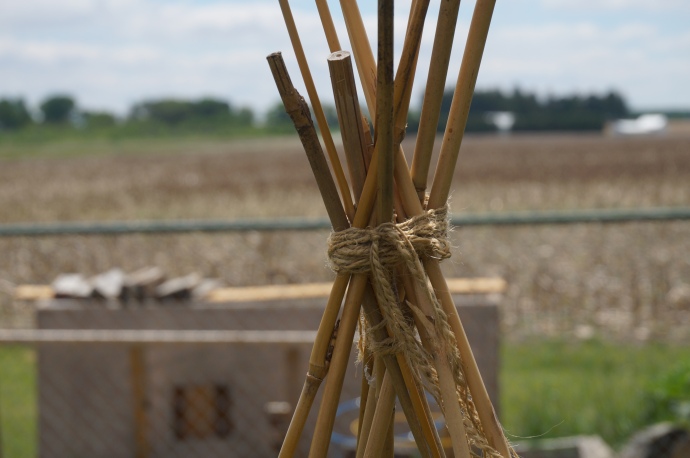
DSC01193I am, however, REALLY proud of this!  I saw this on Pinterest and had to do it.  These are just bamboo poles tied together so that pole green beans can grow up it.

DSC01194(Isn’t this a cool picture?)

As a little girl, I was always infatuated with fairies and tiny forts.  I would have loved something like this as a little girl – a “secret” hide-out in the garden where the fairies were sure to be spotted.

DSC01195My oldest girl was named Cosette, after a character in one of my favorite musicals.  (Name that show!) We nicknamed her “Cozy”, which completely epitomizes her personality.  She is a lot like me in the way that she loves to create forts and is more than happy to hunt for fairies in tiny spaces.  My plan is to try to train the beans up the poles in a weaving fashion, so that the fort will be completely covered.  If any grow higher than the 6-ft poles I will try to encourage them to hang over the “door”, to complete the entrance to the hide-out.  I’ve never grown pole beans before, so I’m not totally sure what to expect.

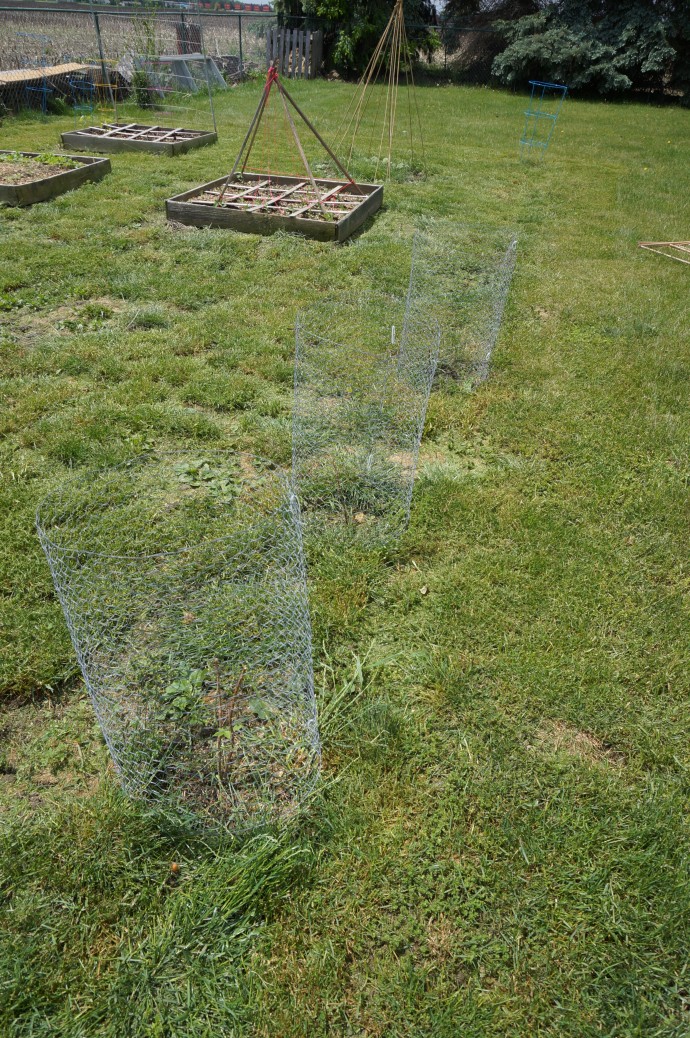
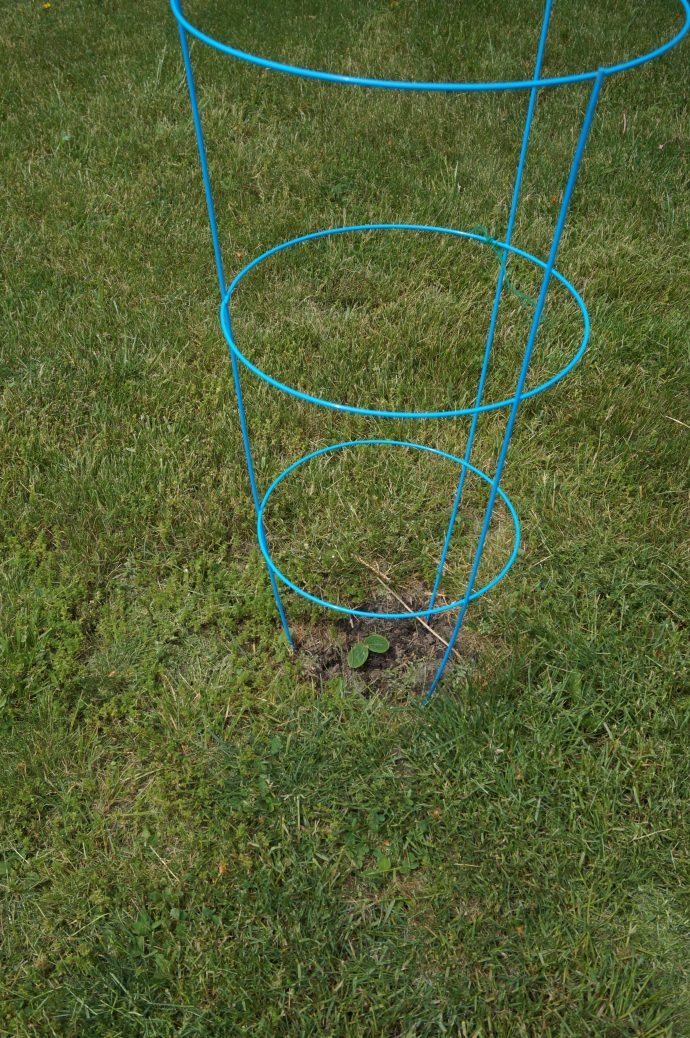
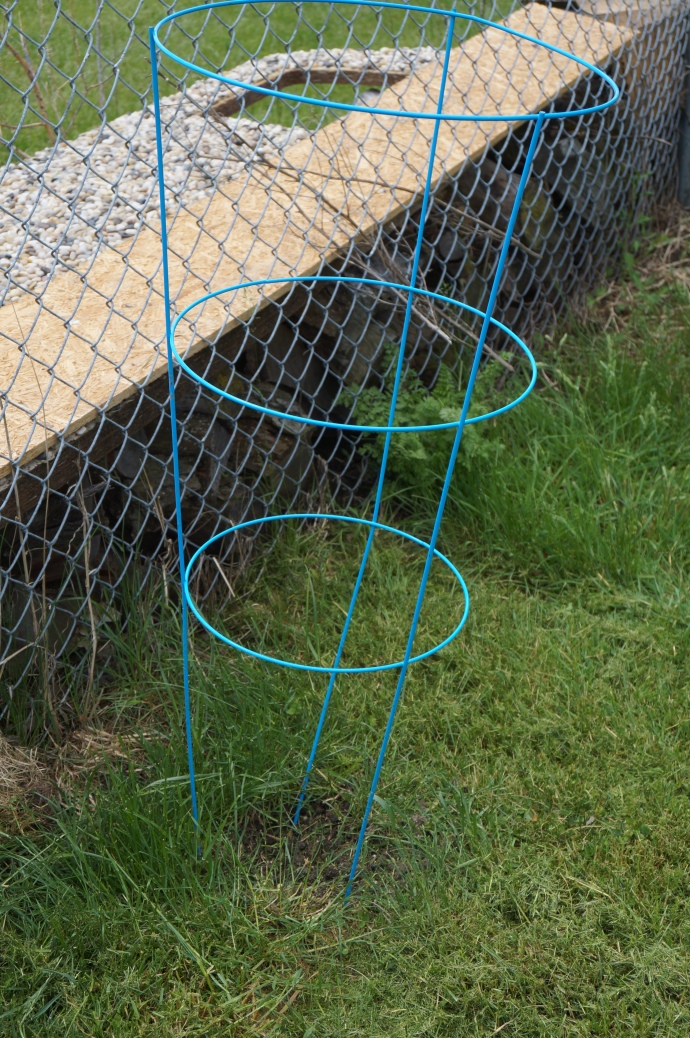
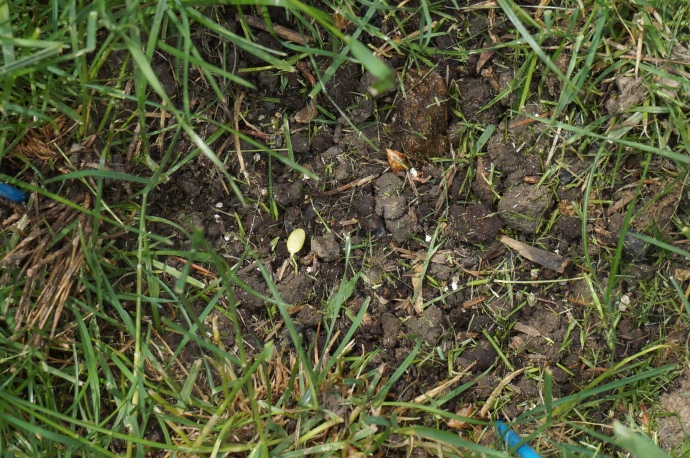
DSC01196This is the first year for pumpkins for us, too.  I tried to grow them my second year of gardening, but the weeds and the heat wave won that battle.  My plan is to just let the vines go across the right side of the yard.  Can you see the seedling in there?  It only took like 3 days to sprout like that!  It totally shocked me.  (I shock easily too, apparently) I’m not planning on leaving the tomato cage over it, I’m just a little distrusting of my chickens, so I’m leaving the cage there until the vines can fend for themselves.

DSC01206Likewise, on the back fence, is the watermelon.  I haven’t grown that successfully yet, either.

DSC01205I planted this the same day as the pumpkin, and look how wussy the seedling looks compared to the pumpkin!  It took longer to sprout, too.  I’m going to let these vines take over the back of the yard, too.  I tried to grow watermelon up that chain-link fence last year.  It did work, and I did get one melon – that I prematurely harvested because it was about to frost, anyway – but I have a big enough yard that it doesn’t really matter.  The back end of the yard is only used for compost and my husband will be grateful to not have to mow it anyway.

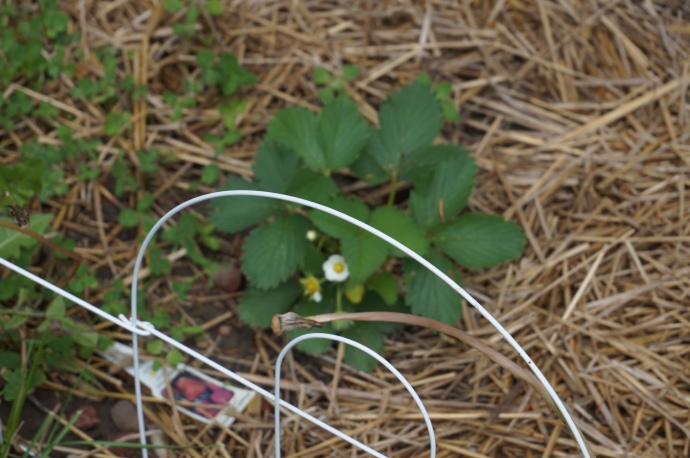
DSC01203The long back bed that was Romas and arugula last year now is the strawberry bed.  I planted both Ever-bearing and June-bearing berries.  The chickens have destroyed two of the June-bearing plants.  I’m not really sure what the method to their madness is… why only two?  Why both June-bearing?  It’s a puzzle.  I put a tomato cage in one end, hoping it would creep them out enough to stay out.

DSC01210This isn’t in my garden.  It’s actually on the back of my house.  This is from last year’s pitiful strawberry efforts.  (News flash, strawberries like FULL sun, duh!)  I was happy to see two plants return.  It kind of vindicated my salty feelings from last year.
DSC01207

This is the view from the right side of the garden.  Stage left, for you theater majors out there.  The box closest to the camera is mostly empty still.  I have two banana pepper plants given to me by my generous in-laws.   They also gave me a jalapeno plant, but the chickens had their way with it.  More tomato cages to the rescue!  The rest of the box is going to be filled with beefsteak, Roma and cherry tomatoes.  I bought all the seeds for these, but only started the seeds a few weeks ago.  The seedlings are only about 4 inches tall, and I’m not sure that is far enough along.  I might just buy plants to get in the ground now, and plant the seedlings I started later when they are stronger.  That way if they don’t produce until late fall it won’t be a big deal and I will have already been able to can up some tomato products.
You can see that I have two big helpers, staying busy digging in the dirt for Mama!

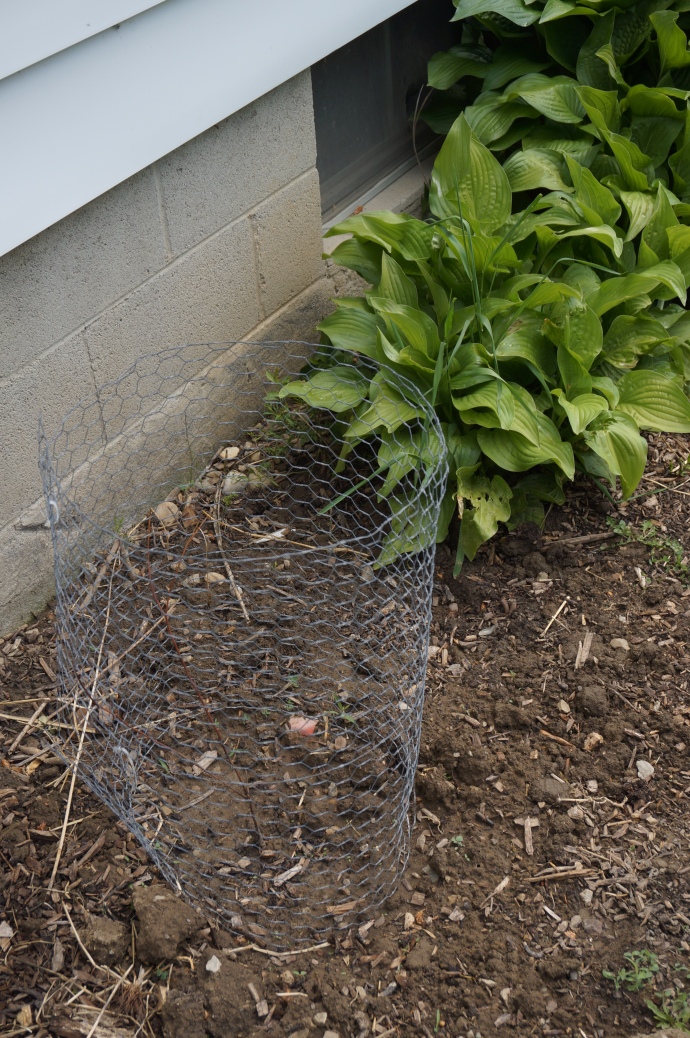
Behind the chain-link fence to the right, on the other side of the strawberry patch I planted sunflowers.  I had started the seeds in decomposing pots and then planted the pots after the seedlings were about an inch tall.  I then took some practical precautions and protected their row with chicken wire.  A day later, the seedlings were all gone.  In some of the pots there was even a broken sunflower shell, just sitting on top of the dirt, mocking me.  Crafty birds.

So I replanted the seeds, but I don’t have much hope for their survival.

DSC01209The last thing I planted this year was a blueberry bush.  I planted it by itself in a very empty space where a tiny propane tank used to live behind our house.  It also just looks like a stick in the ground, but hopefully next year or in a few years we’ll have fresh blueberries!

I still have a few things to get in the ground, including a blackberry bush.  I’m not sure where I’m going to put that yet, though.

If you have any tips for some of the things that are new to me (berry bushes, asparagus, pole beans, sunflowers) I would greatly appreciate it!

Categories: Gardening, Journal, Vegetables | Tags: , , , , , , , , , , , , , , , , , , , ,

Basic Tomato Sauce and Condensed Tomato Soup

I’ve been making my own tomato sauce for several years now and have gotten into a certain…rhythm.  It’s not a difficult process, per se, but it is time consuming and extremely messy.  So messy, in fact, that the first time I made tomato sauce as an adult (without the tutelage of my wise mother) I swore I would never put myself through such an ordeal again.   My kitchen was a disaster and my sauce turned out thin and uninspiring.  In fact, I didn’t even use some of the quarts I had canned because looking at them brought back such unpleasant memories!   (Who says cooking isn’t an emotional experience?)

Those days are gone.  I’ve trial-and-error’d tomato sauce to a Chelsea Perfection: a rhythm I am pleased with, and a product I am thrilled with.  There is no need to blanch and peel the tomatoes, and all you need is a food processor and a strainer!

Step 1 – Choosing Tomatoes:  Choose the right kind of tomatoes!  If you can, use at least 50% of your batch with Romas.  They are small but meaty, and will give you the consistency of sauce you desire.  I like to blend 3-4 kinds of tomatoes to get the best flavors.  This year I planted and harvested Romas, 2 kinds of Heirlooms, and Better Boys.  Or Big Boys.  Or Early Girls.  I can’t remember.  I’m not sure it matters.  They’re red and if you let them get very ripe on the vine they have an amazing flavor…or so claims my husband.  I hate raw tomatoes, but adore all tomato products.  I know, I’m weird.

Step 2  – Preparing Tomatoes: Wash the tomatoes, slice in half, and cut out any blemishes, spots, cracks and the cores.  I then quarter them, and throw them all into a stainless steel pot.  According to the Ball Book of Home Preserving, “the acid in tomatoes can react with aluminum, copper, brass, galvanized or iron equipment, creating bitter flavors and undesirable colors”.  Turn the heat on medium, and cook them down into a mush.  Sometimes I even take a potato masher and make sure the chunks are practically liquified.  This isn’t totally necessary, but it does help to speed the process up a little.

Step 3 – Process and Strain: Here comes the messy parts!  I set up a work station like this:

Tomatoes in pot on stove (yes, I realize this is not a stainless steel pot. I’m a rebel.), next is food processor, next is the pot sauce will get strained into, then a waste bowl for the seeds and skins.

Once the tomatoes are completely cooked down, and resemble sauce more than whole tomatoes, break out your food processor.  Ladle a few cups of mush into the food processor and blend for several seconds.  Then transfer the liquid to your strainer.  Jiggle the strainer a bit to get all the juice through, then – with moderate force – bang the strainer down on the edge of the bowl to encourage the sauce through.  This doesn’t take very long, less than a minute.  There is no need to use a spoon to force it through, just do a variety of bang-bang-jiggle-jiggle’s on the side of the bowl.

Bang-Bang-Jiggle-Jiggle!

Once all the sauce is forced through the strainer, all that is left is the skins and seeds!

Step 4 Reduce Sauce:  Once all the mush has been processed and strained, return the pure sauce to the pan.  I usually rinse or wash the pan first, to make sure there aren’t any rogue seeds left in there.  Now assess your sauce.  Is it already the consistency you desire?  If so, you are ready to can, freeze or use it.  If it’s still a little thin then you want to reduce it.  Reduce is a word that the meaning of which eluded me the first time I made sauce.  What reduce means, in the cooking world, is to bring your sauce to a boil, then turn the heat down to a simmer, and let the sauce simmer for some time until the amount of sauce has decreased.  What happens during this time is that the juice evaporates, and the overall quality of the sauce thickens.  Depending on the type of tomatoes you use, sometimes you need to reduce your sauce by half!  (Meaning, you will get 2 quarts instead of 4!)  Try not to let this discourage you, as it did me at first.  You will be much happier with a thicker sauce when the time comes to use it, and even though it seems frustrating to “lose” half your sauce, you really want a nice, thick sauce in the end.

So anyway, if you need to reduce your sauce, do it now.  This might take an hour, so be patient.  Keep the heat on simmer and stir occasionally.  I usually need to reduce my sauce by a third, using the 3-4 kinds of tomatoes that I use, and it takes about 45 minutes to an hour.

Your finished product is a pure, no-additives, nice, thick tomato sauce from scratch!  At this point, you can use it, transfer it to freezer-safe jars or bags (you should let it cool first!), or you can can it.

Step 5 – Clean your kitchen!  Messy stuff, eh?

Canning Tomato Sauce

How much sauce you will yield will depend on how many pounds of tomatoes you started with, and how much you needed to reduce your sauce.  It’s highly variable.  I usually get about 3 quarts out of a full large stockpot of quartered tomatoes.  You will really have to play it by ear and hold off on preparing your jars and lids until your sauce is done so you can eyeball it and see how many jars you will need.

See the canning process for a boiling-water canner here, (you can also pressure can tomato sauce…more on that at a later date!) adding these steps:

  • Tomato products need bottled lemon juice added.  Add 1 tablespoon to pints and 2 tablespoons to quarts.
  • Process pints for 35 minutes and quarts for 40 minutes.

Jars acclimating to room temperature

Condensed Tomato Soup

Makes 4 pints.

In my quest to rid my cupboards of Campbell’s (*sniff* I love Campbell’s!), I needed to come up with a condensed tomato soup version.  I could just make a delicious tomato soup and freeze it like a normal person, but normal people think ahead and pull stuff out of the freezer the day before they want it.  I never know I want tomato soup until about 10 minutes before I HAVE to have it, so freezer soup isn’t gonna cut it!  There’s also that tricky problem that you’re not really supposed to can anything with thickeners or dairy due to heat’s inability to penetrate those types of fat for safe consumption.  SO, I’m shooting for a product very similar to Campbell’s Condensed Tomato Soup.  Open jar, add milk, microwave.  Yum.  Here’s what I came up with, and it’s shockingly easy.

What you need:

  • 8 cups tomato sauce
  • 2 tablespoons sugar (more or less to taste)
  • 1/2 teaspoon garlic salt
  • 1 teaspoon salt
  • bottled lemon juice

Directions:

1. Bring sauce to a boil, add sugar.  Add 1 tablespoon of lemon juice to each pint.  Follow these basic steps for canning with a boiling-water canner, and process pints for 35 minutes.

2. When ready to use, open jar and dump into bowl.  Add half a pint (1 cup) of milk, and warm on stove or in microwave.  I usually add shredded cheese to my soup (I like a lot of cheese.  Like, a ridiculous handful.  And I wonder why I’m chubby.)  Serve alone or with grilled cheese sandwiches!  (No, the grilled cheese sandwiches do not always replace the insane amount of cheese I put in my soup.  I have problems.)

The Verdict:

It tastes very similar to Campbell’s!  It’s a little more tangy, which I like.  I am absolutely thrilled to be able to have the convenience of canned soup that tastes almost exactly like the real thing without all the cons – BPA, high fructose corn syrup, etc.  It’s a keeper!

Categories: Canning, Freezing, High-Acid, Soup, Tomatoes | Tags: , , , , , , , , , ,

Garden Update and an Arugula Pecan Pesto Recipe!

It’s growing in nicely!

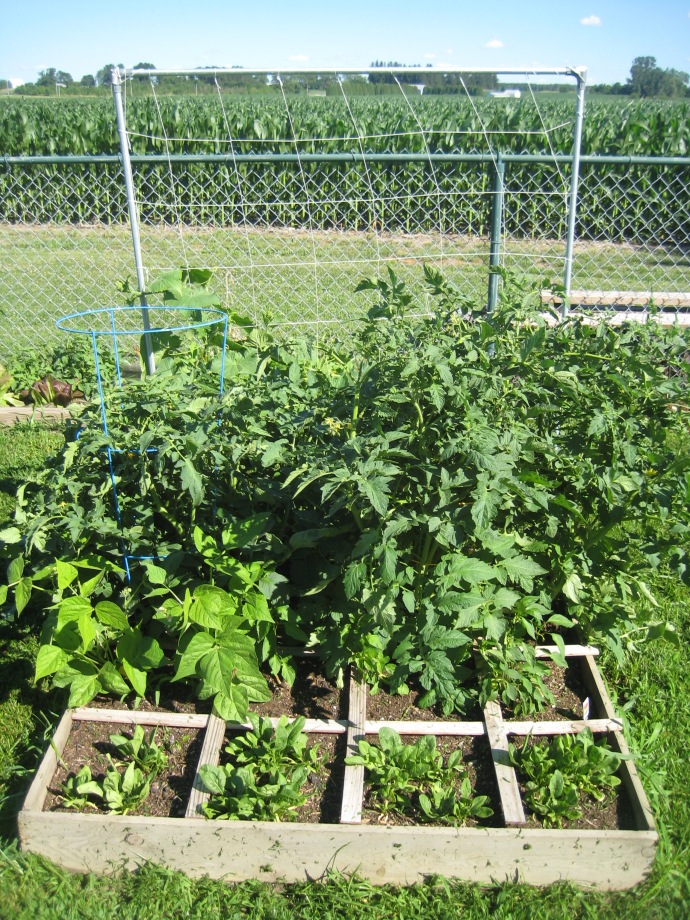
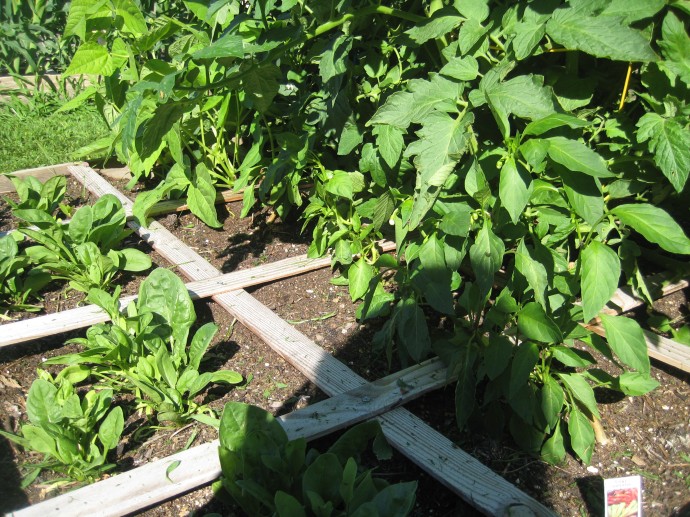
The right box, with cucumbers climbing up the trellis, three tomato plants, one snap pea plant, two green bean plants, three banana pepper plants, and a row of spinach.

So far I am completely sold on Square Foot Gardening.  It is 1000 times easier than row gardening, and truly, weeding is a pleasure!  Besides manipulating the tomato plants up their cages or the cukes up the trellis, pulling the occasional weed in my true SFG boxes is the ONLY maintenance I have had to do.

There are red and white potatoes growing here. I still want to get sweet potatoes going, just haven’t gotten around to it yet.

If you are not familiar with Square Foot Gardening, Mel insists that a key component to SFG success is “Mel’s Mix”.  This is a soil mixture of 1/3 vermiculite, 1/3 peat moss, and 1/3 compost.  Mel instructs us to not use our existing garden soil, but instead to create Mel’s Mix ourselves and fill the boxes with it.  My husband was extremely skeptical of purchasing soil components when we live surrounded by fields…using existing soil…growing wonderfully…  I didn’t blame him, but as the only one who does the weeding, I insisted in experimenting.  He agreed that I could fill some of the boxes with Mel’s Mix as long as I left our existing soil in the others.  Anyway, long story just to tell you that the potato box above used our existing soil.  It’s not a great photograph, but I can assure you the 40% of the green is weeds.  I went two days without checking on the garden once and when I walked out there the potato box was completely overrun with weeds!  It was a good reminder to me of last year’s garden – row style, that I lost to weeds.  I am happy to report that this year, however, that the rest of the boxes are 99% weed-free!

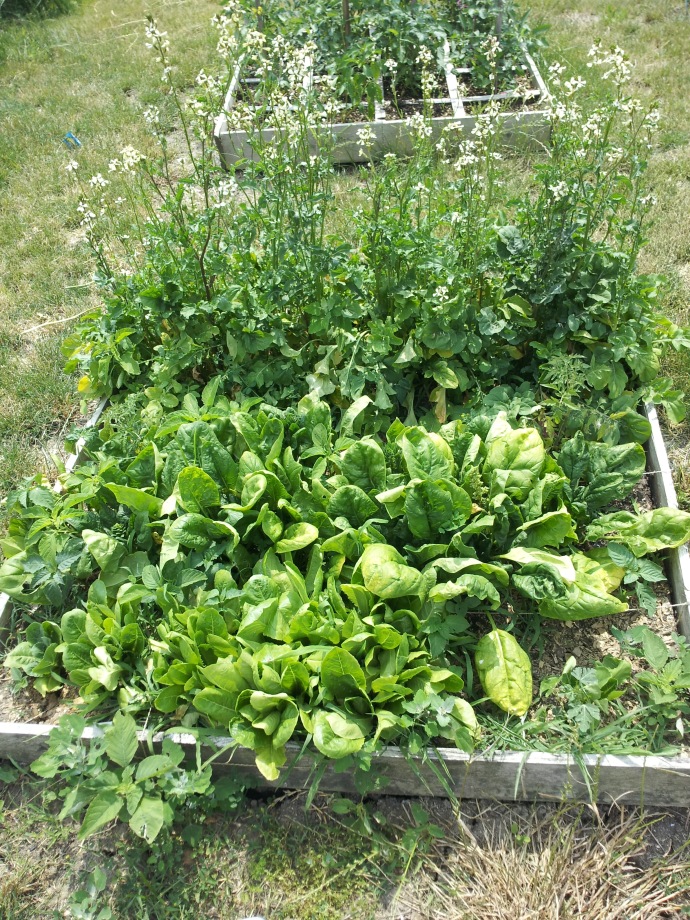
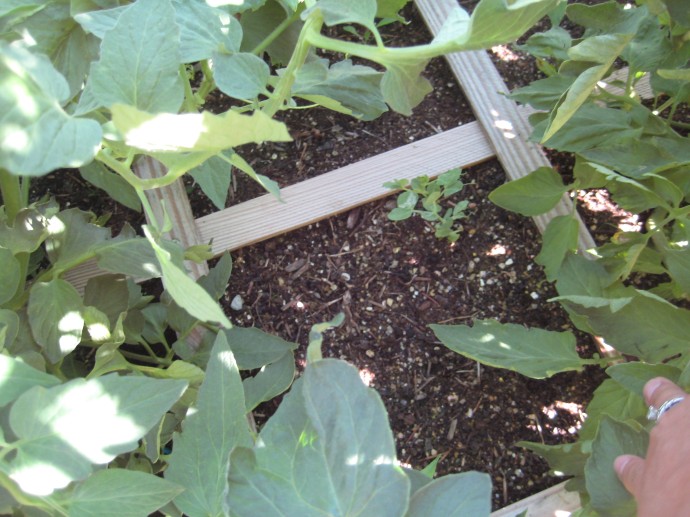
I lost two of my Roma tomato plants, but the other six are coming up nicely. On the far end is an abundance of Arugula, and in the middle are two Romaine heads. I planted Romaine in several spots, but those are the only two coming up.

In this picture the arugula has already been mostly harvested.  Besides basil, it’s the first thing I harvested from the garden!  I was totally shocked with how much arugula came up, and a little bummed by how little Romaine came up.  I plan on planting more soon though, although I’m not sure it will come up in the heat of summer.  Anyone know the answer to that for me?

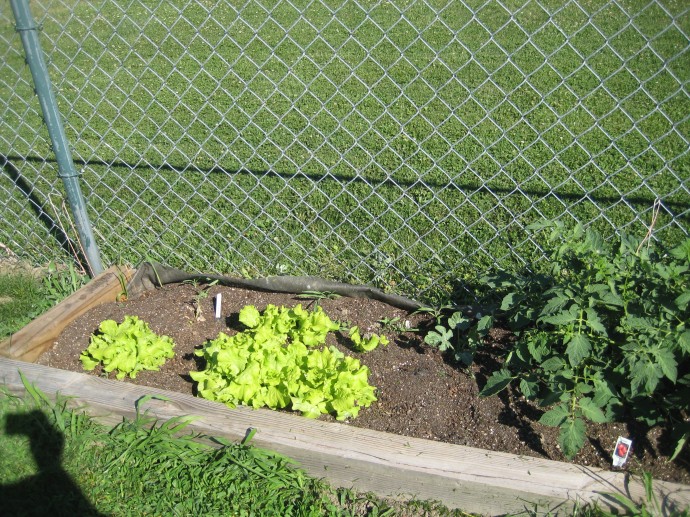
Some leaf lettuce on the end, and two tiny watermelon plants slowly coming up! Hopefully by next month the watermelon vines will be taking over the fence!

You can see the larger watermelon plant to the upper right of the leaf lettuce.  That one was started from seed and is looking really healthy, albeit small.  In the upper left corner next to that white stick is the second watermelon plant.  This one I purchased as a seedling from a local greenhouse, and handed it to my 4-year-old Big Helper to take over to the garden for me.  The next thing I heard was “Oops, Mommy, I think you should have taken this out.”  She had pulled the seedling straight out of the carton, completely exposing the roots!  All I could do was chuckle, and try to salvage the plant.  It’s not doing too great, needless to say.

Cucumbers climbing the trellis

Tomatoes!

Pickle blossoms…Makes my mouth water just seeing these!

This is the 5th time I’ve tried to grow basil, and the FIRST time I’ve been successful! I have 4 healthy plants! Go, Mel’s Mix!

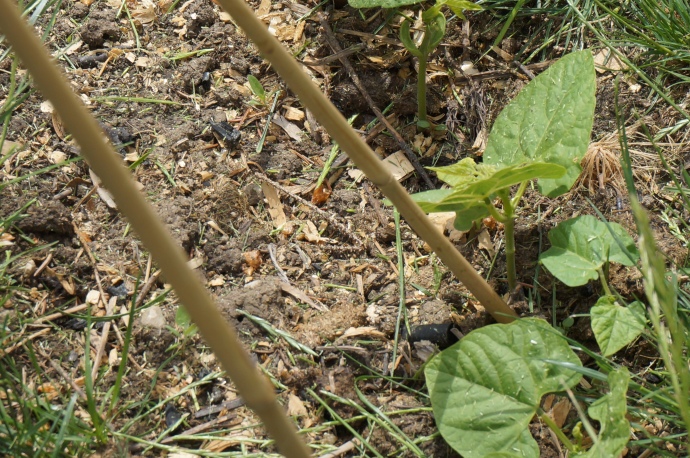
Only two beans plants came up, I think I will plant more though because green beans are my absolute favorite harvest, fresh out of the garden! I could eat these all day long!

I made a few mistakes planning my garden, but then I expected to make some mistakes my first time at SFG.  I spaced some of the plants a little unwisely, like putting the peppers next to the tomatoes and trying to grow snap peas in between two tomato plants.  Next year I think I will plant all my tomatoes along the fence, where they can grow as bushy as they want without stealing the sunlight from other plants.

My poor banana pepper plants aren’t getting enough sun, although they are still producing some flowers. I’m going to try to stake them away from the tomatoes, towards the spinach.

This sad little snap pea plant is completely overshadowed by two big bully tomato plants. I love snap peas passionately, but I’ve not had success with them yet. This is the third time I’ve tried to grow them…looks like I’ll have to try again next year!

Ok, enough about my garden!  Let’s get to the recipe!  Here’s the thing:  I’m not a huge fan of arugula raw.  Or at least I didn’t think I was, until I was faced with an overabundance of the stuff!  I happened to be surfing Pinterest for clever ways to serve pesto as an appetizer when I came across a recipe for arugula pesto.  So I whipped some up and it turns out that it is fantastic! I doubled this recipe mostly because I had so much arugula and also because I wanted to give some as gifts.  I also changed the recipe slightly.  The original recipe would call for a whole cup of oil to double the recipe, but as I was slowly adding the oil, it reached consistency at around 3/4 of a cup.

Arugula Pecan Pesto (This made enough for 2 half-pint jars)

What you will need:

  • 4 cups arugula, washed
  • 1 cup pecans
  • 2 garlic cloves
  • 1 cup fresh Parmesan cheese, grated
  • 3/4 cup extra-virgin olive oil, plus a little extra for toasting
  • salt and pepper if needed (I didn’t use any)
  • Food processor

Directions:

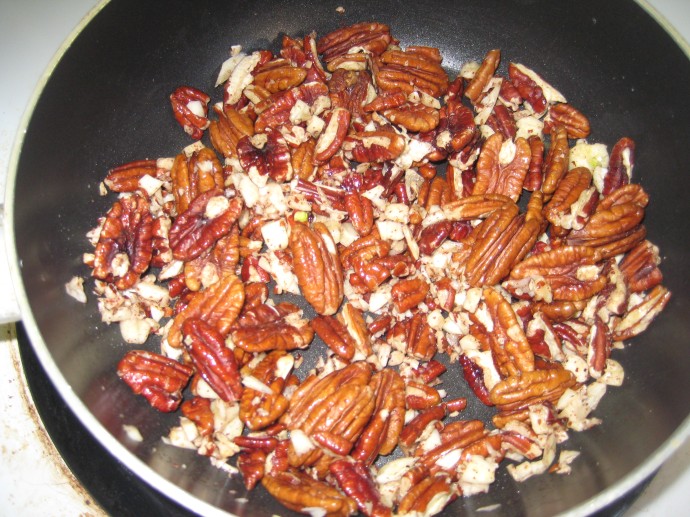
Warm a little oil in a saute pan on the stove and toast the garlic and pecans for about 2-3 minutes.

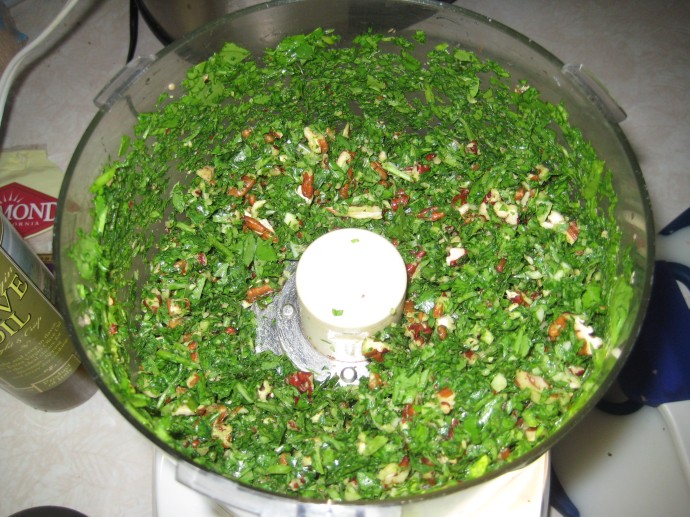
Add all ingredients, except salt and pepper, and half the oil to the food processor and pulse a few times.  Stop, scrape down the sides, then turn the food processor back on, adding the rest of the oil while the machine is running.

When the pesto has reached the consistency desired taste it and decide if it needs salt or pepper.  I think the arugula adds all the pepper it needs, and the cheese adds all the salt it needs, but you may decide it needs more.

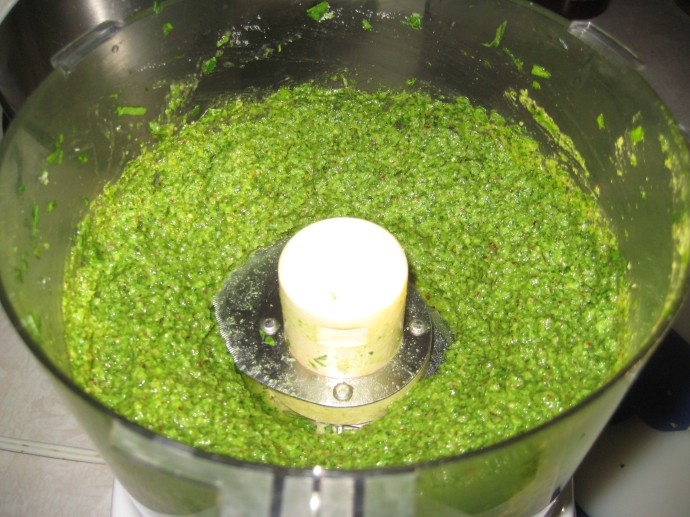
After the pesto looks like this, it’s ready to be consumed!  You can mix it into pasta, spread it on toasted bread or pizza, or get creative!  I think it can be canned, but I haven’t tried that yet.  I’m going to whip up another batch soon though and try it, and then I’ll update this post.  I’m also pretty sure it will be fine frozen, I also haven’t tried that.

We’re having this on pizza for dinner tonight topped with fresh mozzarella and tomatoes!  Stay tuned for another arugula recipe coming soon!  (This post is already a wee bit long 😉 ) *Update* Here it is!  American Wedding Soup!

Does anyone have any other good uses for arugula for me?  I really do have a lot!  And if you live in the Toledo area, I’m happy to share!

Categories: Journal | Tags: , , , , , , , , , , ,

Sun-Dried Tomatoes Vs. Dehyrator-Dried Tomatoes

I stumbled upon a book a few weeks ago that immediately intrigued me.  The title alone drew me in:  Preserving Food Without Freezing or Canning: Traditional Techniques Using Salt, Oil, Sugar, Alcohol, Vinegar, Drying, Cold Storage, and Lactic Fermentation.  I mean, come on, any book that completely summarizes it’s contents within it’s own title has to be a quick, easy read, right?   As it turned out, most of the recipes in there were a little far-fetched even for me.  It is a pretty interesting book, and I do recommend borrowing a copy from your library.  It’s basically a cookbook with a collection of authors almost exclusively from charming French provinces.  While I can appreciate the nutrients saved by not subjecting foods to extreme heat or cold to preserve, most of the recipes were obscure enough (chestnuts in vinegar and a bucket?) that I simply couldn’t see myself actually consuming the products.  And who has time to put up food they won’t ever eat?  The different methods of preservation NOT involving the ones that are so common and available to us today (canning and freezing) are pretty cool though.  I mean, this is hard-core Prairie Mama stuff, and normally I’d be all over such adventures.  But as I said, I just cannot see my my family passing oil-packed cottage cheese that’s been stored in my basement around the table.  Ick.

There was one recipe I did immediately try, however.  Sun-dried tomatoes packed in oil.  Easy-peasy, right?

Sigh.

Nothing is ever easy-peasy for this Prairie-Mama-Wannabe.  I probably would have starved my 14 children if their existence depended soley on my food preservation skills.  (That and the fact that my husband wouldn’t shoot a deer if the darn thing was foaming at the mouth.)  Although at least we’d all be skinny…

I digress.  Let’s get to the point of the post, shall we?

Sun-Dried Tomatoes packed in oil

What you will need:

  • Small tomatoes, like cherry or grape tomatoes
  • Gauze or cheesecloth (or a old window screen, if you’re a hillbilly)
  • Coarse salt
  • Oil

Directions:

Wash your tomatoes and slice them in half the long way.  I was able to catch my daughter’s nap and prepare mine while watching repeat episodes of “The Nanny”.  I will subject you to Dagny’s perfect baby cuteness now:

Don’t you just want to pinch those sweet chubby thighs?

I placed my halves on one of my dehydrator trays, but any platter will work.  Next, sprinkle the halves liberally with the salt, cover with the cheesecloth and set in the sun.

Yeah, that’s a window screen you are seeing.  I didn’t have any cheesecloth and I live out in the middle of nowhere and wasn’t about to drive 30 minutes just to have a classier picture to post.

Not that I didn’t seriously consider it…

Ok, what really happened was that I assumed I had cheesecloth or at least something that would have worked and went ahead and cut up all the tomatoes and salted them before confirming that fallacy.

Can I get some props for creativity?  It actually worked to my advantage anyway because we had some pretty intense wind the days I had this outside, and I think it would have created a problem with anything lighter than my window screen.
Anyway, this is the tricky part of drying foods in the sun:  They actually need to BE IN THE SUN.  Not the dark, not the rain, and definitely not the hail.  Seems pretty common sense, but common sense and Chelsea Daniels have very little in, well, common.
The directions say to turn the tomatoes twice a day and to bring them in at night ‘lest the dew undo the day’s drying.
The first flip

You know what else completely undoes a day of drying?  A storm.  A big, country-style, tornado-looking storm, complete with hail.

That’s right.  I thought to take pictures of The Storm, but didn’t think to Bring In The Tomatoes.  Doh!

It’s okay, the next day was sunny and warm.  I was kind of starting from scratch again, but by the end of the day they were shriveling nicely.

At the start of Day 3, I left to go grocery shopping, remembered my tomatoes and texted my husband (at the store, not on the road 🙂 ) to please set them out in the sun for me.

At the start of Day 4, I remembered my tomatoes and realized they spent the night outside.  In the dew.  Oh, and the rain.  Of course.

Let’s just skip forward to the “done” part.  What should have taken 2, maybe 3 days of attentiveness took ME 7 days.  But sun-dry they did finally do, and NOW we get to the true easy-peasy-ness of this recipe.

Slap those time-sucking shells of what once ’twere tomatoes into a mason jar, fill it to within 3/8 inch headspace with olive oil, screw the lid on, set it in your pantry and stop wasting any more time on them!

Except I couldn’t quit thinking about them.  I was irritated that they had proved to be such a task for me, and I was irritated with myself for being irritated.  I decided to see if there was any true benefit to sun-drying them as opposed to sticking them in the dehydrator.  Do they taste better from the sun?  Sun tea does have a slight advantage over stove tea.  Suntans have a serious advantage over tanning bed tans.  Surely true sun-dried tomatoes have a magic in them that the dried bits from my dehydrator cannot match.

Of course I tested this theory:

Dehydrated Tomatoes

The brand name is kind of ironic, since I used these in the dehydrator…

What you will need:

  • Small tomatoes
  • A Dehydrator
  • Coarse salt (optional, but recommended)

Directions:

This truly is easy-peasy.  Slice up the tomatoes, lay them on the dehydrator tray, (I only used one tray because we just don’t consume many dried tomatoes) salt them, turn it on the “fruits and vegetables” setting, and in about 6 hours (depending on how packed your dehydrator is) you’ll have dried tomatoes!  Pack them in a glass jar with oil to 3/8″ headspace, seal them with a lid tightly, and store in a cool place.

The Verdict

If you aren’t as flighty as I am, sun-dried is the way to go.  The sun-dried tomatoes had a richer, fuller-bodied flavor than the dehydrated tomatoes.  I actually forgot to salt the dehydrated tomatoes (I said I was flighty!), too, and the salt on the sun-dried ones was really a nice touch.  If you are prone to forgetfulness like someone else I know, the good news is that the dehydrated tomatoes are still quite tasty, and absolutely worth it.  I was pleased to discover that I really liked the oil-packed tomatoes, and can envision myself wrapping them in basil leaves for a snack, or scattering them over a fresh salad.  I will be making these again, and I will most definitely be using my ditz-proof dehydrator!

Even Dagny wants to try one!


*Note* This recipe did not say how long these tomatoes will last.  Use your discretion and inspect the tomatoes for any spoilage before consuming.

Categories: Dehydrating, Fruit, High-Acid, Leftovers | Tags: , , , , , ,

Create a free website or blog at WordPress.com.