Posts Tagged With: garlic

Garden Update – Summer 2013

DSC02192It was such a promising spring… I had so much motivation, I planted nearly everything I intended to although there’s always a few things that I don’t get around to planting, like kale- boo hoo!  I was even staying on top of the weeds and I thought I was pretty clever with my inter-planting.  I’m not really sure what happened, exactly…but I really did not get much harvest this year!

DSC02197

For starters, ALL my fruit bushes that started out as expensive sticks ended up as…expensive sticks.  I’m guessing they didn’t “take”.  Huge bummer!  I was really hoping to get them established this year so that soon I would have fresh berries from our own yard!  I’ll try again next year!

Arugula Seeded

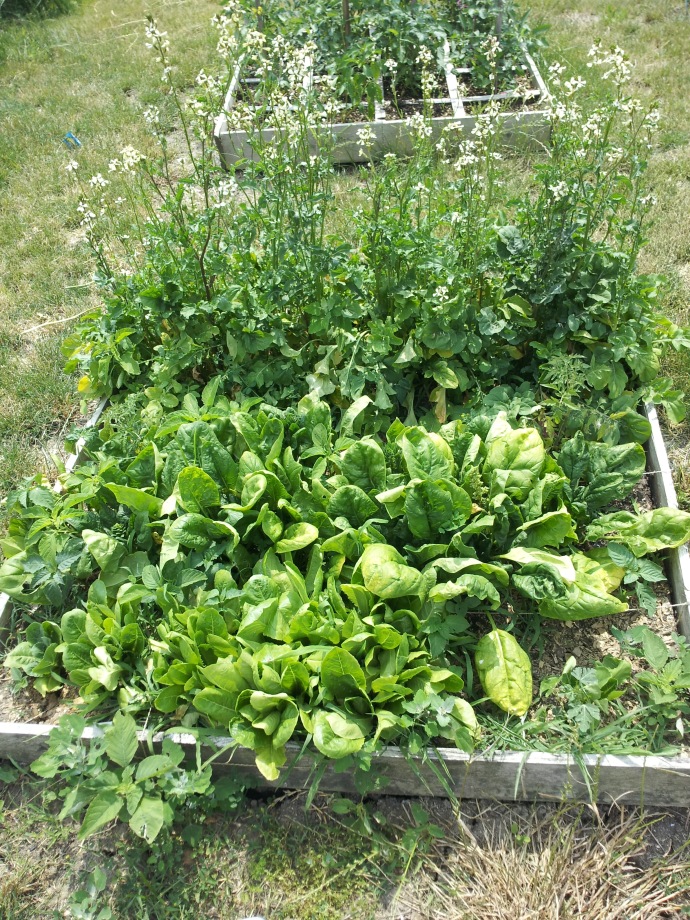
Although my arugula came in quickly and was plentiful, I actually MISSED the harvest and it went to seed!  I just never had a chance to make my huge batch of Italian Wedding soup, which is really the only thing I want the arugula for.  I think I can still re-plant that though, so all hope is not lost.  We did have several fresh salads off the Romaine and spinach, though.  Yum!

DSC02200

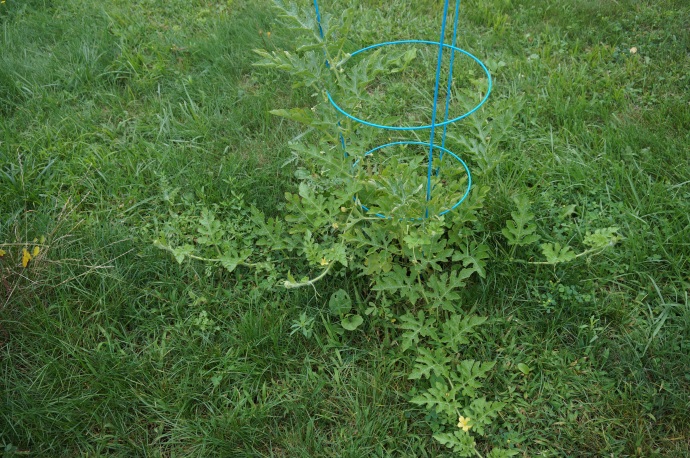
I planted two watermelon plants.  One was brutally murdered by the lawn mower, but the other is thriving nicely!

DSC02201

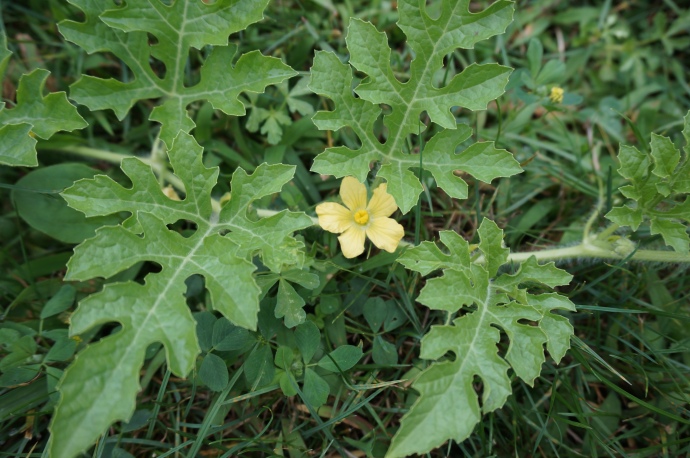
I even have two watermelons already…although they are both quite small still.  This picture was taken mid-August.  I’ll have to get an updated picture soon.

DSC02193

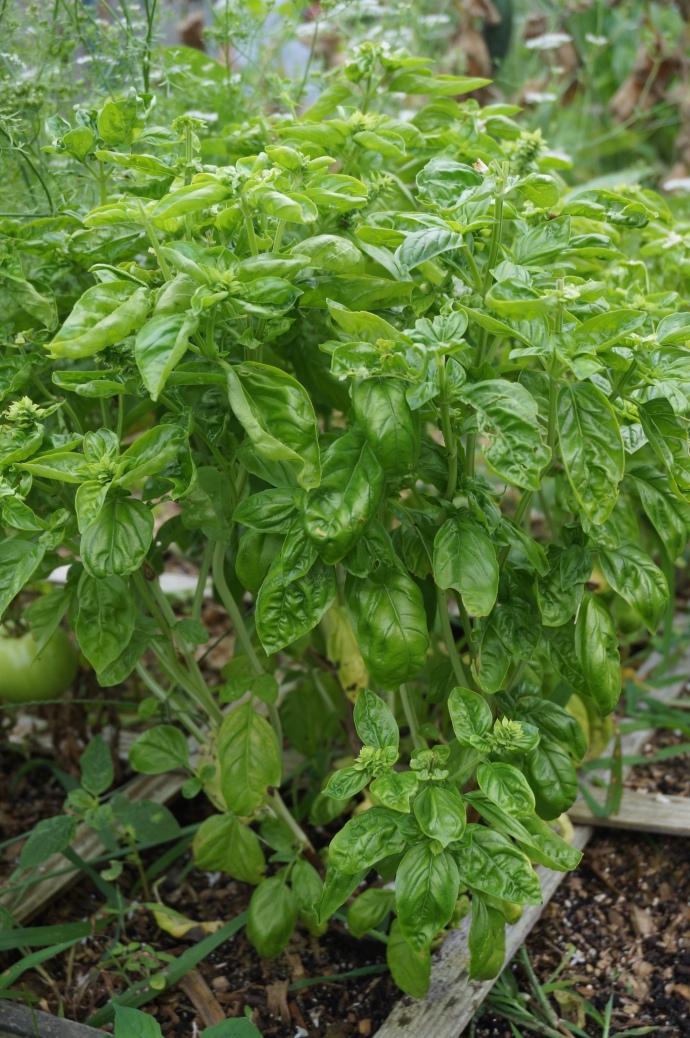
The basil was probably the healthiest crop in the garden.  This is amusing to me because I’ve tried to grow basil so often before and never had much success.  But I’ve made tons of pesto from this one plant, bruschetta, and sometimes I just like to go pinch off the flowers just so my hands will smell delicious all day!

DSC02192

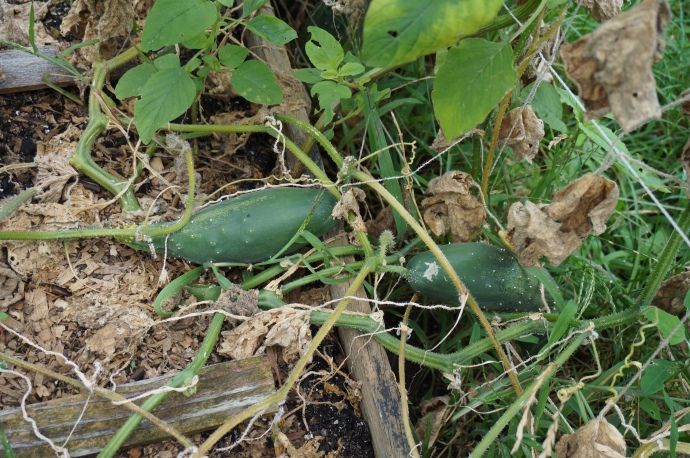
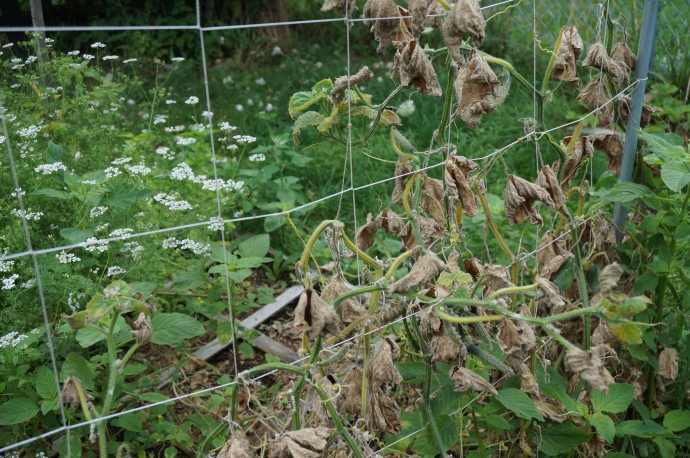
My cucumber vines were doing amazingly, and then all of a sudden dried up and died completely.

DSC02195

I kind of suspect I may have overcrowded them.  Next year just ONE seed per square.  No one needs 4 million cucumbers anyway.

DSC02196

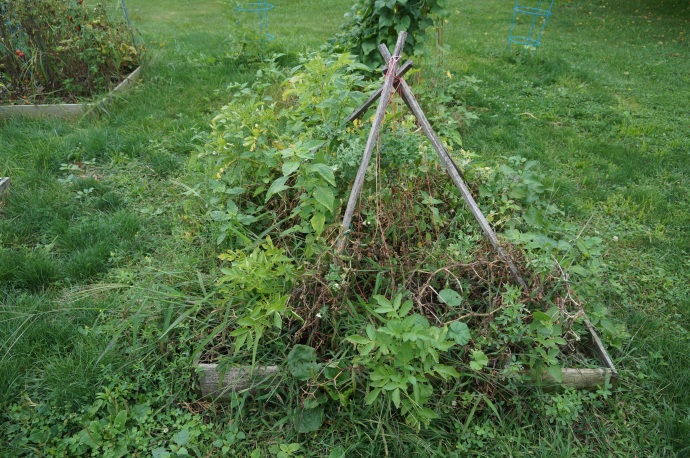
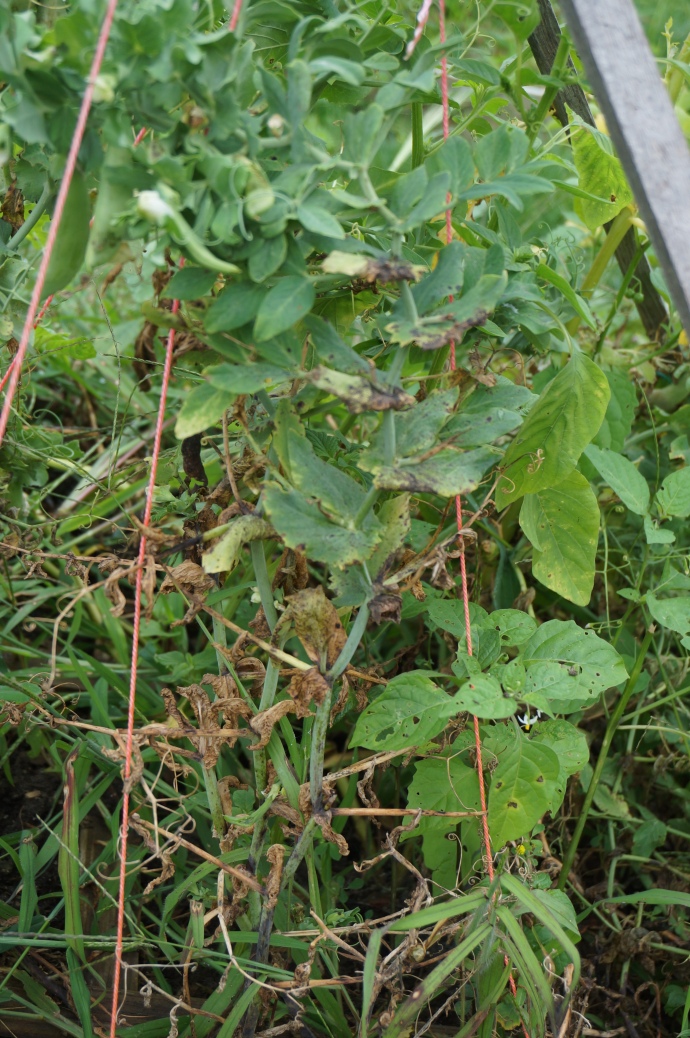
The snap peas were AWESOME this year! (It’s hard to tell from this picture because the peas are sharing a bed with three kinds of potatoes and of course, weeds)  This was my biggest triumph because I LOVE snap peas madly, and have never been able to get a respectable harvest from them!  I finally figured them out though, and had as many as I wanted this year!

DSC02202

The pea harvest is over, unfortunately, but I have no complaints there!  I did inter-plant potatoes in there, which I will not do next year.  I think it is fine, it just made for a lot of extra vegetation as well as made it a little harder to weed.  I have already harvested the white and red potatoes, but the sweet potatoes aren’t quite ready yet.

DSC02190

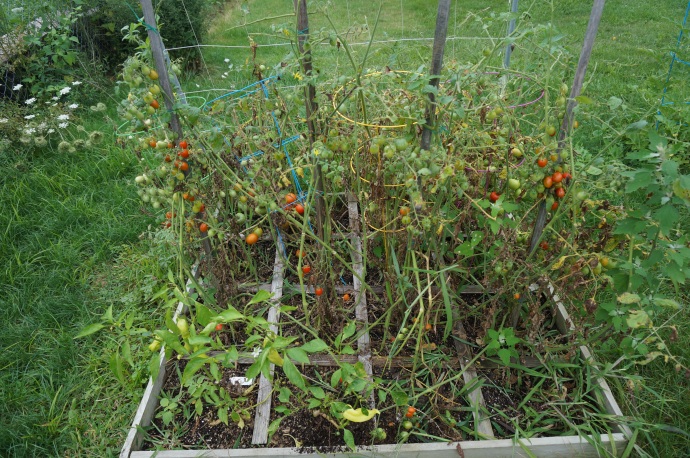
The saddest part of this year’s garden to me is my tomato plot.  I have no idea what happened, but just like with the cucumbers, the plants completely dried up.  The green tomatoes still ripened, and at least on the cherry tomato plants I had plenty of tomatoes, but on all my canning plants there’s hardly anything.  Fortunately, my parents planted tomatoes this year and had tons of rogue plants come up and do well, so they’ve given me enough to stock my tomato sauce supply.

DSC02199

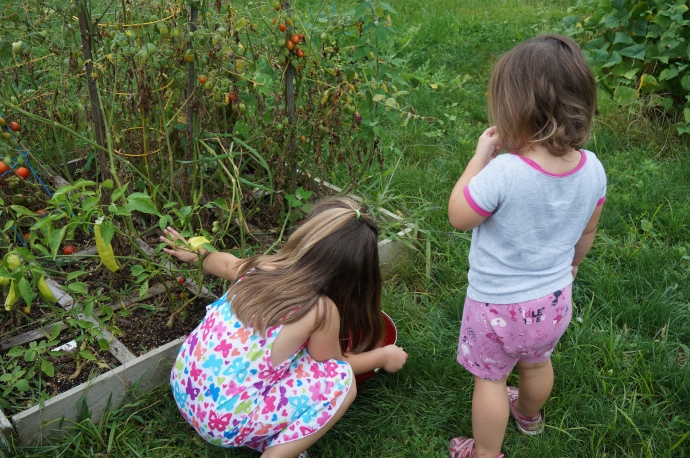
One thing that did bring a smile to my face though was watching my Dagny-girl eat her cherry tomatoes straight off the vine.  The only reason I even planted them was for her!

DSC02191

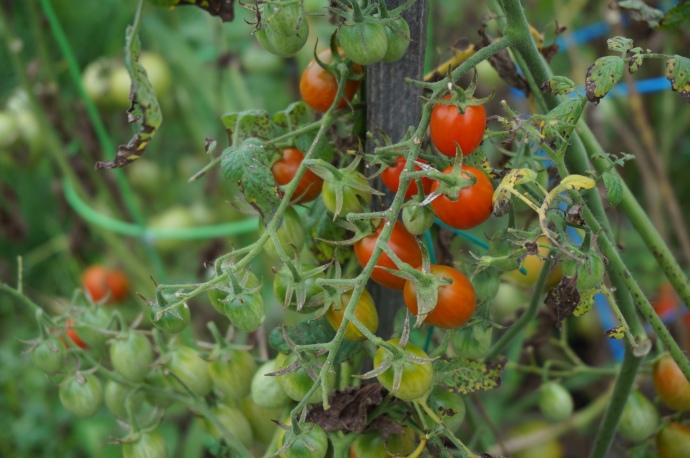
The cherry tomatoes did pretty well, and I’ve made plenty of “sun-dried” tomatoes (using the dehydrator) that will last me at least a year.

DSC02189

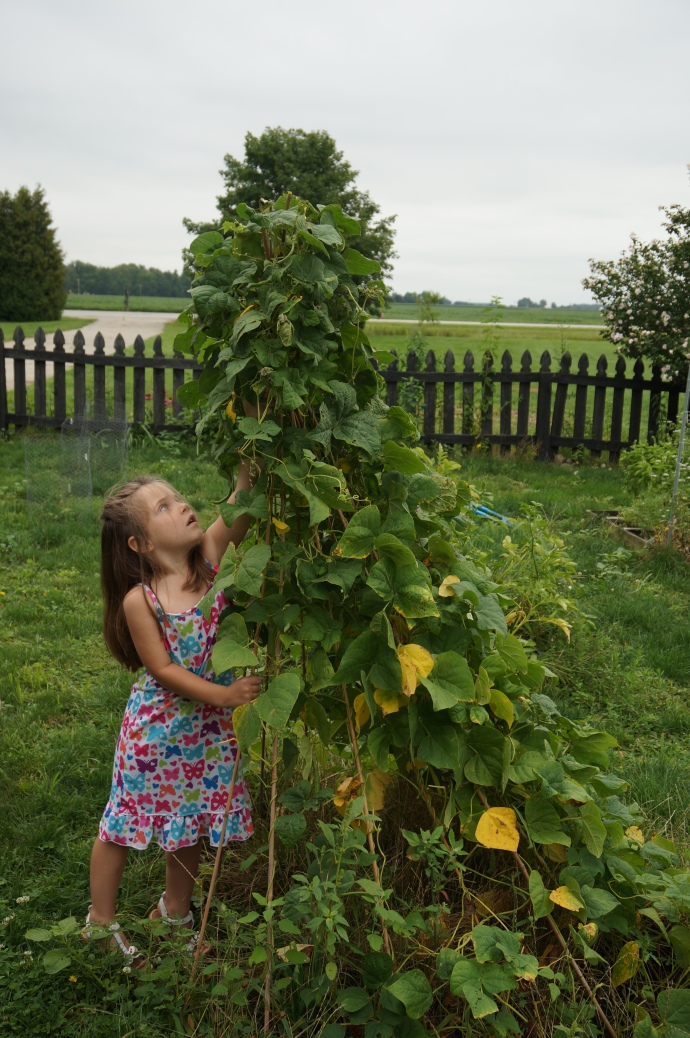
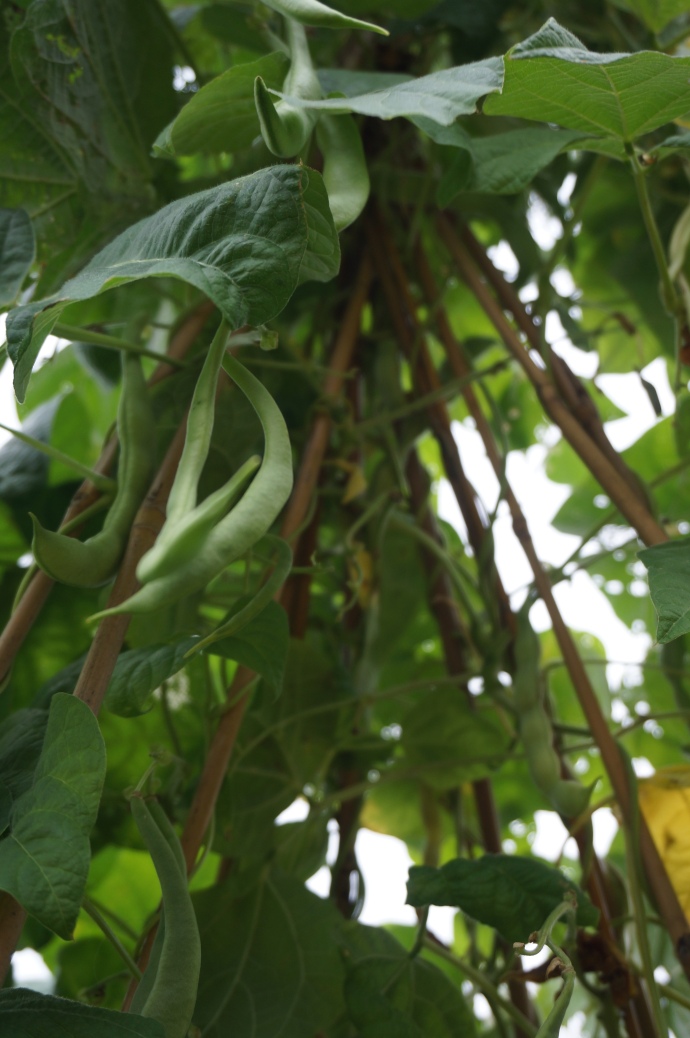
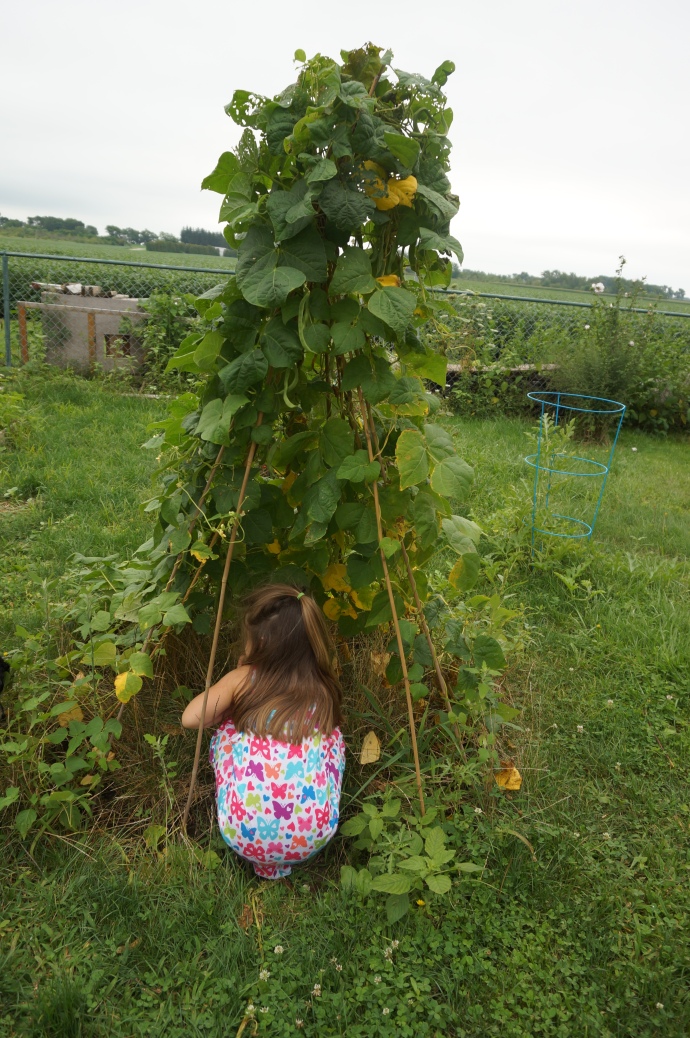
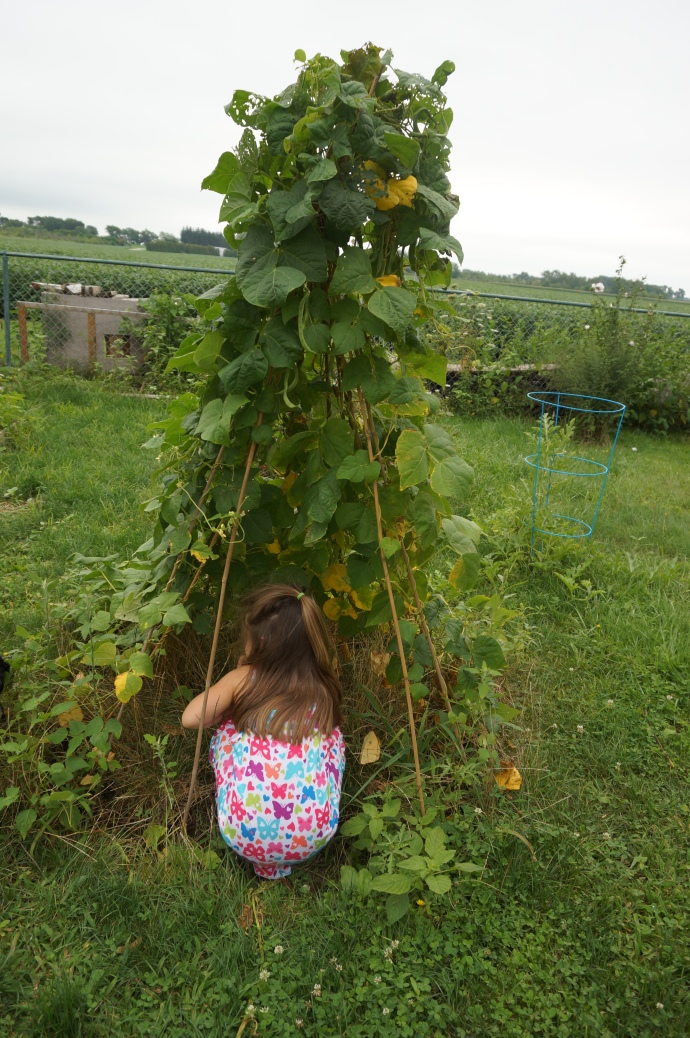
The green bean teepee turned out so cool!  I’m so glad we did this, and the kids have loved picking beans off it.

DSC02188

I’m going to plant something else on the teepee next year though because I didn’t really care for the stringy texture of the pole beans.   I’m going to stick with bush beans from now on.

DSC02198

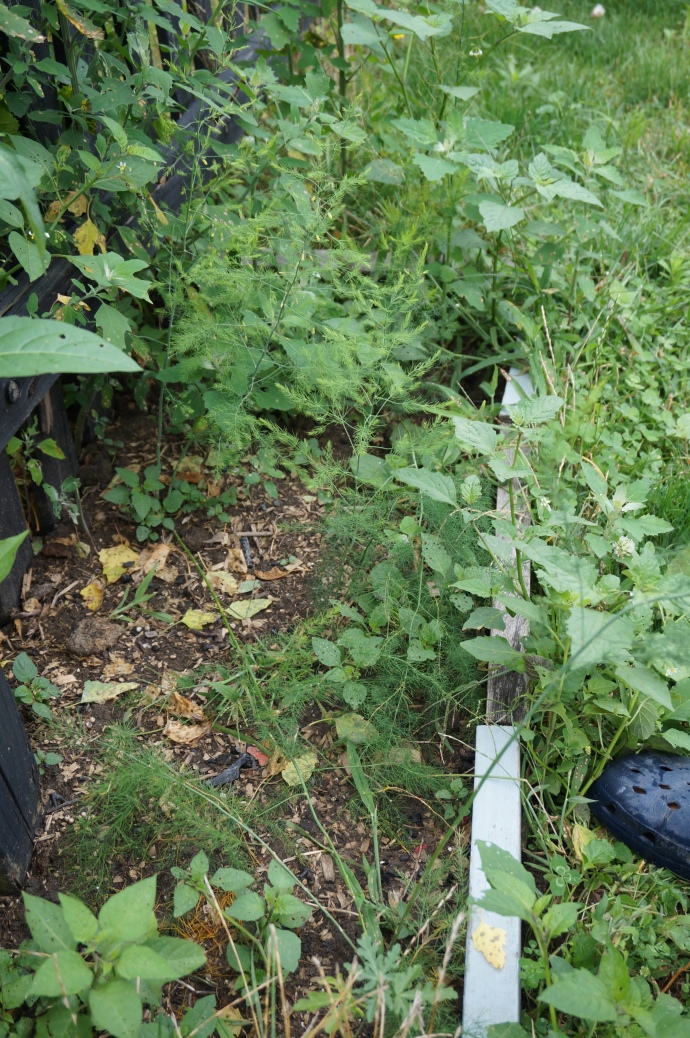
The asparagus patch did pretty well, albeit the constant fight against weeds.  Asparagus is supposed to take three years to mature, and enough shoots came up this year that I feel confident that in two more years I’ll be frying asparagus straight from my garden!

DSC02194

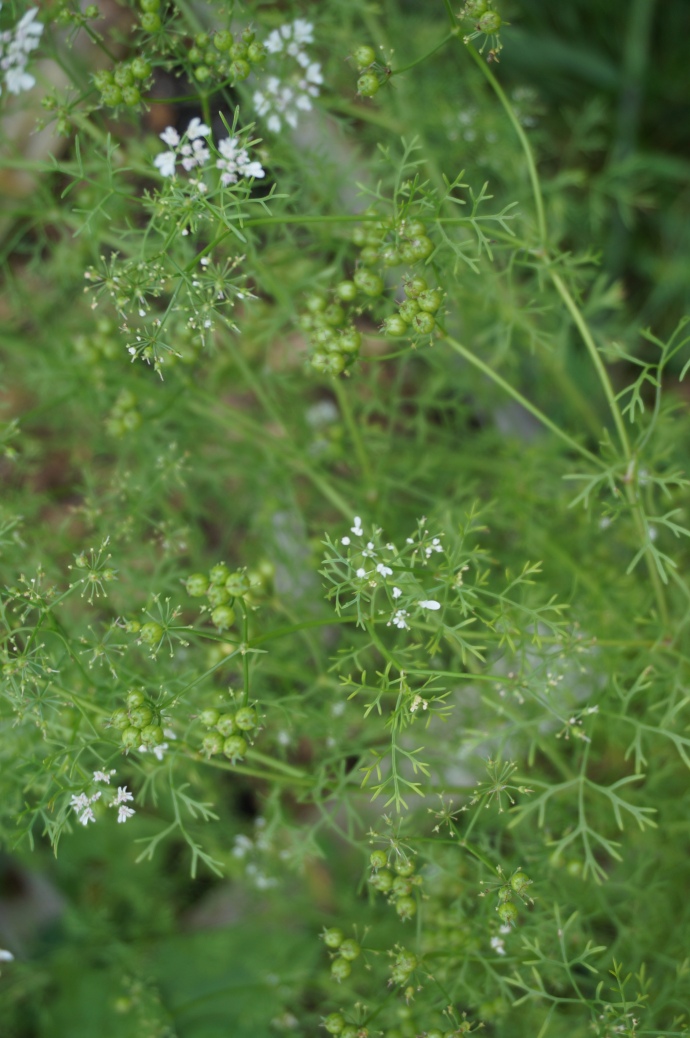
One of the more unique-to-me crops this year was the cilantro.  I’d never  successfully grown it before, nor did I ever know that coriander seed was another harvest from cilantro.  Ironically, I didn’t use ANY of the cilantro.  I forgot.  I did, however, harvest fresh and dried coriander, which I’ll detail in a different post.  It was fun!

We only got a few strawberries.  Honestly, this has been mostly a weed patch all summer.  It seems like every time I go out there the weeds have doubled.  Three times now I’ve completely cleared the weeds and still they persist in returning.  The June-bearing berry plants kept getting uprooted by pesky chickens and I don’t think there’s even one plant left, but fortunately the ever-bearing plants seem to have survived and even sent out shoots!  I’m looking forward to that crop next year!

The pumpkin plant started off healthy, and then decided to drink coffee or something because it never hit puberty.  It looks like we’ll be buying a pumpkin from Pumpkin Pete again this year!  That’s ok, even though I really wanted to over-decorate with pumpkins this year, we had a lot of fun playing at Pete and Gwen’s last year!

All in all, it was rather unsatisfying.  I was kind of hoping that I would be a professional gardener by my fourth year of gardening, but still I persist in making mistakes.  My biggest mistake was fairly obvious, and that was using compost that I had thrown weeds into last year.  (Duh).  This year the weeds went into their own pile, and what little kitchen scraps and chicken manure I have went into a weed-free pile.  I’m not really an advocate for composting.  I’ve tried it several times and generally lose interest halfway through the season.  Anyway, next year, I’m going to return to Mel Bartholomew’s Square Foot Gardening concept and make fresh Mel’s Mix to put in ALL my beds.  That made it so much more fun last year to hardly have any weeding to do AND get a nice healthy crop.  If the budget allows, I’d also like to do a little landscaping to “pretty up” the space.

Lastly, I’m also going to plant garlic in each of my beds next month.  (I’m going to try to remember, anyway!  Someone remind me!!)  I think that will help fight any diseases/fungus that may think has a home in my garden.

DSC02184

Categories: Gardening, Journal | Tags: , , , , , , , , , , , , , , , , , , , ,

Dilly Beans and Drying Dill

DSC02203Depending on the maturity of your green beans right now, this recipe could be exactly the diversity you’re looking for with a surplus of beans… or it could be a few weeks late, as is the case with MY green beans.  Doh!

DSC02188

Actually, as cute as this teepee turned out, I’ve discovered that I don’t love pole beans.  They seem a little stringier and tough than bush beans…anyone else feel that way too?  I will use the teepee next year for a different climber or perhaps even flowers, and plant bush beans.

DSC02184

Anyone know the correct spelling of “teepee”?  According to Wikipedia, it can be spelled “tipi”, “tepee”, or “teepee”.  Spellchecker likes “tepee”, but I always thought it was “teepee”.

You know, once I spelled it out so many times, I don’t think any of them look right…

Anyway, fortunately for me, my in-laws planted more bush beans than the two of them could consume, and gladly handed me a large shopping back of green and wax beans!  (And I didn’t even have to pick them!!  Bonus!)  They also passed on a recipe I’ve been salivating over for a year now.  I’d never heard of “dilly beans” before I was given a taste last year, and WOW!  Mind. Blown.  They are like combining my favorite flavor – dill pickles – with my favorite vegetable – green beans.  What’s not to love?

DSC02205

Nothing.  That’s what.  There’s actually a recipe for Dilled Beans (what a boring name!  Not nearly as country and cute as “dilly”!) in the Ball Book of Home Preserving.  I kind of combined Ball’s recipe with my in-law’s recipe, because Ball calls for red bell peppers, which I NEVER have at home, but also called for peppercorns, which I thought sounded like a nice addition.  I’m going to give you my combined recipe, and I’ll mention substitutions as we go along.

DSC01933

Dilly Beans Makes 4 pint jars

What you will need: 

  • 2lbs green and/or wax beans, washed and trimmed
  • 1/4 cup canning salt
  • 2 1/2 cups vinegar
  • 2 1/2 cups water
  • 1 tsp cayenne pepper (Here Ball calls for 2 small red bell peppers, seeded and sliced into thin strips)
  • 4 cloves of garlic, divided
  • 4-8 sprigs of fresh dill* (see notes below)
  • 12 whole peppercorns, optional

Directions:

Prepare canner, jars, and lids.  Combine salt, vinegar, and water in stainless steel saucepan over medium-high heat.  Bring to a boil, stirring to dissolve salt.  You can trim the beans to “jar-length” or into “grocery store style frozen cut green beans-length” like I did.  Personal preference trumps aesthetics!

DSC01914

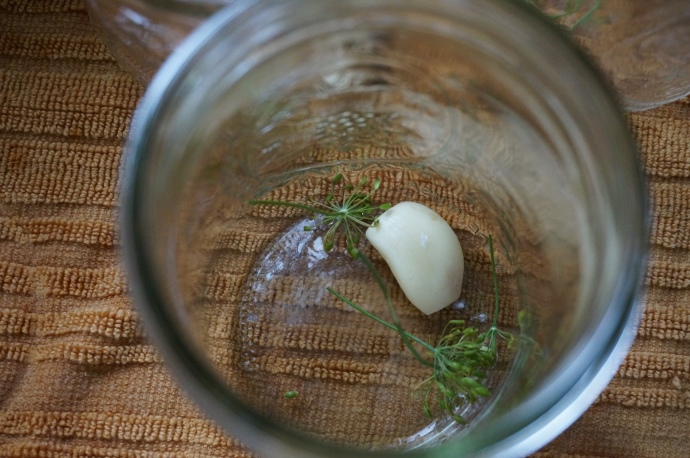
Place 3 peppercorns, 1 or 2 sprigs of dill (or 3…), cayenne (or one strip of red pepper), and one clove of garlic in each hot jar.  I wussed out on the cayenne here and only used a “smidgen”.  Seriously.  My measuring spoon says “smidgen”.  Isn’t it cute?

DSC01916

Pack beans into jars to within a 1/2 inch headspace.

DSC01913

Ladle hot brine into jars to cover beans, leaving 1/2 inch headspace.  Remove air bubbles, adjust headspace if necessary.  Wipe rim.  Center lid on jar, tighten ring with normal pressure.  Do not over-tighten.  Place jars in canner, ensuring they are completely covered with water.   Bring to a boil and process for 10 minutes.  Remove canner lid.  Wait 5 minutes, then remove jars, cool and store.

A few notes:

DSC02100

*Dill sprigs are the smaller “flower” of the entire dill head.  You can use scissors to cut the sprigs from the head.

I never seem to have enough brine, no matter how much the recipe calls for.  I went ahead and tripled this recipe because I had more like 5lbs of beans, but couldn’t fit all the pints into my canner.  So I simply refrigerated the last jar of dilly beans.  This worked, but give them a week to really pickle correctly!  I kept trying them every day, and by about 7 days the two remaining beans were nice and pickly flavored!  Ha!  I do think the flavor is best canned, though.

Drying Dill:

DSC02101

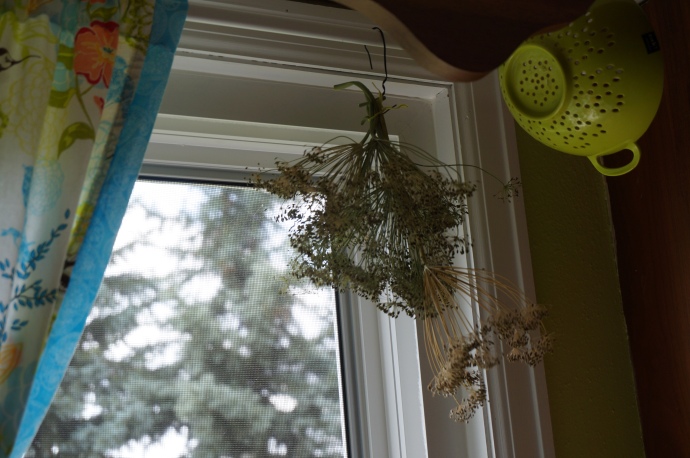
If you were lucky to be given several giant heads of dill from your parent’s garden like I was, hang them up to dry!  Once the seeds are dry, you can harvest them and store them in a jar for future recipes!  I just store mine in an old “dill seed” spice jar because it’s already labeled, and it fits on my lazy susan.  So far I haven’t had an issues with molding, although if you store them before they are completely dried, that may happen.  In the above picture you can see the difference between a head of “completely dried” dill, and one that still needs a week or so.  In the meantime, it makes me look all productive and stuff with the dill hanging there, doesn’t it?  Ha ha!

For easier printing:

  • 2lbs green and/or wax beans, washed and trimmed
  • 1/4 cup canning salt
  • 2 1/2 cups vinegar
  • 2 1/2 cups water
  • 1 tsp cayenne pepper (Or 2 small red bell peppers, seeded and sliced into thin strips)
  • 4 cloves of garlic, divided
  • 4-8 sprigs of fresh dill*
  • 12 whole peppercorns, optional

Directions:

  1. Prepare canner, jars, and lids
  2. Combine salt, vinegar, and water in stainless steel saucepan over medium-high heat.  Bring to a boil, stirring to dissolve salt.
  3. Place 3 peppercorns, 1 or 2 sprigs of dill, cayenne (or one strip of red pepper), and one clove of garlic in each hot jar.  Pack beans into jars to within a 1/2 inch headspace.  Ladle hot brine into jars to cover beans, leaving 1/2 inch headspace.  Remove air bubbles, adjust headspace if necessary.  Wipe rim.  Center lid on jar, tighten ring with normal pressure.  Do not over-tighten.
  4. Place jars in canner, ensuring they are completely covered with water.   Bring to a boil and process for 10 minutes.  Remove canner lid.  Wait 5 minutes, then remove jars, cool and store.

One more thing… great taste buds think alike, apparently!  Just yesterday, as I was working on this post, my favorite sister-in-law, Erin, posted this Japanese green bean stir fry recipe!  It looks DELICIOUS, and I think I’m going to go pick some beans this weekend at my mother-and-father-in-law’s garden just to try it!

Categories: Canning, Dehydrating, Pickles, Vegetables | Tags: , , , , , , , , , ,

Preserved Garlic: Delicious Meets Healthy…Maybe

Why preserve garlic? 

Garlic is one of Nature’s most helpful foods.  Besides warding off pesky vampires, it’s also renowned for preventing and treating colds, the flu, and cold sores.  I found this quote very interesting, although I admit I did not follow up on the source to see if it’s true or not.  This source seems to back that up, though.

“Modern science has shown that garlic is a powerful natural antibiotic, albeit broad-spectrum rather than targeted. The bacteria in the body do not appear to evolve resistance to the garlic as they do to many modern pharmaceutical antibiotics. This means that its positive health benefits can continue over time rather than helping to breed antibiotic resistant ‘superbugs’.” (Source)

At any rate, there is some speculation that garlic loses some of it’s antibiotic qualities once cooked.  It does not, however, lose any of it’s delicious, delicious flavor.

And isn’t that what eating should be about?  Flavor?  Enjoyment?  What a treat it is to find a food that is all a food should be.  Flavor.  Enjoyment.  Nutritious.  Guilt-free.

Well you aren’t gonna find the latter here, because we are about to smother the former three adjectives in sugar, oil and alcohol.  Guilt, you can come pop a squat right next to this cellulite!

Preserved Garlic (Because it might be good for you…  )

What you will need: (Makes 4 half-pints)

  • 2lbs whole garlic, about 5 cups
  • 1/2 cup extra-virgin olive oil
  • 1 Tbsp kosher salt
  • 1/2 cups sugar
  • 1/3 cup sherry vinegar or champagne vinegar
  • pressure canner

Directions:

The first thing you need to do is peel the garlic, if you were a big enough sucker to buy whole garlic instead a jar of pre-peeled cloves.  *Ahem*  Let me just tell you that if you have never peeled 2 lbs of garlic by hand on a sweaty afternoon with two small children begging for attention, you just haven’t lived.  I can however, offer some tips on how to “quickly” peel garlic.  There’s three ways:

  1. Watch this video.  It’s some kind of magic trick.  I couldn’t get it to work, but I think it’s because I’m not a 250-lb super strong man.  I also don’t have two large bowls the same size.
  2. Cut off the large end of each clove, then rock the flat edge of a chef knife over the clove and the skin should fall off fairly easily.  Be careful with your pressure though.  It’s okay if the clove gets a little smashed, but you want the clove to remain as intact as possible.
  3. Soak the cloves in water for at least 1 minute, then peel.  This is the method I used, and it took me about 2 hrs to peel 2lbs.  (Now you know why I put quotes around the “quickly” up there.) I did take several breaks though to address my children.

I eventually got an assembly line of sorts going on: Separate the cloves, Soak the cloves, Cut off the ends, Peel, Admire.

I got this recipe from this blog, and while most people would be grateful enough just for the amazing recipe, I am also eternally grateful for this different, much easier way to sterilize/keep the jars hot.  I struggled to sterilize them on the stove because my back large burner doesn’t work, and the pot is too large to place over a small burner.

Anyway, here’s how you do it:  Turn your oven to 220 degrees.  Place 5 half-pint jars (it’s always good to prepare an extra jar just in case) in a pan or on a baking sheet and place in oven until ready to use.  (He also said you can sterilize the lids in the oven, but I chose to heat them in simmering water on the stove.)

*****UPDATED****** I don’t do this anymore.  I got a new large burner for my stove, and now I just heat the jars in the canner while I’m preparing recipes.  You can use the stove method, but it’s not recommended in the Ball Book of Home Preserving because ovens have inconsistent temperatures and there is a chance that the varying temperatures can cause breakage when you go from the oven to the hot water.  (I never lost a jar doing that, though.  So whatever.)

Meanwhile, prepare pressure canner with 3 inches of water.  Heat over medium heat.

Now for the garlic:  In a large saute pan, heat the oil then cook the peeled cloves over medium heat.  Add the salt.

Beginning to brown…

Once the cloves begin to brown, after about 10 minutes, add the sugar and cook 3-5 more minutes or until they begin to caramelize.

Sugar added, caramelizing…

Add the sherry vinegar and turn the heat up to medium-high.  Cook for about 2 minutes.

Adding the sherry vinegar…

Remove jars from oven and fill with cloves and sauce, leaving a 1- inch headspace.

I used 2 half-pints, and 3 jelly jars (process all for 10 minutes)

I added a little extra oil and sherry vinegar (a few drops of each) to each jar so that the garlic was almost covered.  Wipe rims with a vinegar-soaked paper towel, add lids and rims, tighten, and place jars in canner.

Allow canner to vent 10 minutes, then set to 10lbs pressure.  Once pressure is achieved, cook 10 minutes for half-pints, 20 minutes for pints.  Allow canner to return pressure to 0lbs, then remove vent and lid.  Wait 10 minutes, then remove jars to a towel on the counter and let cool completely.

Okay, I confess:  I didn’t wait for them to cool completely.  We had company over for dinner that night and I was in the mood for some serious compliments.  I served these over perfectly grilled steaks (grilled by my grill-master hubby) with a glass of full-bodied red wine and smiled nonchalantly at each exclamation of delight.

This is why you preserve garlic.  Because they so good that when you are sneaking downstairs in the middle of the night for a snack, you eyeball the jar of them and seriously consider choosing preserved garlic over M&M’s.

And because they might be good for you 😉

Categories: Canning, Low-Acid, Vegetables | Tags: , , , ,

Blog at WordPress.com.