Posts Tagged With: green beans

Dilly Beans and Drying Dill

DSC02203Depending on the maturity of your green beans right now, this recipe could be exactly the diversity you’re looking for with a surplus of beans… or it could be a few weeks late, as is the case with MY green beans.  Doh!

DSC02188

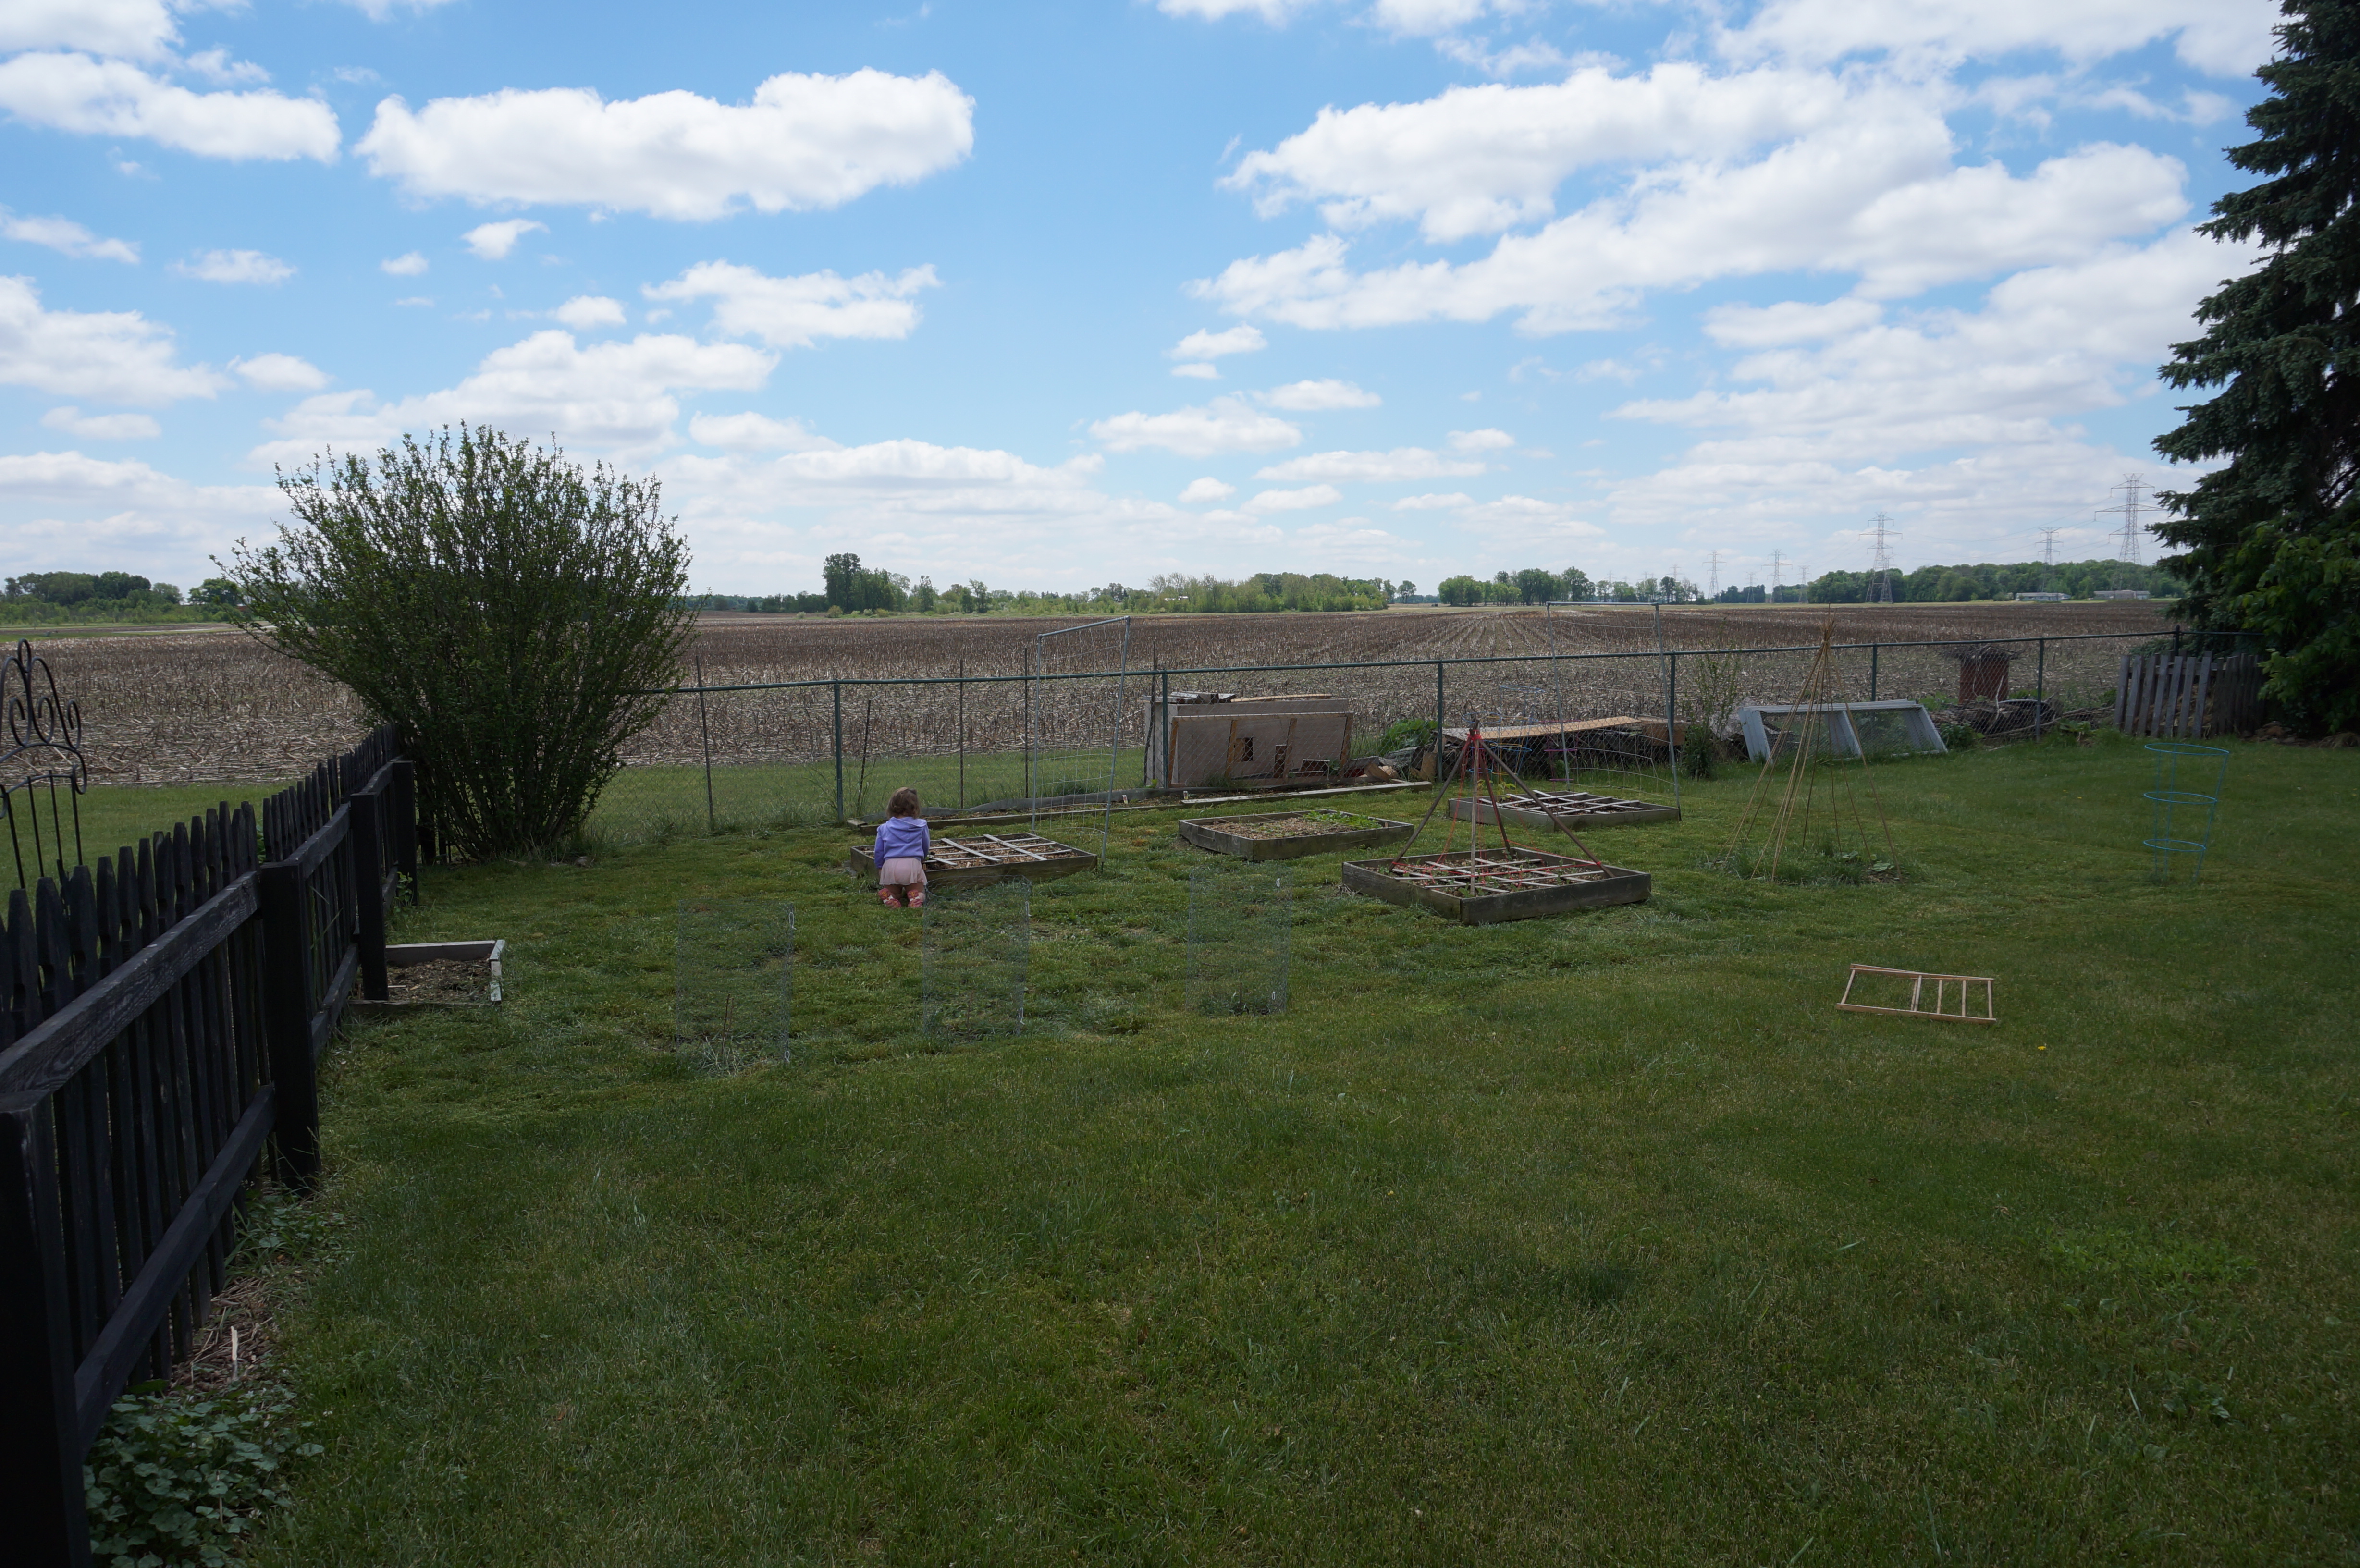
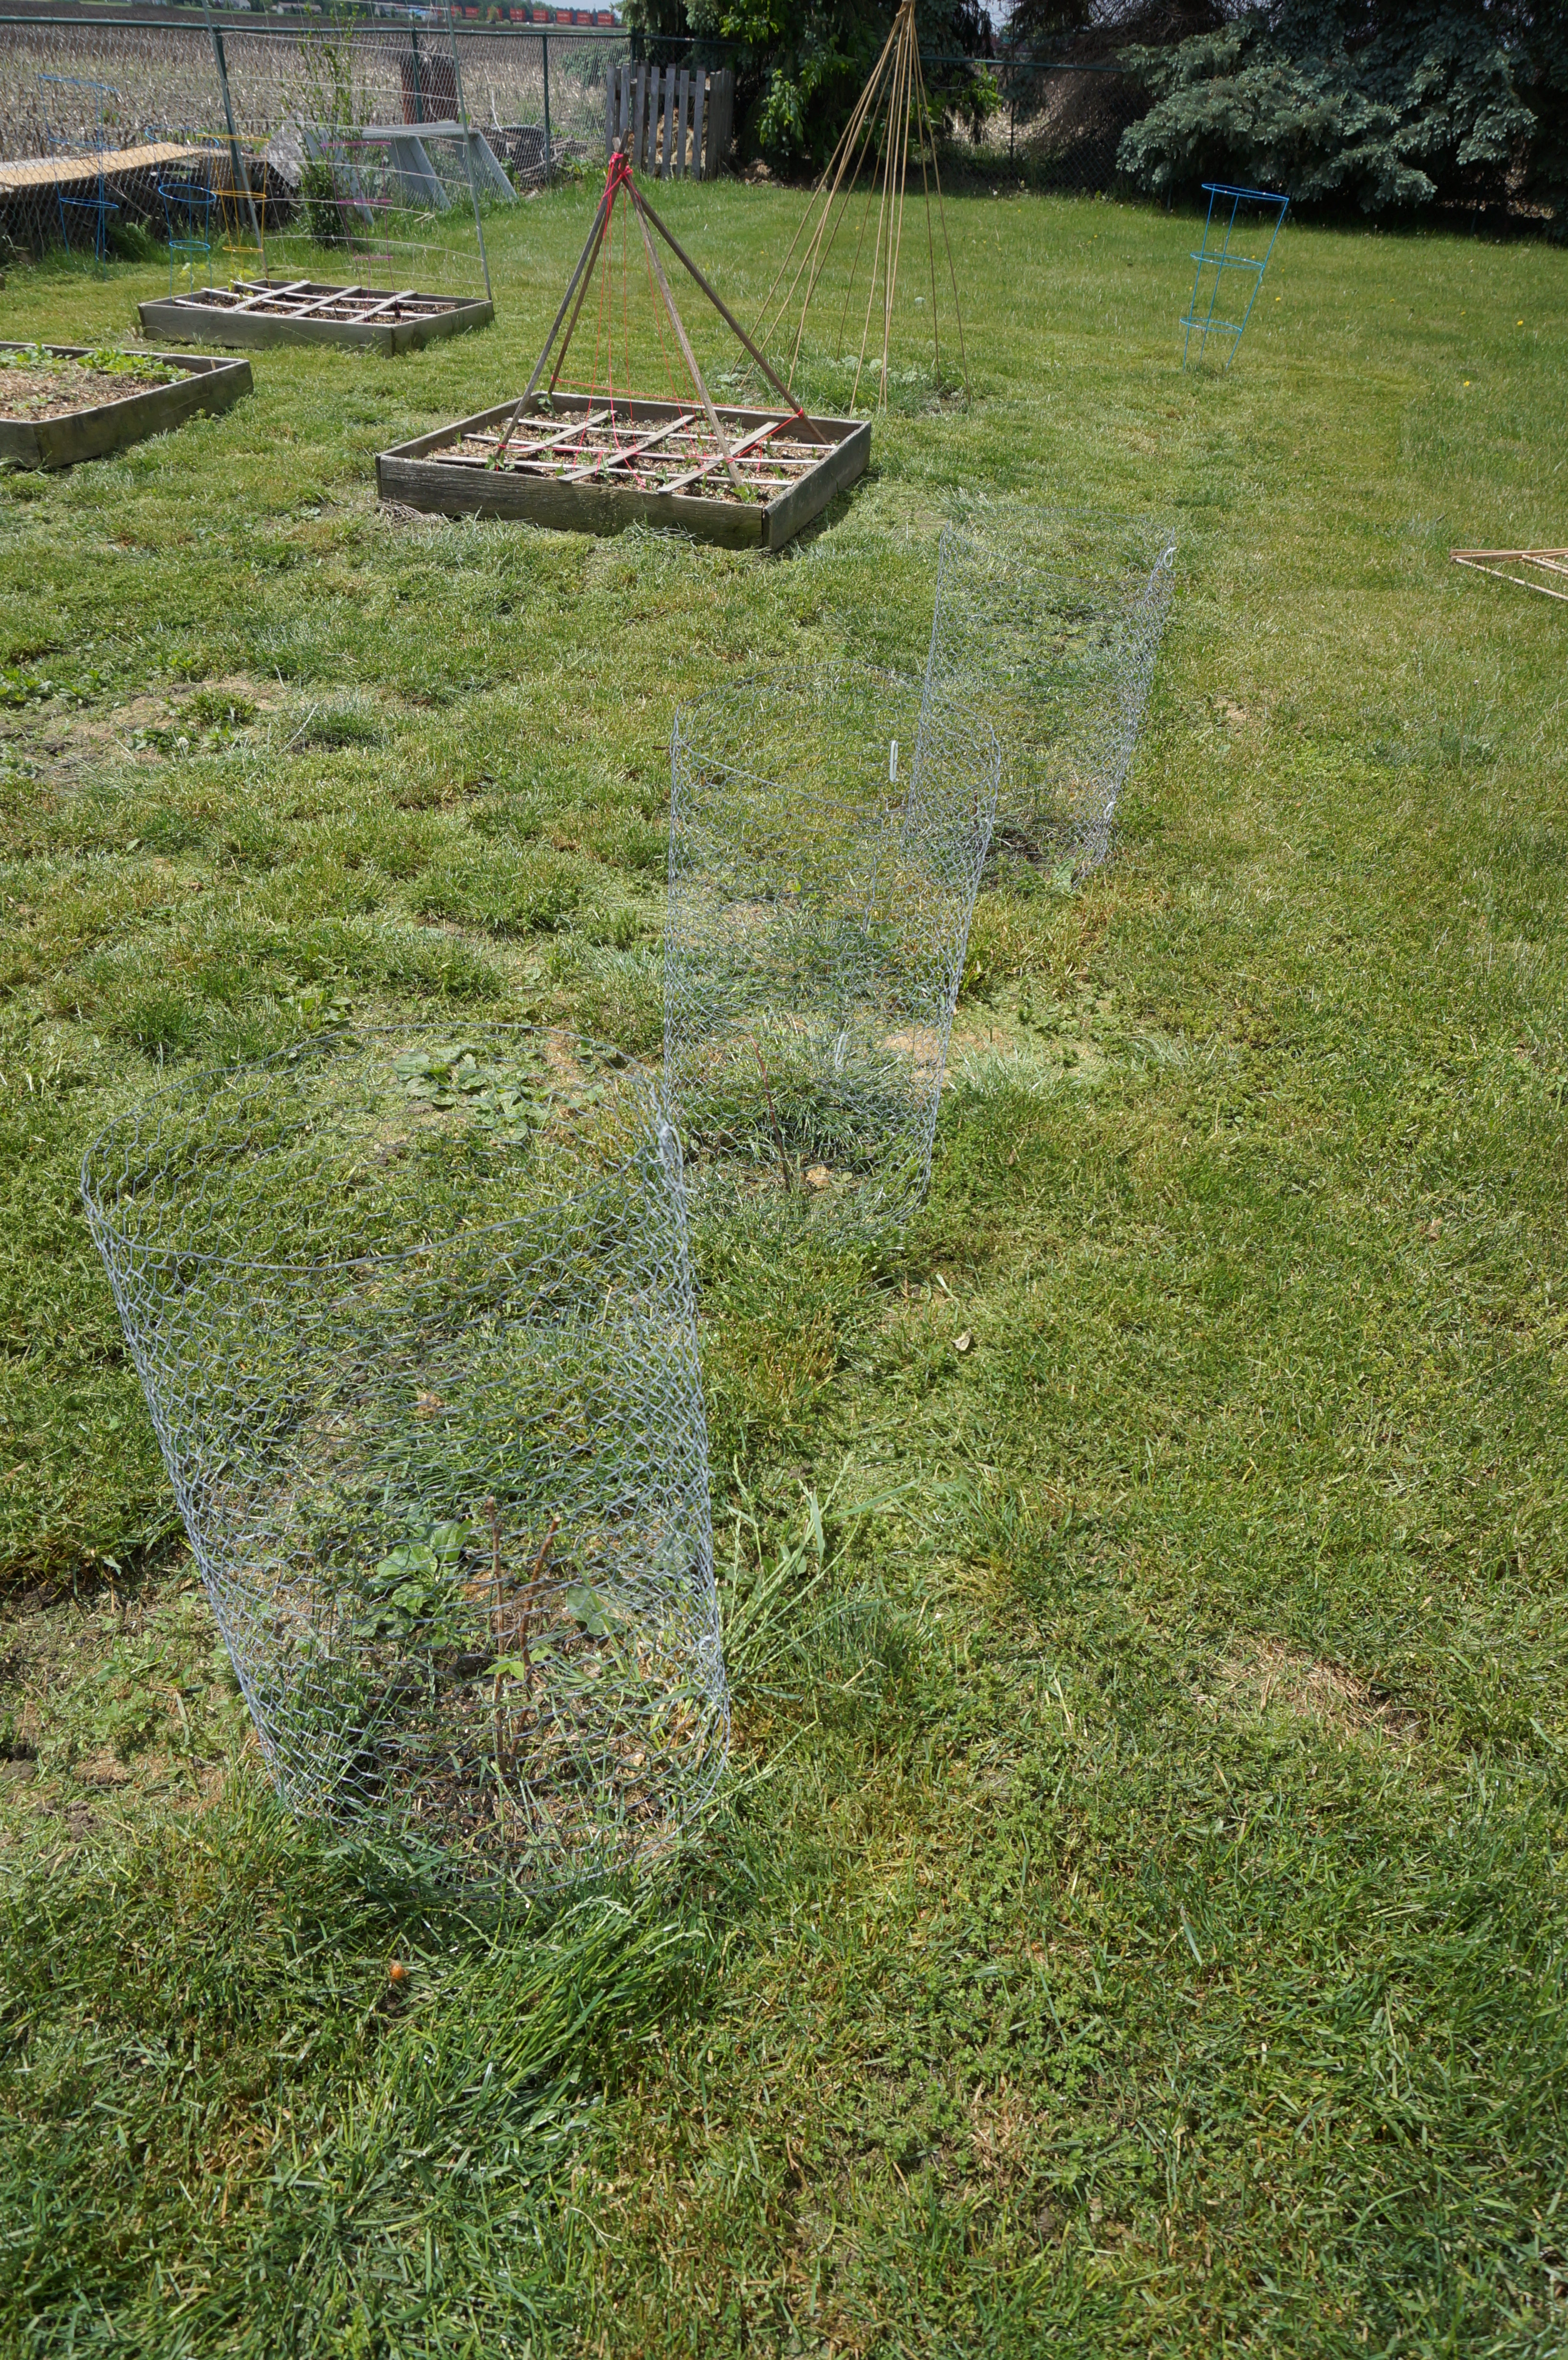
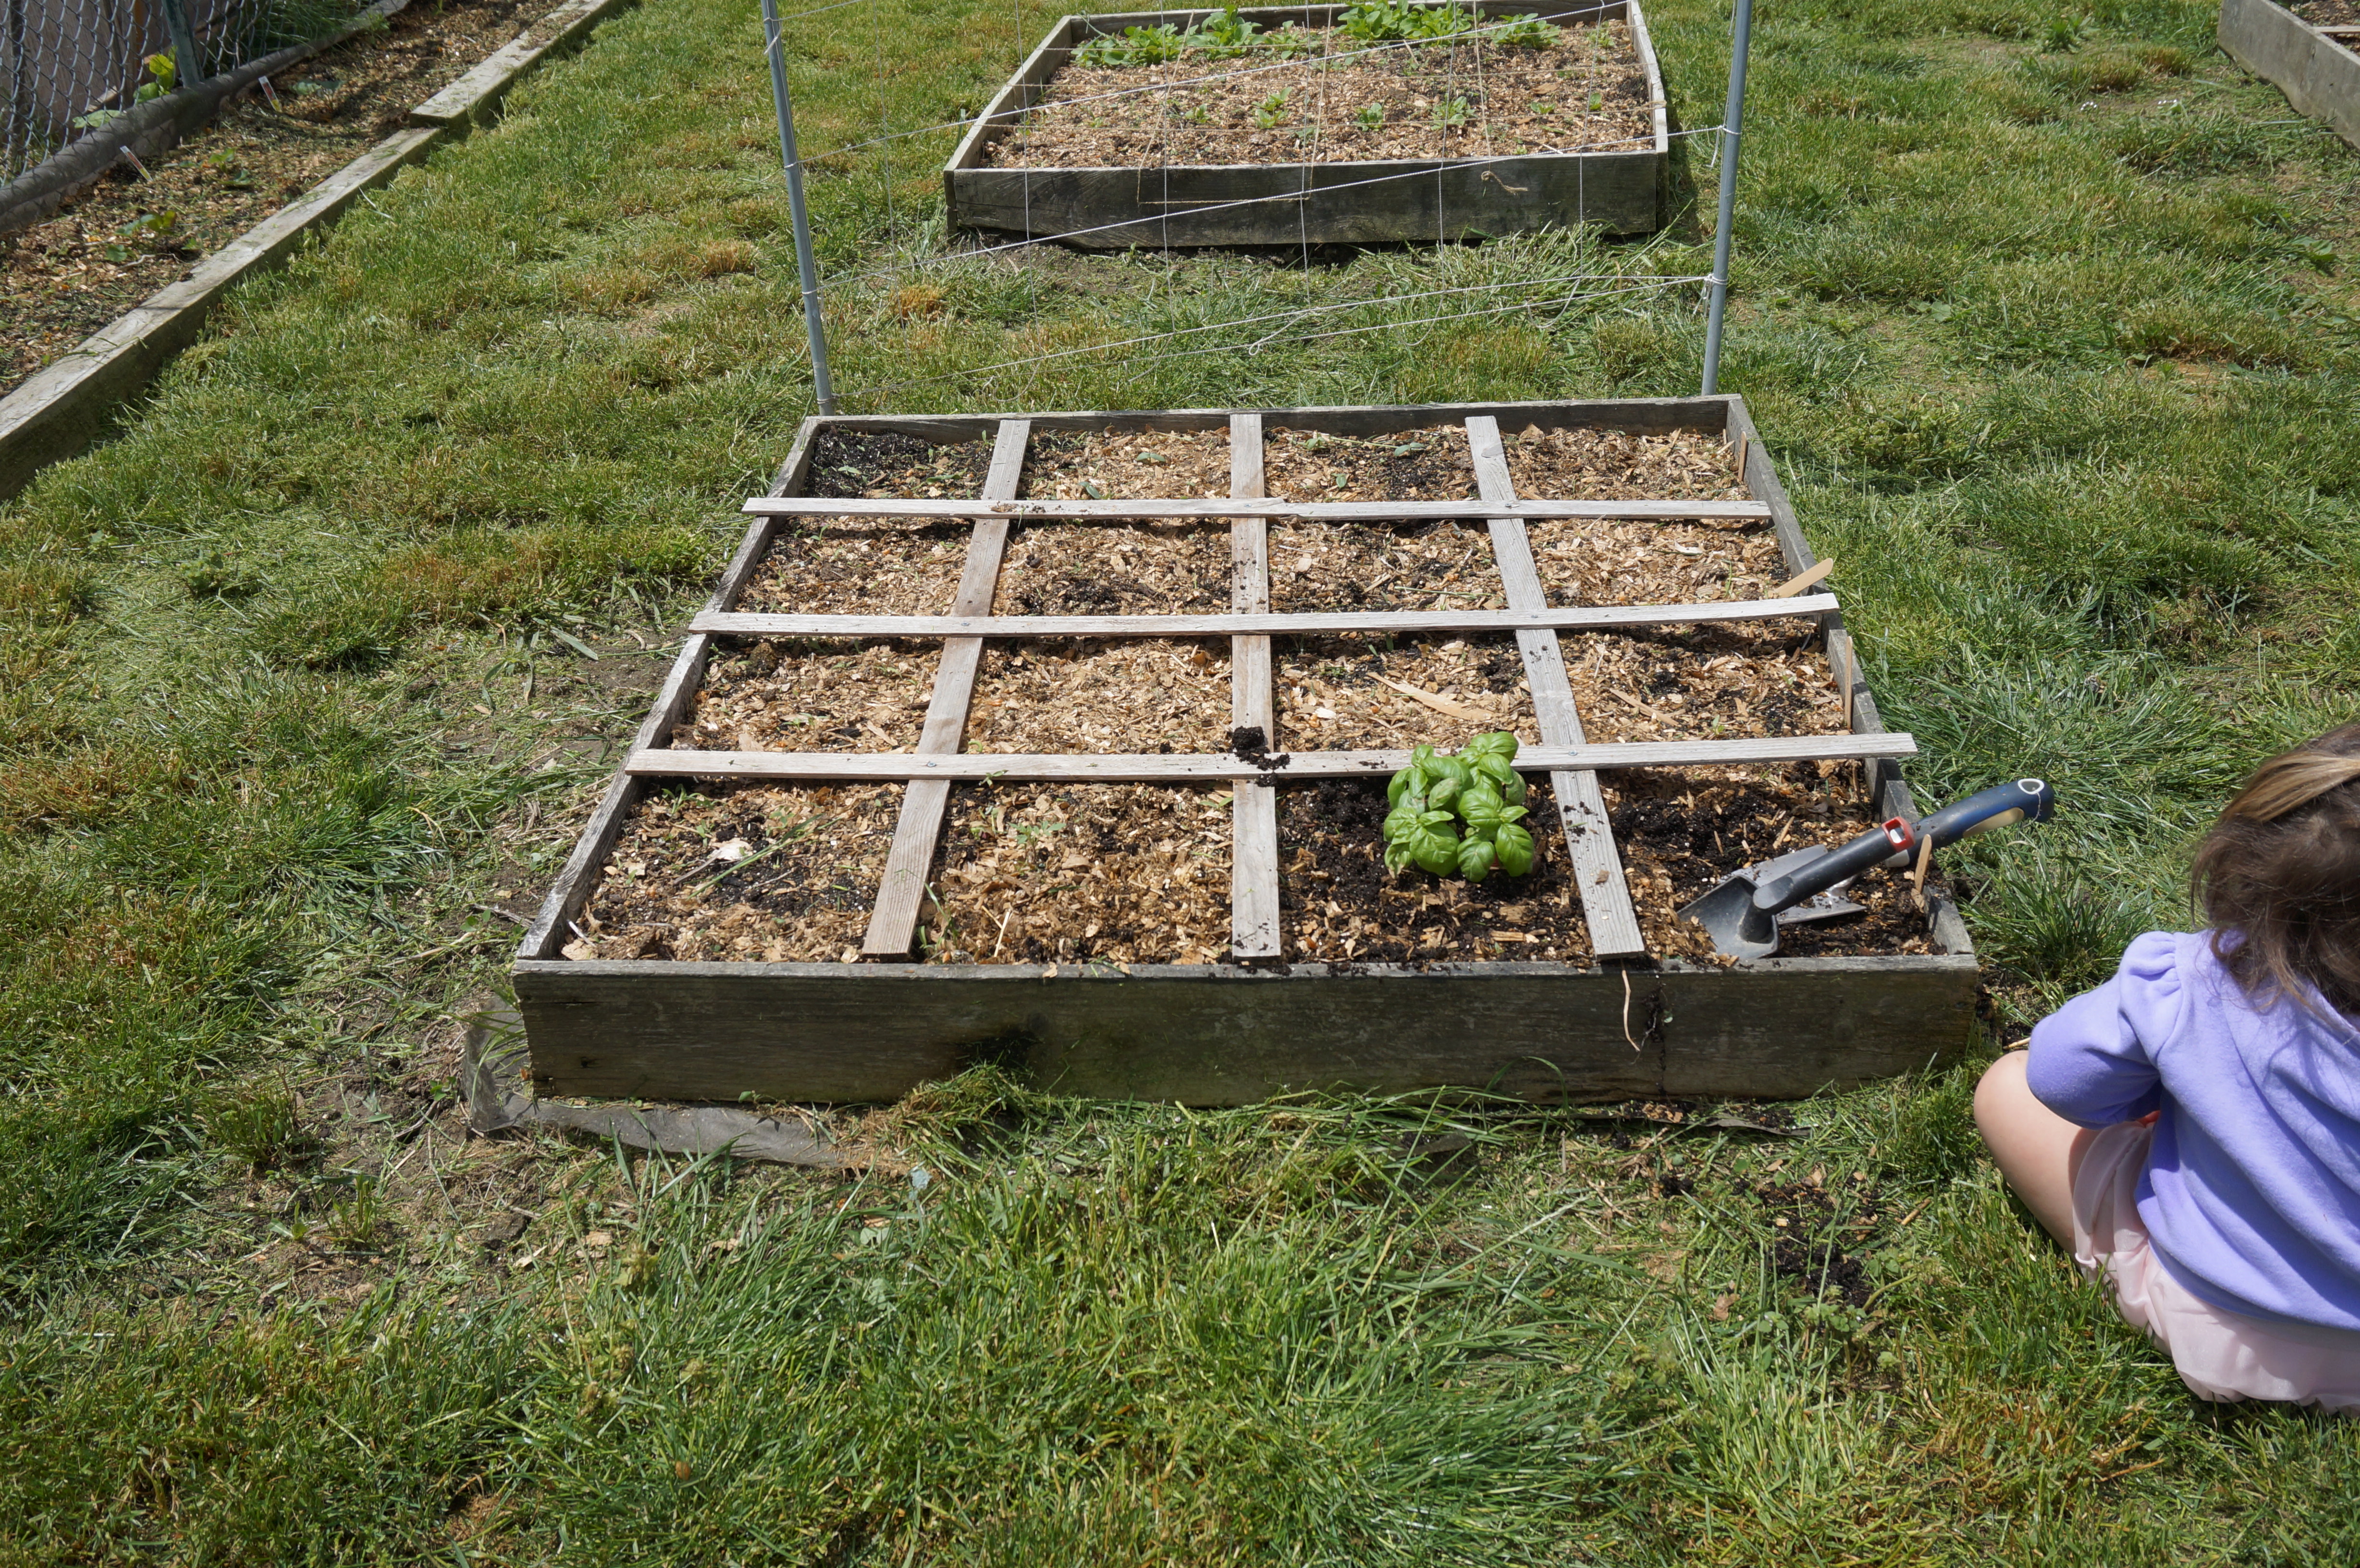
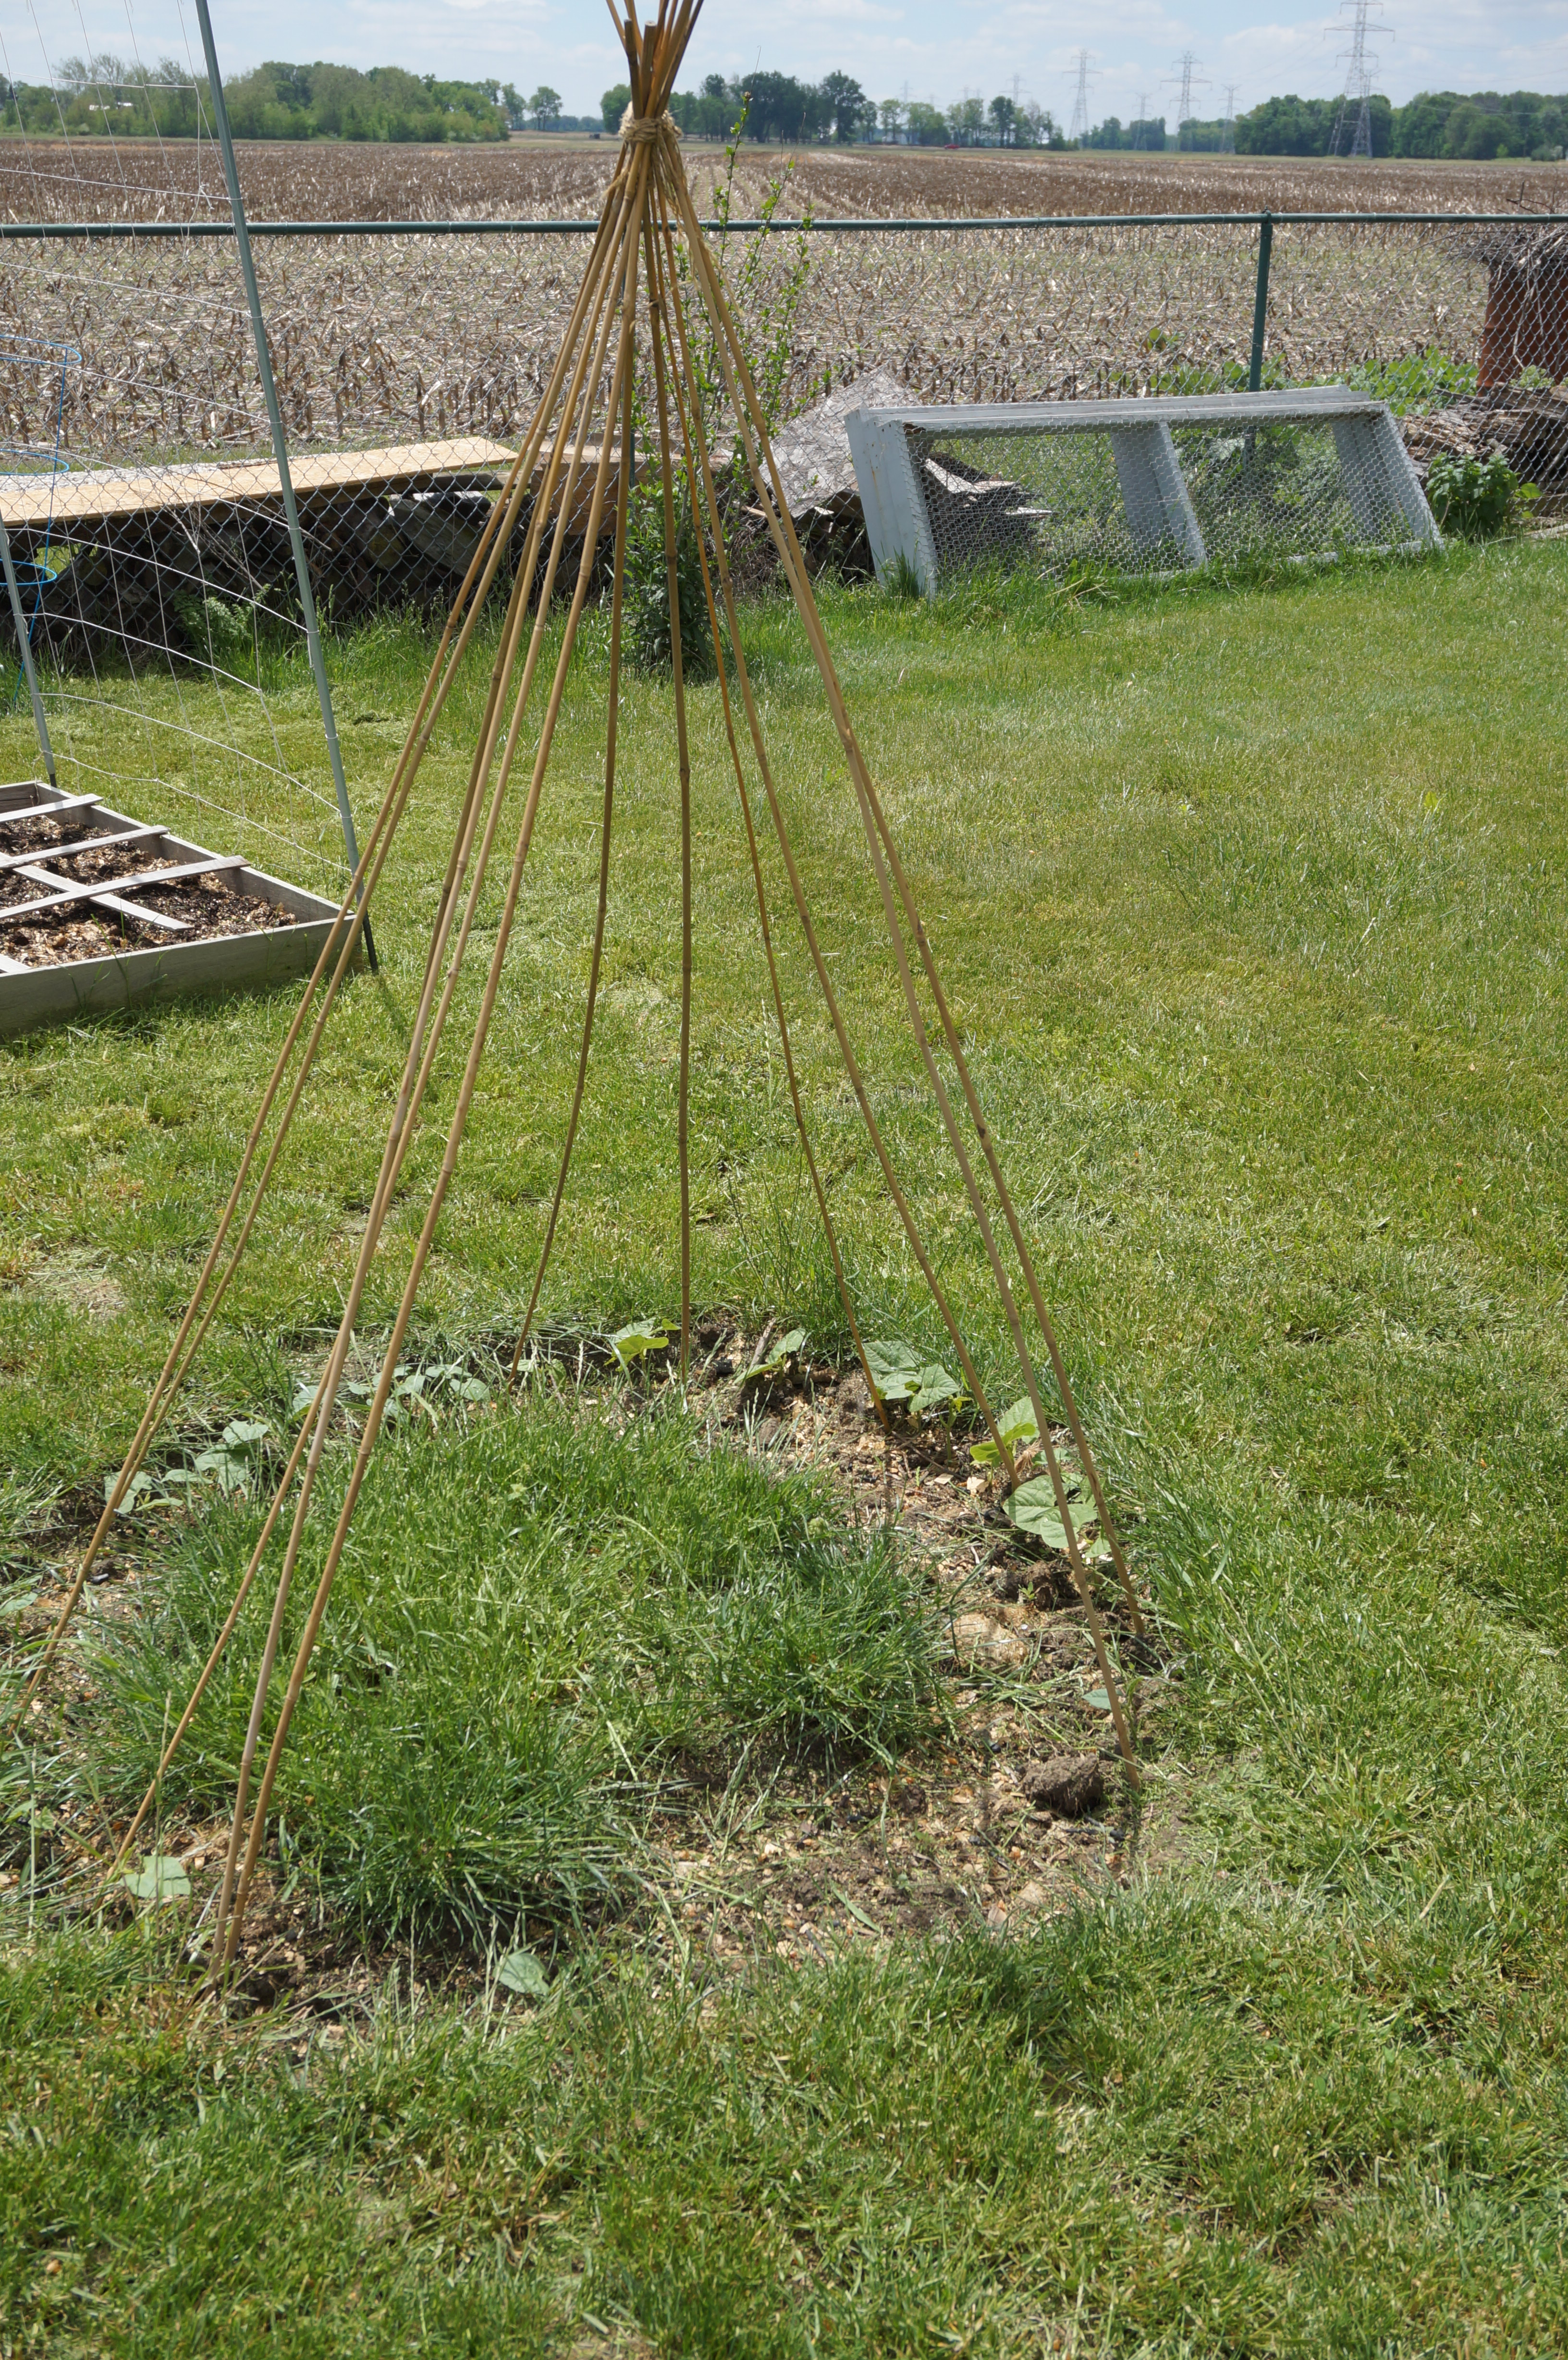
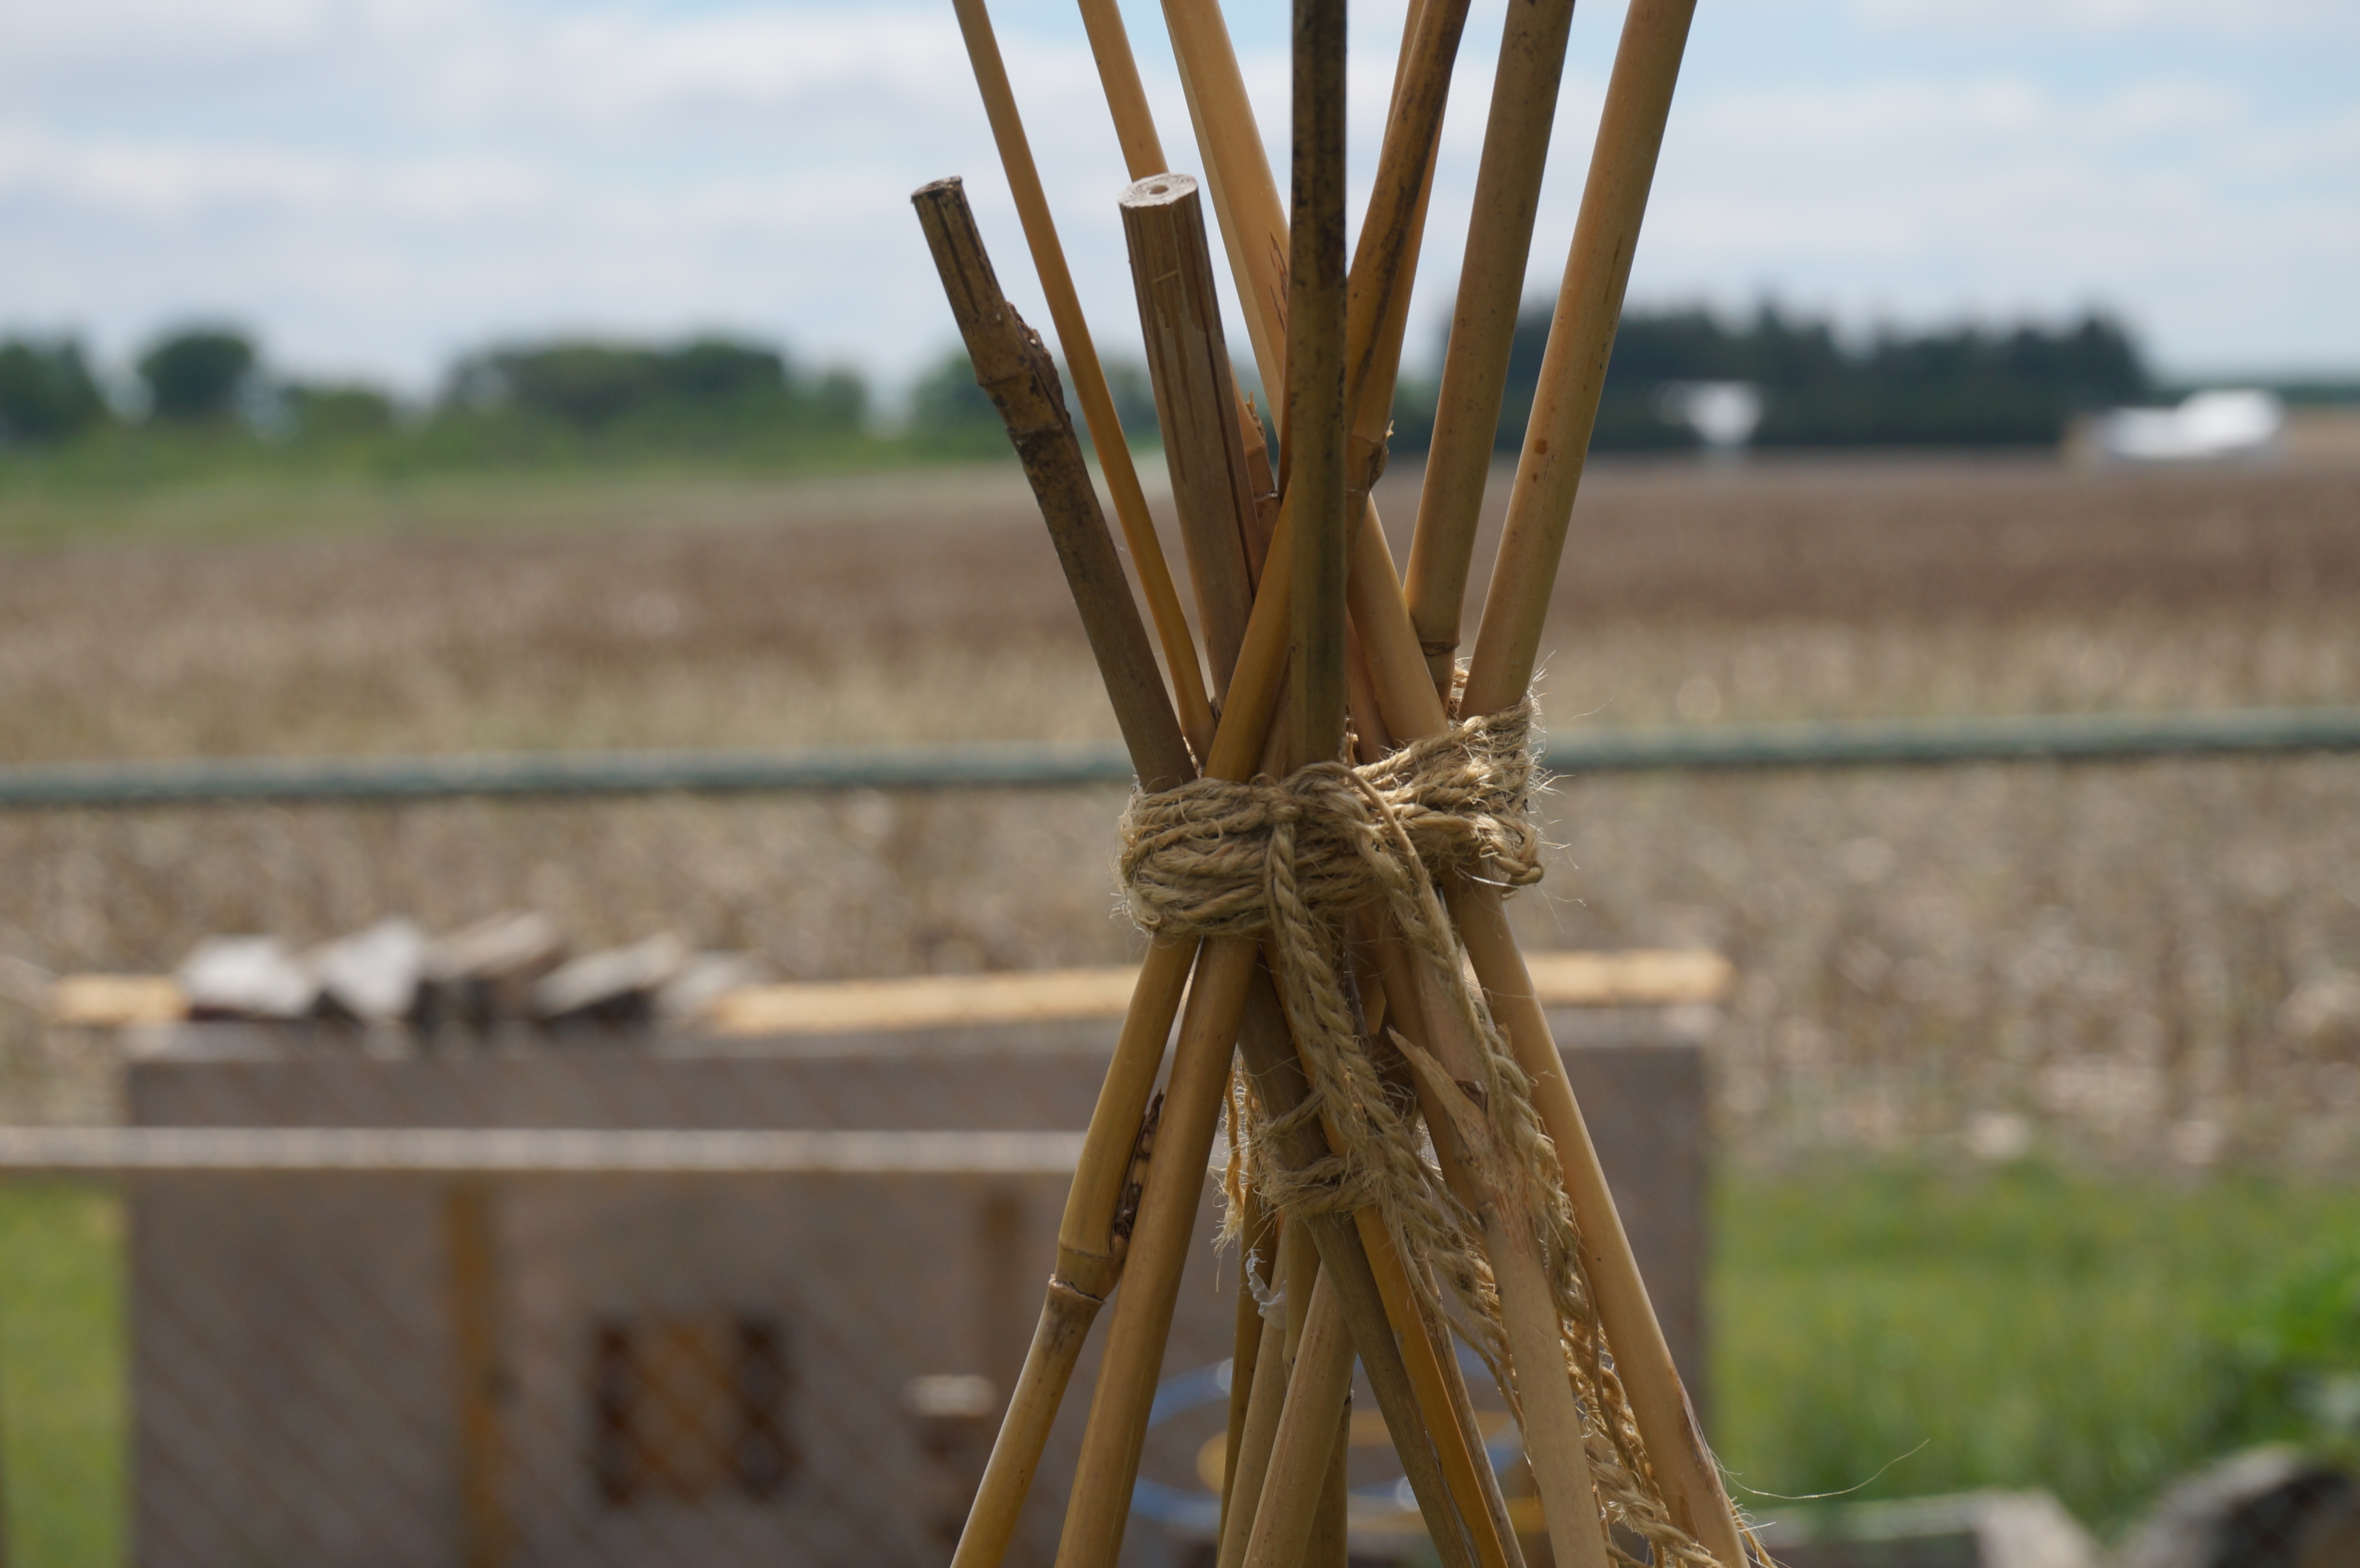
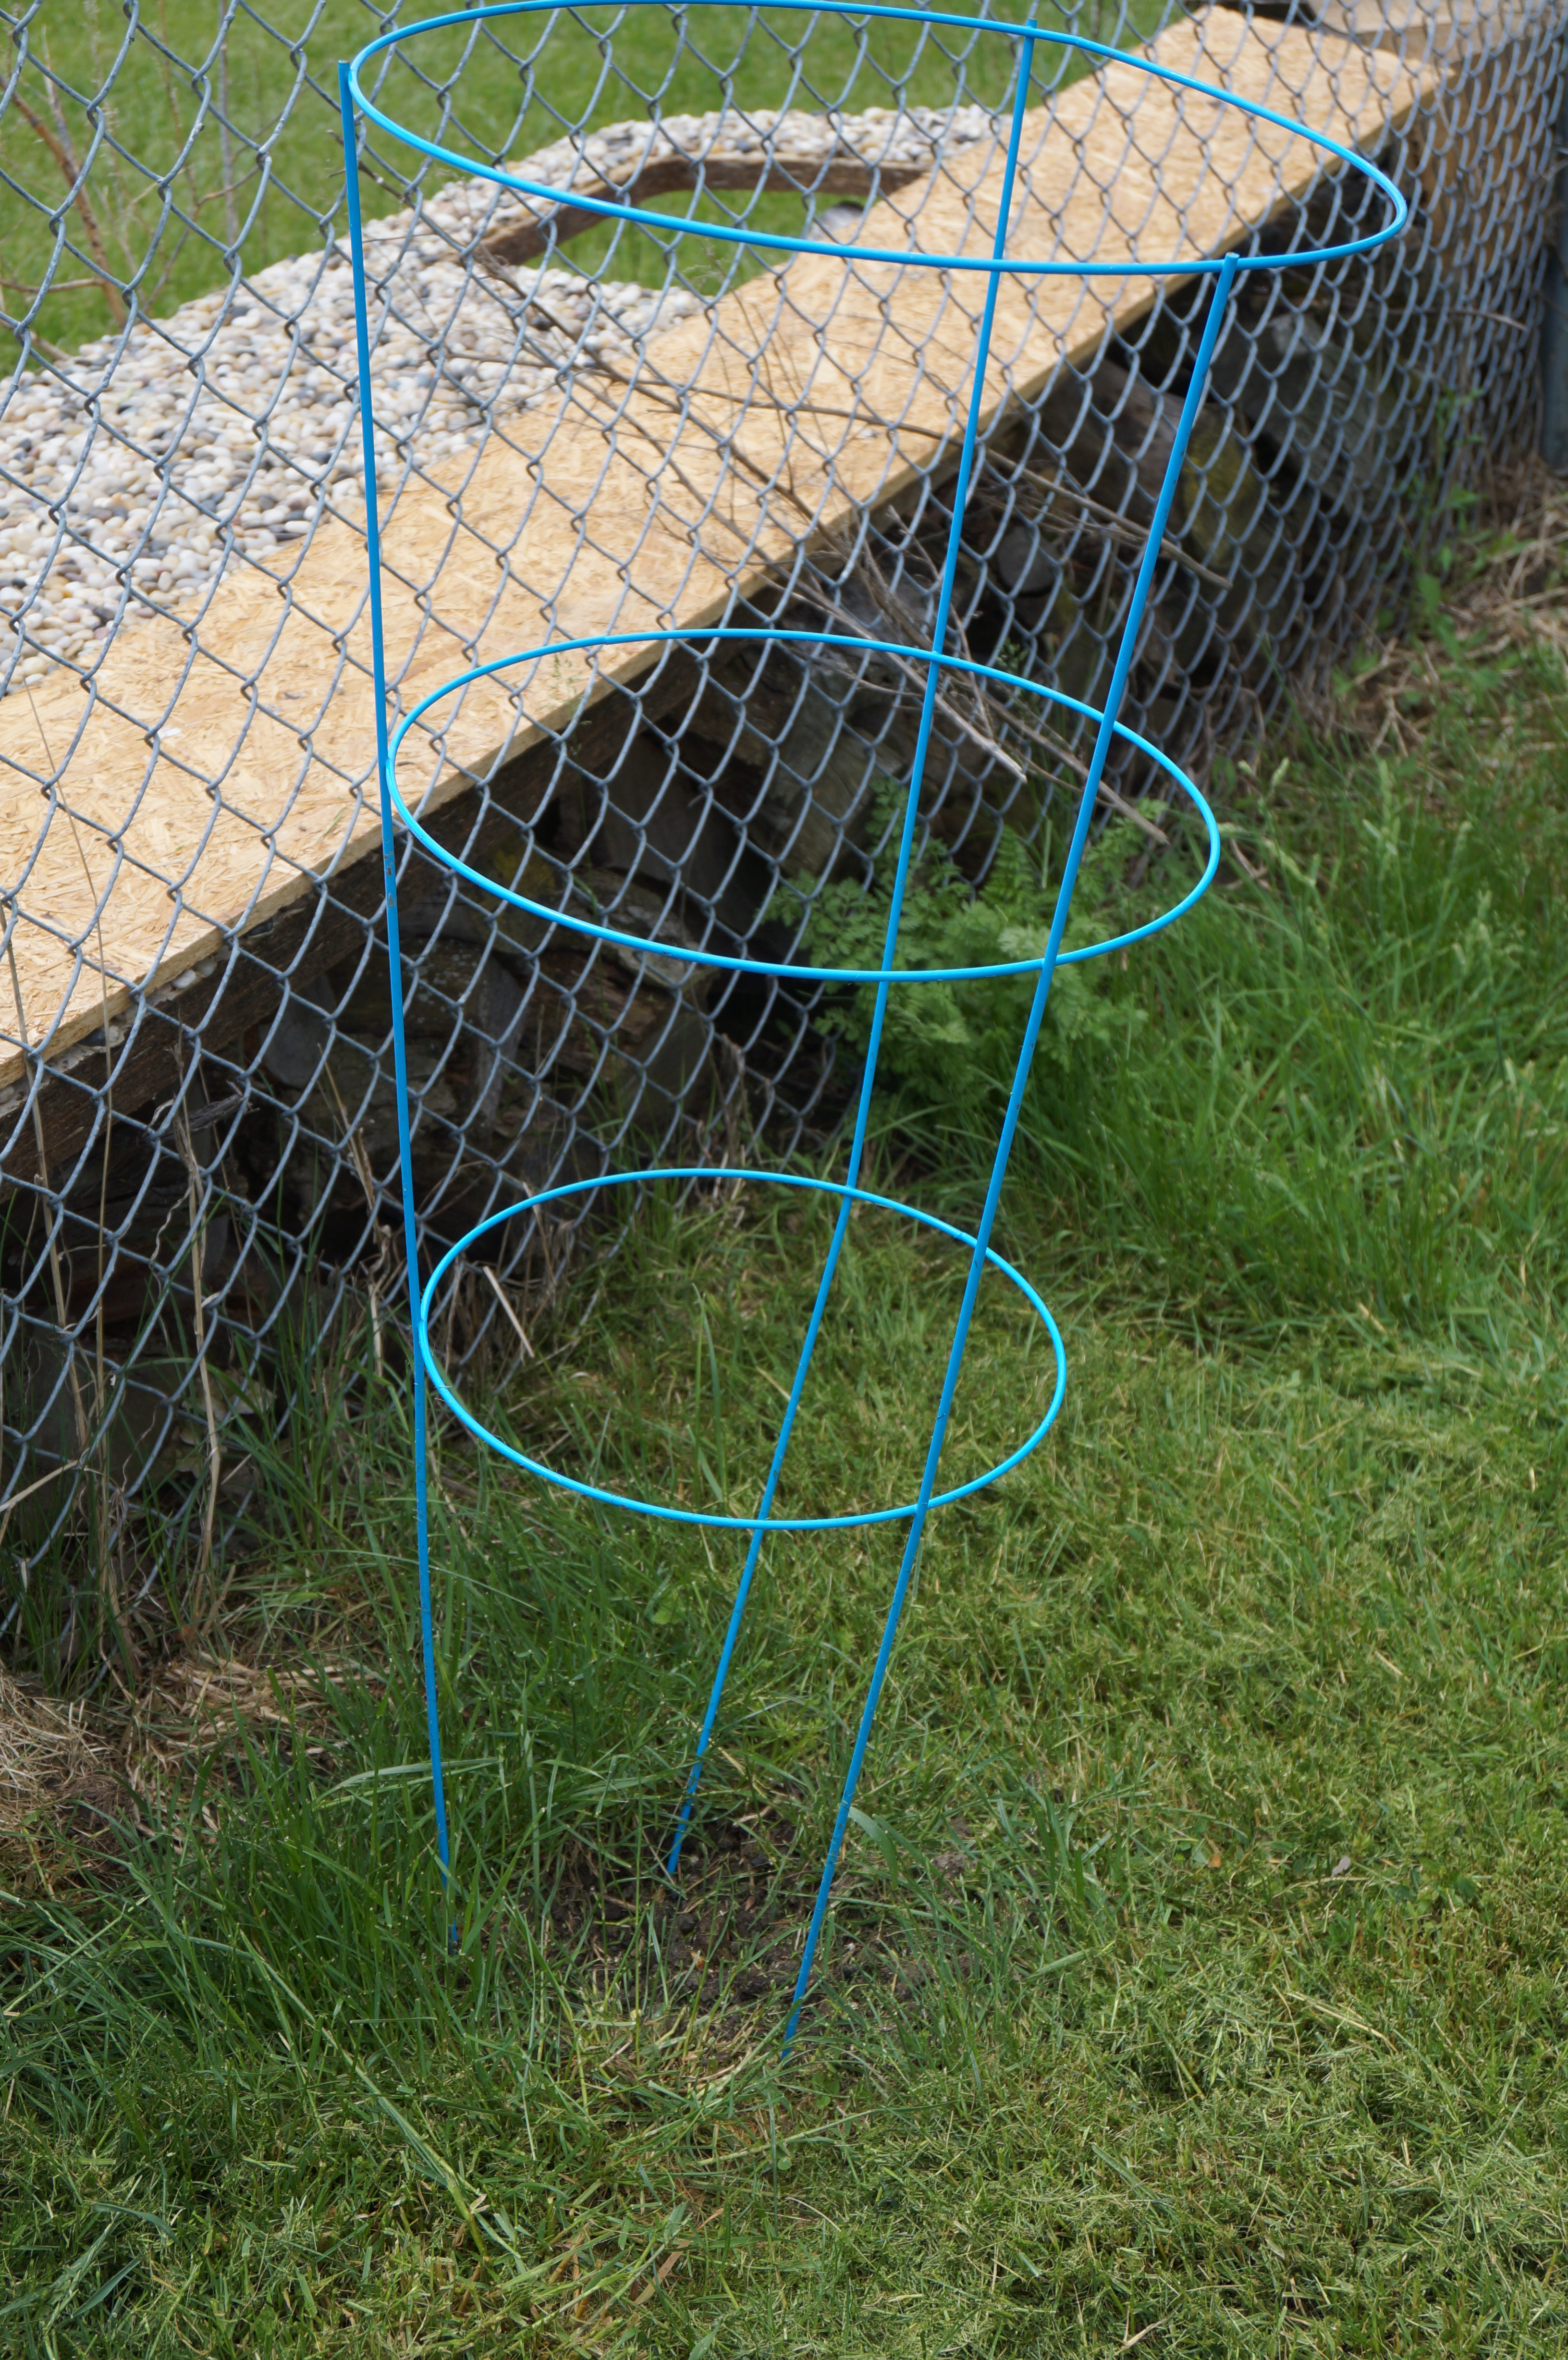
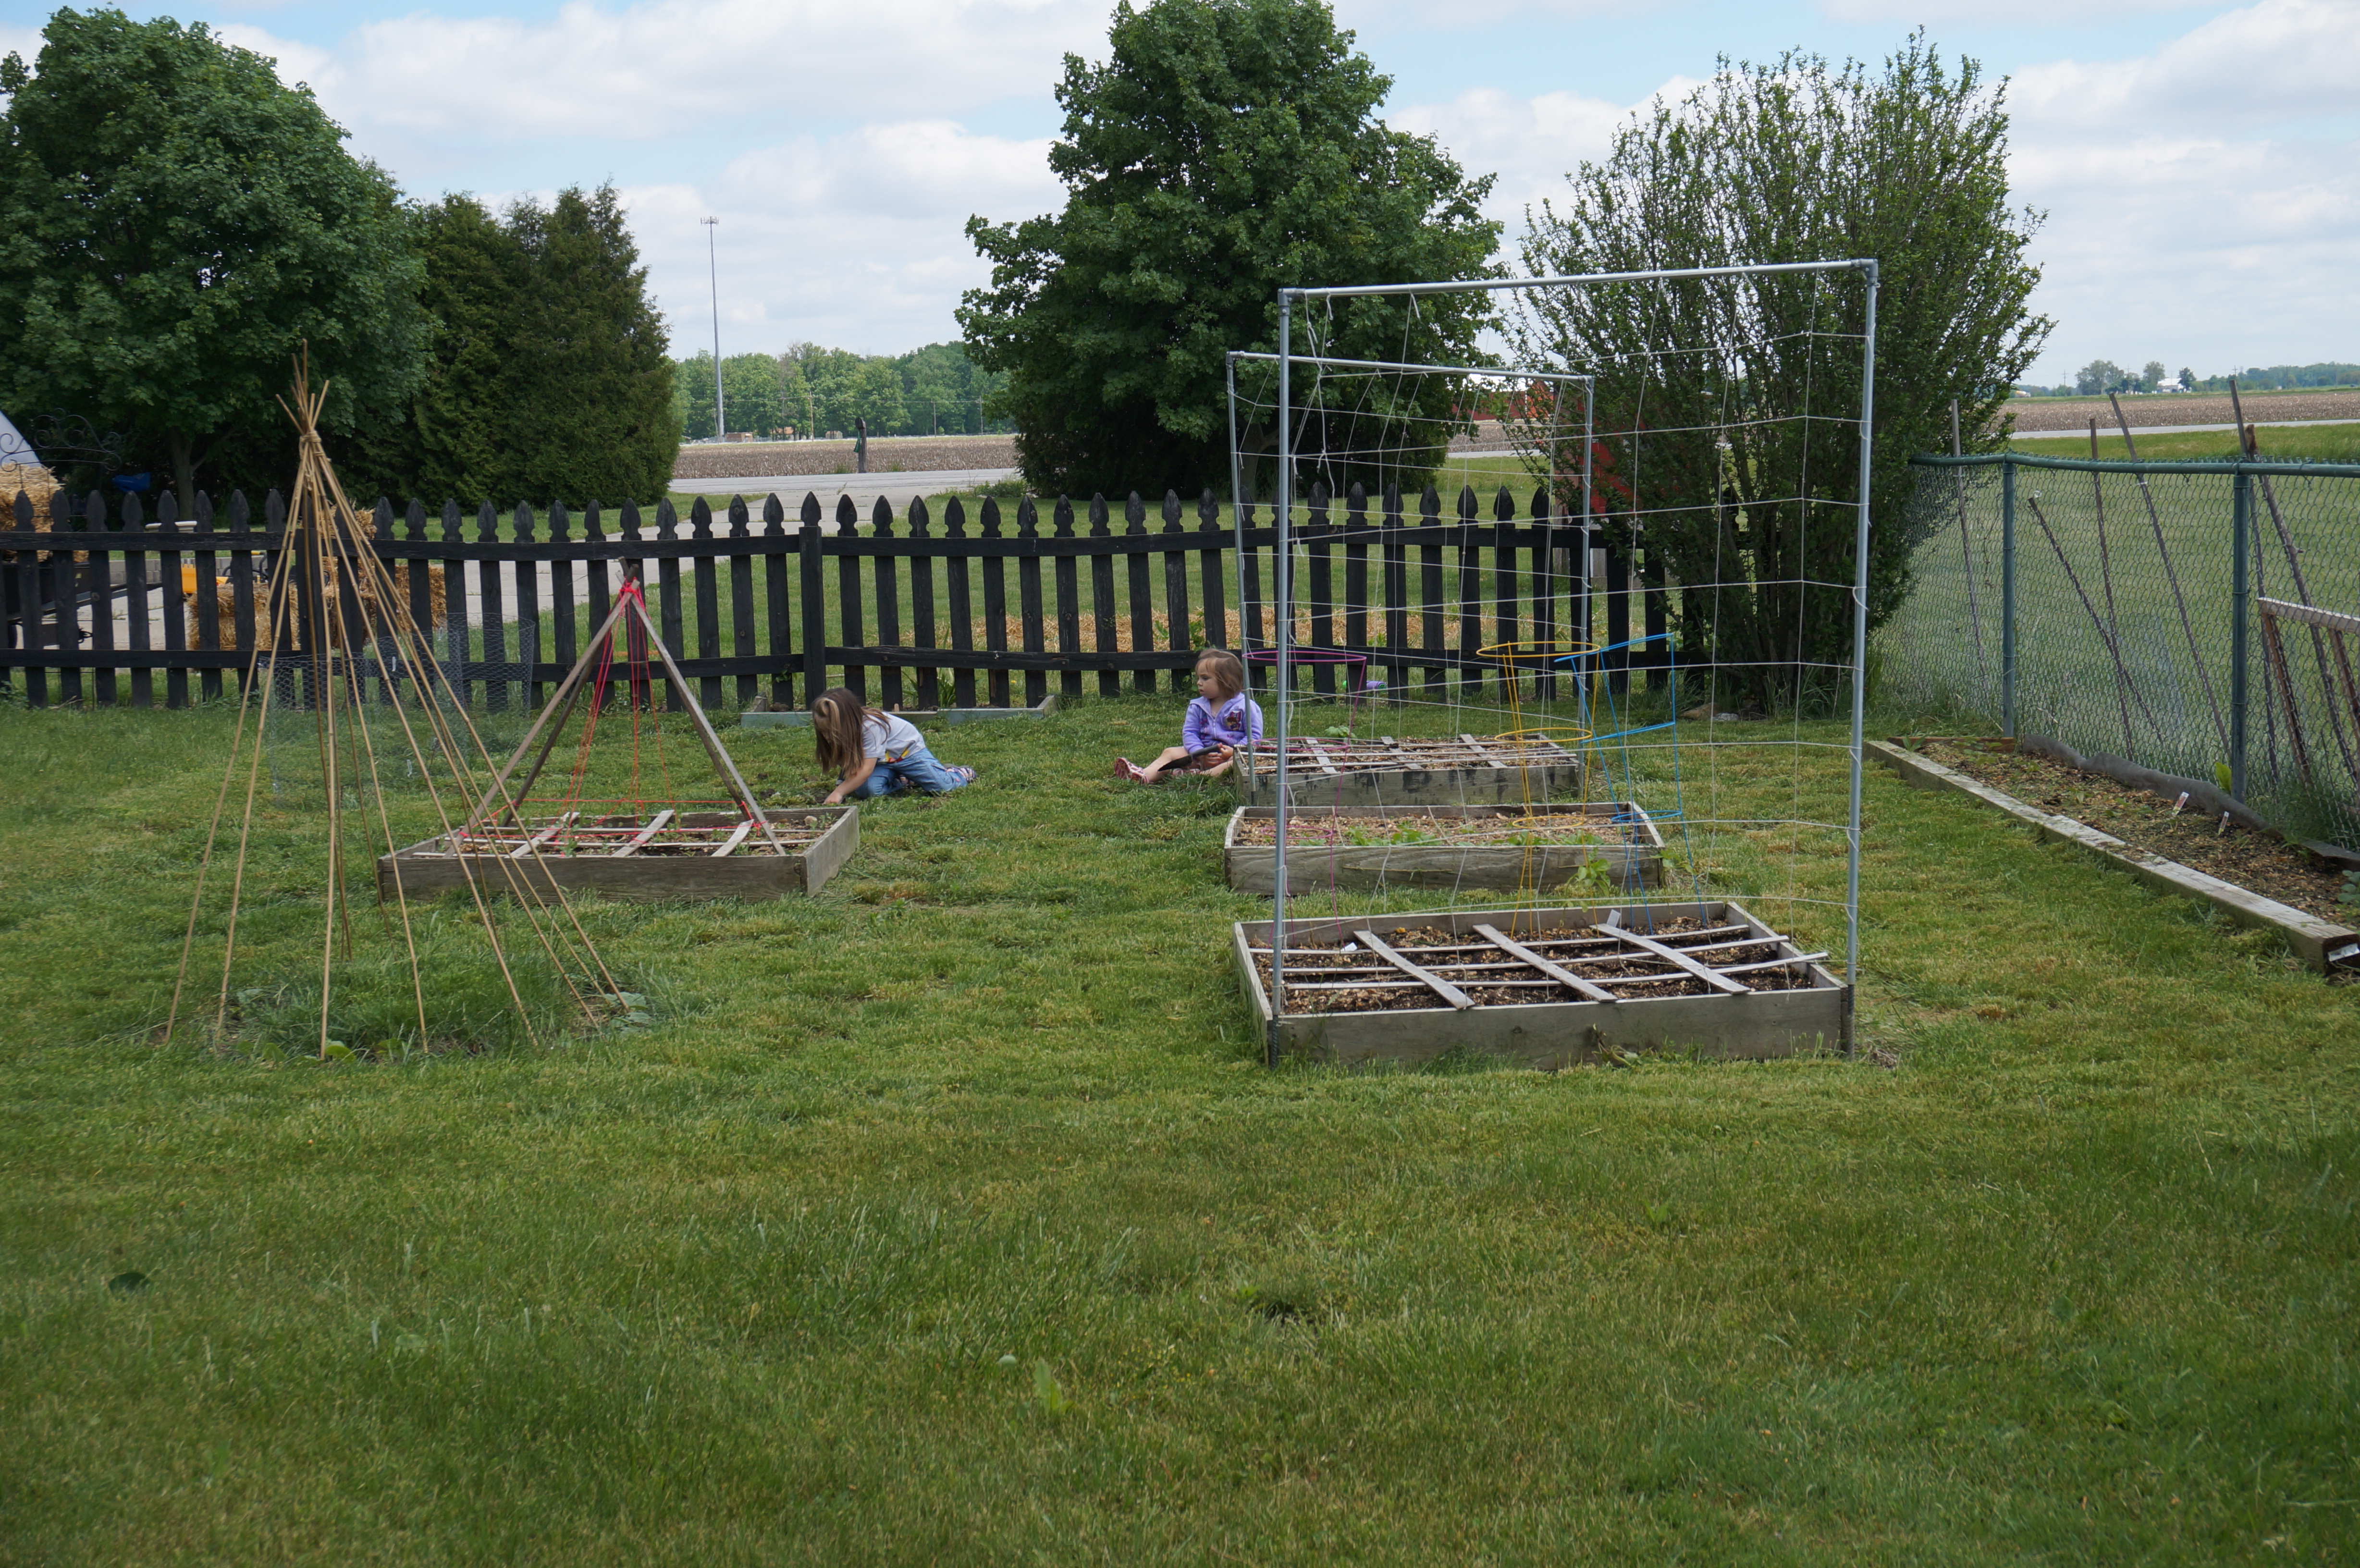
Actually, as cute as this teepee turned out, I’ve discovered that I don’t love pole beans.  They seem a little stringier and tough than bush beans…anyone else feel that way too?  I will use the teepee next year for a different climber or perhaps even flowers, and plant bush beans.

DSC02184

Anyone know the correct spelling of “teepee”?  According to Wikipedia, it can be spelled “tipi”, “tepee”, or “teepee”.  Spellchecker likes “tepee”, but I always thought it was “teepee”.

You know, once I spelled it out so many times, I don’t think any of them look right…

Anyway, fortunately for me, my in-laws planted more bush beans than the two of them could consume, and gladly handed me a large shopping back of green and wax beans!  (And I didn’t even have to pick them!!  Bonus!)  They also passed on a recipe I’ve been salivating over for a year now.  I’d never heard of “dilly beans” before I was given a taste last year, and WOW!  Mind. Blown.  They are like combining my favorite flavor – dill pickles – with my favorite vegetable – green beans.  What’s not to love?

DSC02205

Nothing.  That’s what.  There’s actually a recipe for Dilled Beans (what a boring name!  Not nearly as country and cute as “dilly”!) in the Ball Book of Home Preserving.  I kind of combined Ball’s recipe with my in-law’s recipe, because Ball calls for red bell peppers, which I NEVER have at home, but also called for peppercorns, which I thought sounded like a nice addition.  I’m going to give you my combined recipe, and I’ll mention substitutions as we go along.

DSC01933

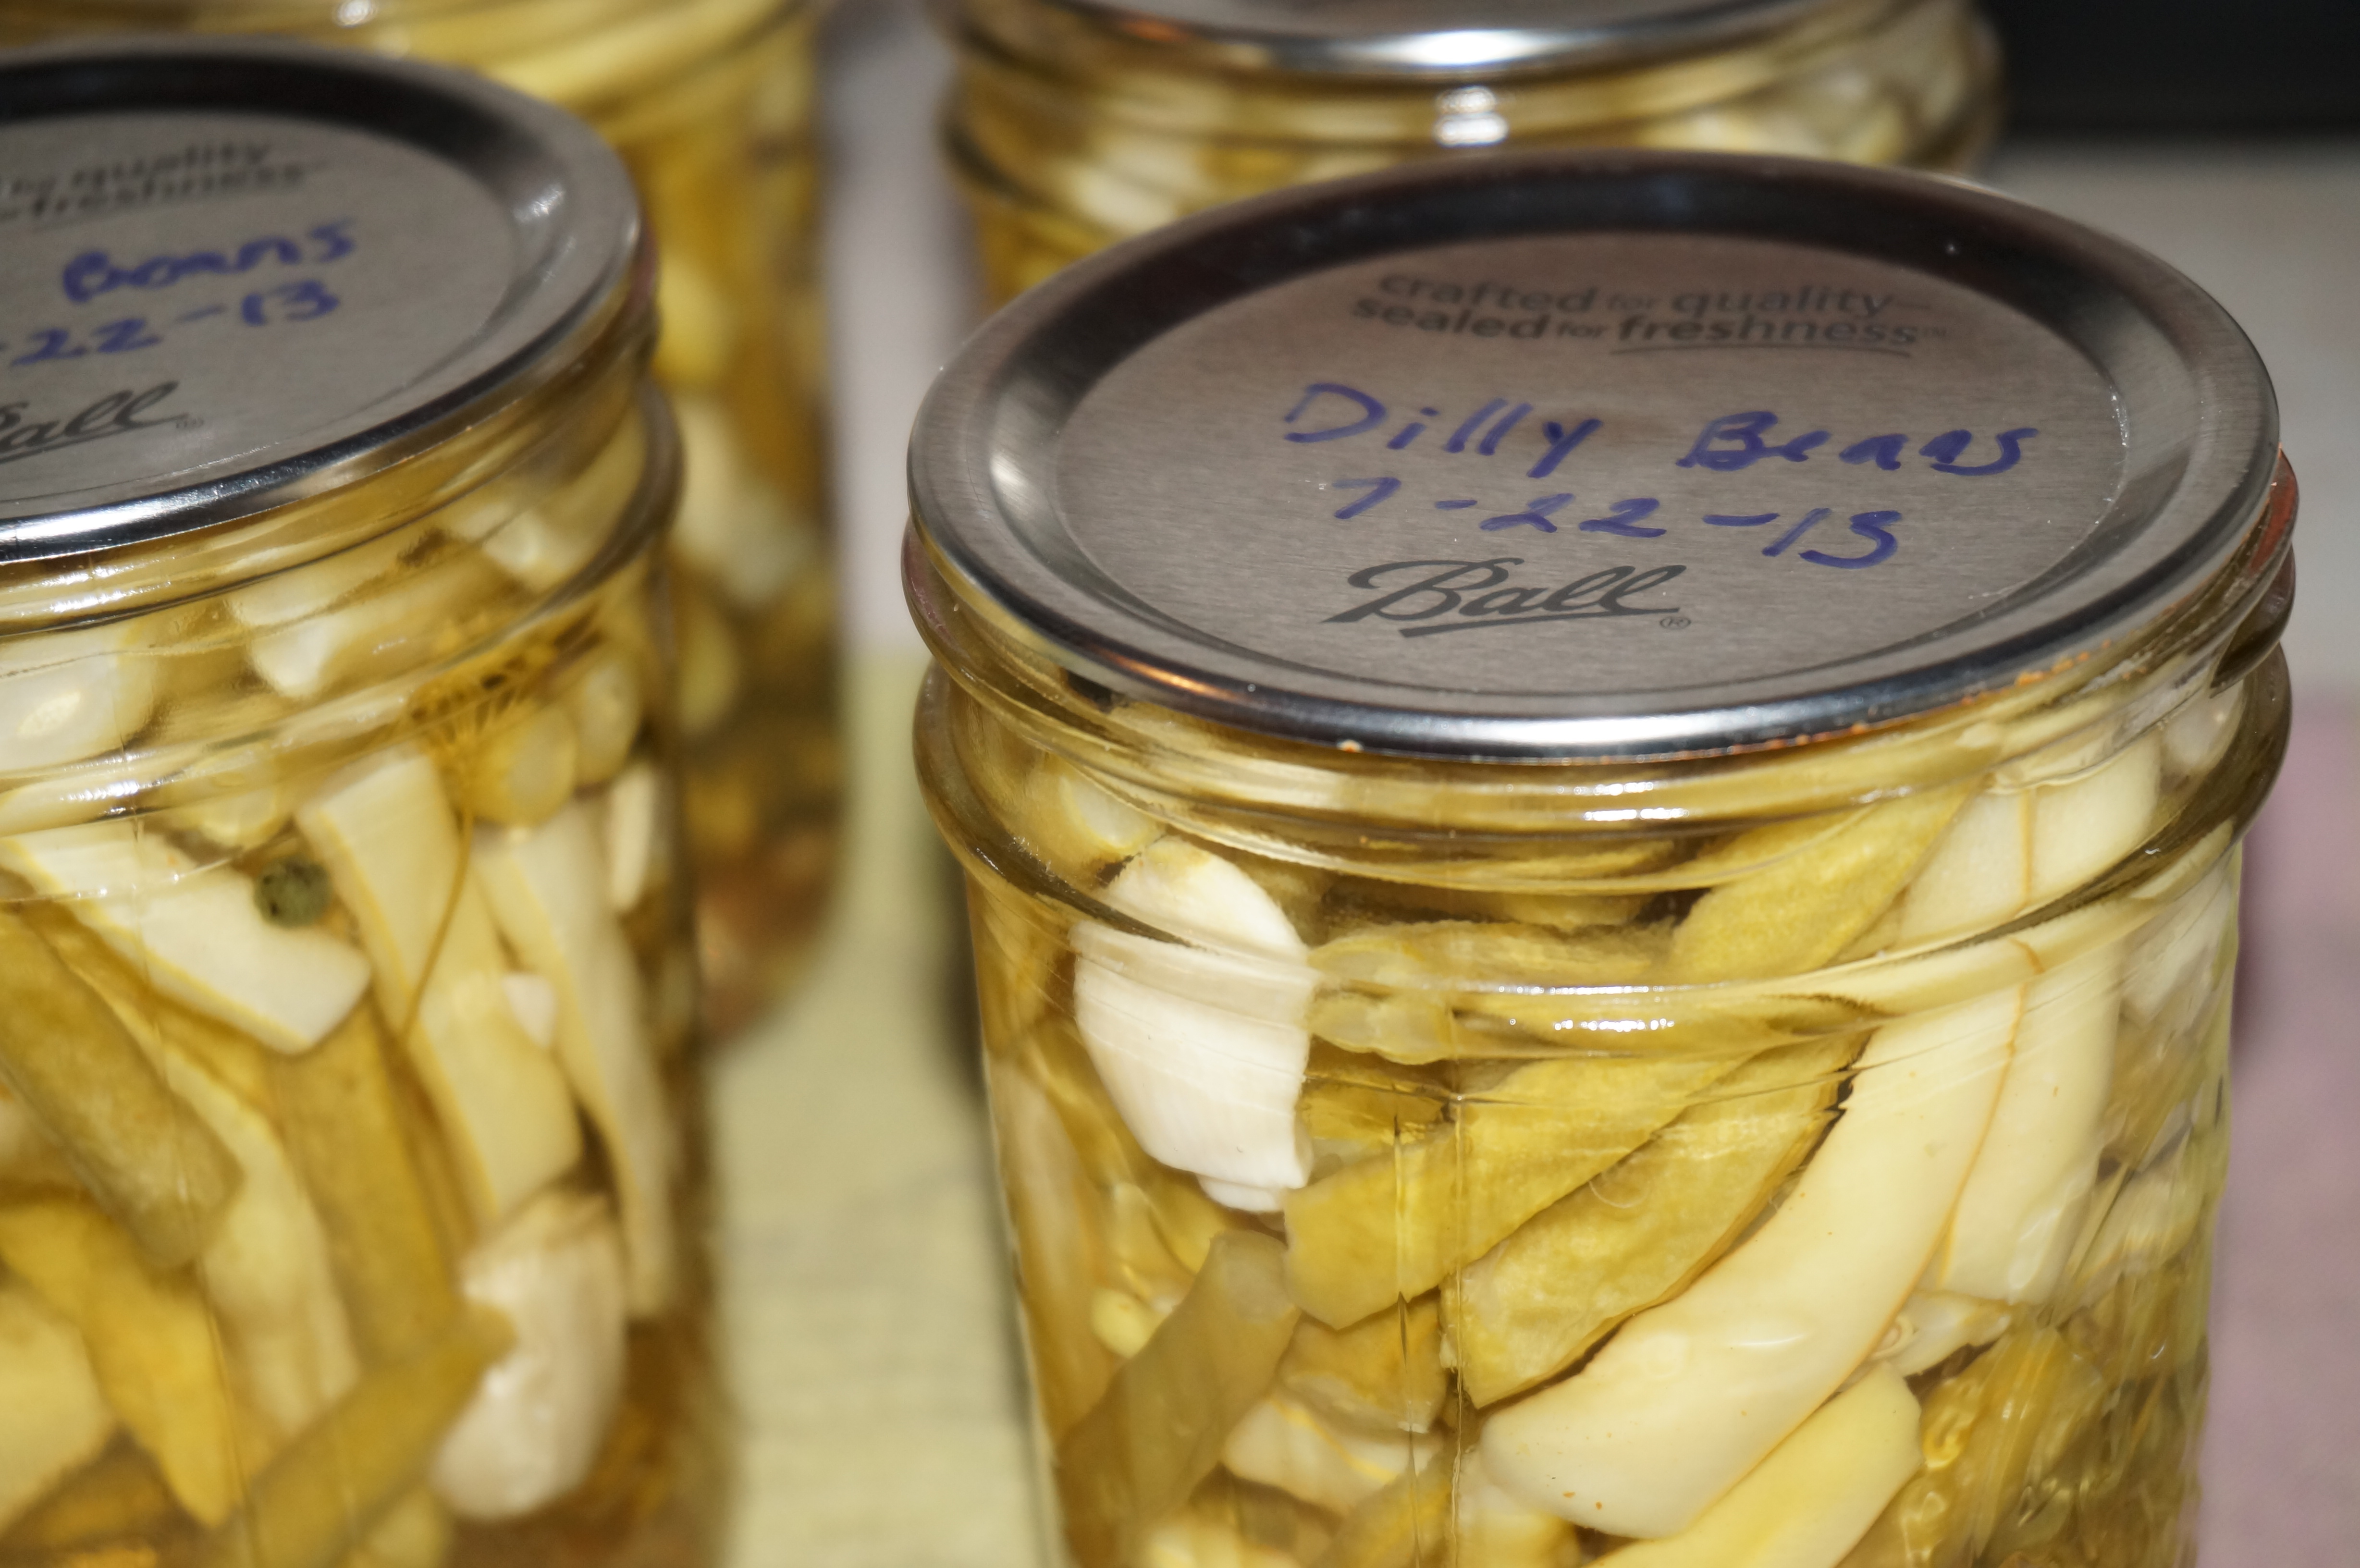
Dilly Beans Makes 4 pint jars

What you will need: 

  • 2lbs green and/or wax beans, washed and trimmed
  • 1/4 cup canning salt
  • 2 1/2 cups vinegar
  • 2 1/2 cups water
  • 1 tsp cayenne pepper (Here Ball calls for 2 small red bell peppers, seeded and sliced into thin strips)
  • 4 cloves of garlic, divided
  • 4-8 sprigs of fresh dill* (see notes below)
  • 12 whole peppercorns, optional

Directions:

Prepare canner, jars, and lids.  Combine salt, vinegar, and water in stainless steel saucepan over medium-high heat.  Bring to a boil, stirring to dissolve salt.  You can trim the beans to “jar-length” or into “grocery store style frozen cut green beans-length” like I did.  Personal preference trumps aesthetics!

DSC01914

Place 3 peppercorns, 1 or 2 sprigs of dill (or 3…), cayenne (or one strip of red pepper), and one clove of garlic in each hot jar.  I wussed out on the cayenne here and only used a “smidgen”.  Seriously.  My measuring spoon says “smidgen”.  Isn’t it cute?

DSC01916

Pack beans into jars to within a 1/2 inch headspace.

DSC01913

Ladle hot brine into jars to cover beans, leaving 1/2 inch headspace.  Remove air bubbles, adjust headspace if necessary.  Wipe rim.  Center lid on jar, tighten ring with normal pressure.  Do not over-tighten.  Place jars in canner, ensuring they are completely covered with water.   Bring to a boil and process for 10 minutes.  Remove canner lid.  Wait 5 minutes, then remove jars, cool and store.

A few notes:

DSC02100

*Dill sprigs are the smaller “flower” of the entire dill head.  You can use scissors to cut the sprigs from the head.

I never seem to have enough brine, no matter how much the recipe calls for.  I went ahead and tripled this recipe because I had more like 5lbs of beans, but couldn’t fit all the pints into my canner.  So I simply refrigerated the last jar of dilly beans.  This worked, but give them a week to really pickle correctly!  I kept trying them every day, and by about 7 days the two remaining beans were nice and pickly flavored!  Ha!  I do think the flavor is best canned, though.

Drying Dill:

DSC02101

If you were lucky to be given several giant heads of dill from your parent’s garden like I was, hang them up to dry!  Once the seeds are dry, you can harvest them and store them in a jar for future recipes!  I just store mine in an old “dill seed” spice jar because it’s already labeled, and it fits on my lazy susan.  So far I haven’t had an issues with molding, although if you store them before they are completely dried, that may happen.  In the above picture you can see the difference between a head of “completely dried” dill, and one that still needs a week or so.  In the meantime, it makes me look all productive and stuff with the dill hanging there, doesn’t it?  Ha ha!

For easier printing:

  • 2lbs green and/or wax beans, washed and trimmed
  • 1/4 cup canning salt
  • 2 1/2 cups vinegar
  • 2 1/2 cups water
  • 1 tsp cayenne pepper (Or 2 small red bell peppers, seeded and sliced into thin strips)
  • 4 cloves of garlic, divided
  • 4-8 sprigs of fresh dill*
  • 12 whole peppercorns, optional

Directions:

  1. Prepare canner, jars, and lids
  2. Combine salt, vinegar, and water in stainless steel saucepan over medium-high heat.  Bring to a boil, stirring to dissolve salt.
  3. Place 3 peppercorns, 1 or 2 sprigs of dill, cayenne (or one strip of red pepper), and one clove of garlic in each hot jar.  Pack beans into jars to within a 1/2 inch headspace.  Ladle hot brine into jars to cover beans, leaving 1/2 inch headspace.  Remove air bubbles, adjust headspace if necessary.  Wipe rim.  Center lid on jar, tighten ring with normal pressure.  Do not over-tighten.
  4. Place jars in canner, ensuring they are completely covered with water.   Bring to a boil and process for 10 minutes.  Remove canner lid.  Wait 5 minutes, then remove jars, cool and store.

One more thing… great taste buds think alike, apparently!  Just yesterday, as I was working on this post, my favorite sister-in-law, Erin, posted this Japanese green bean stir fry recipe!  It looks DELICIOUS, and I think I’m going to go pick some beans this weekend at my mother-and-father-in-law’s garden just to try it!

Categories: Canning, Dehydrating, Pickles, Vegetables | Tags: , , , , , , , , , ,

A Very Lengthy Tour of My Garden

DSC01182(First of all, don’t those clouds look like something from The Simpsons? HA!)

My garden is mostly planted and I am just so pleased with it!  Last year, I tried Square Foot Gardening for the first time and loved it.  I learned a few valuable lessons regarding over-crowding last year, and I think I made the right adjustments this year.  This is the straight-on view of my entire garden.  On the very left up against the fence is a new addition, an asparagus patch!

DSC01185Nothing to see yet, really.  Asparagus takes three years before you can harvest it, and then it grows prolifically as a perennial, apparently.  I’ve  never had asparagus straight out of a garden before, so that will be a real treat!

DSC01183Right next to the asparagus patch is something else that is new to my garden and my experience:  Raspberry bushes!  I planted two red bushes and one golden, just for funsies.  I doubt I’ll get a harvest this year, but hopefully next year?  I’ve never grown raspberries before, so I’m really not sure when I can expect to harvest.  I know my girls are going to be all over them, though!  They are berry-crazy!  (Ha ha)

DSC01184It’s alive!  The other two bushes just look like expensive sticks that some crazy person planted, but this one actually has a few leaves!  (Doesn’t take much to excite me…)

DSC01181Behind the raspberry bushes is a raised bed.  Last year I grew pickles, basil, beets, cilantro and two kinds of heirloom tomatoes in this bed.  They all did fairly well here, so I didn’t change much.  I planted basil, cilantro and cucumbers this year.  I have room for more, but haven’t decided what to put there yet.  I will probably put cherry tomatoes in there once my seedlings are ready for transplant.  I decided not to grow beets this year, even though they were lots of fun, because I pickled and canned them up, and no one ever ate them.  I also decided not to grow pickles, because it was too frustrating to me that there was never a batch ready at the same time for pickling.  This year I’m just going to order pickles, and that way I’ll get all my pickling done at once.

I took these pictures the same day that I took the chicken pictures, as is evident by Dagny’s outfit.  See my big helper?  (There used to be basil seeds in that square…I’m guessing that they aren’t there anymore…)

DSC01186

I did start my basil this year from direct-sow seed.  I’ve never done that (successfully) with basil, so it wasn’t too surprising to me that most of them didn’t come up.  I ended up buying a healthy-looking plant just to guarantee I would get some basil this year.

DSC01187It looks like at least one seed worked, though!  This is definitely not a weed!  Exciting!

DSC01188I also started cilantro from seed, and there are three seedlings that sprouted!  Aren’t they so cute?  I will probably still buy a larger plant though, because it’s getting to be salsa season and I need cilantro, dang it!  On a related note, you probably already knew this, but I’m still a beginner in the gardening world and this was new information to me.  Did you know that coriander is actually the seeds from cilantro?  I’ll definitely be learning more about harvesting coriander once my cilantro goes to seed later this year and posting about it.  Interesting, isn’t it?

DSC01199The next raised bed, which was all corn last year, now is my lettuce bed.  I decided not to grow corn because I tried it three years in a row, and although I did finally get good corn last year, I just decided it’s cheap enough in season that I don’t need to waste space worrying over it.  So this year I planted Romaine, spinach and arugula, just like last year.  I still want to plant kale, as well, but haven’t gotten around to it yet.  I might have missed the window… not sure.

DSC01200It is my opinion that arugula is the EASIEST vegetable to grow.  It is as talented as a weed and nearly as invasive!  Last year I used my arugula in my Italian Wedding Soup and also made arugula pecan pesto.  It was delicious, and I kicked myself all pesto-less winter for not making more! In fact, I went through a lazy streak in the crucial week before the arugula went to seed and didn’t preserve it at all!  (For shame!  Boo!  Hiss!)  I was definitely regretting that over the winter, because arugula isn’t something that shows up in my grocery stores.

DSC01201Spinach is so cute as a baby.  Aww, wook at da widdle spinach weaves! So sweet!  (I may need help.)

DSC01202Romaine is cute too!  The wood chips are about the size of my thumbnail, just for scale comparison.  Aren’t those leaves tiny?  Someday they are going to be crunchy chunks of deliciousness drenched in Caesar dressing.  Sniff.  They grow up so fast!

DSC01190In front of the lettuce box are the snap peas.  I’m not exactly proud of this contraption.  There are probably 10 different ways to encourage these climbers that are snazzier and more efficient.  But I’m saving my landscaping budget for more important things and this was made with things I already had.  Plus it’s WAY better than my original design, which involved a collapsible drying rack and was far more embarrassing.

DSC01192I think this will work.  This is the most promising batch of snap peas I’ve grown yet.  The first year I planted them too late and only got ONE pea.  The second year my garden was consumed by weeds and I was too scared to enter it.  Last year I foolishly planted the peas behind the tomatoes, which were foolishly planted behind the cucumber, which were foolishly planted to receive ALL the sun.  The tomatoes and cucumbers were amazing, the most amazing crop I’d ever grown.  But the peas?  Oh the peas.  Nary a one was able to even see the sun, and they were quickly completely consumed by the larger plants.  This year looks to finally provide me with all the peas I can consume!  Once the plants are happily climbing, I’m also going to interplant this box with red, Yukon, and sweet potatoes.  (This was the potato box last year.)

DSC01193I am, however, REALLY proud of this!  I saw this on Pinterest and had to do it.  These are just bamboo poles tied together so that pole green beans can grow up it.

DSC01194(Isn’t this a cool picture?)

As a little girl, I was always infatuated with fairies and tiny forts.  I would have loved something like this as a little girl – a “secret” hide-out in the garden where the fairies were sure to be spotted.

DSC01195My oldest girl was named Cosette, after a character in one of my favorite musicals.  (Name that show!) We nicknamed her “Cozy”, which completely epitomizes her personality.  She is a lot like me in the way that she loves to create forts and is more than happy to hunt for fairies in tiny spaces.  My plan is to try to train the beans up the poles in a weaving fashion, so that the fort will be completely covered.  If any grow higher than the 6-ft poles I will try to encourage them to hang over the “door”, to complete the entrance to the hide-out.  I’ve never grown pole beans before, so I’m not totally sure what to expect.

DSC01196This is the first year for pumpkins for us, too.  I tried to grow them my second year of gardening, but the weeds and the heat wave won that battle.  My plan is to just let the vines go across the right side of the yard.  Can you see the seedling in there?  It only took like 3 days to sprout like that!  It totally shocked me.  (I shock easily too, apparently) I’m not planning on leaving the tomato cage over it, I’m just a little distrusting of my chickens, so I’m leaving the cage there until the vines can fend for themselves.

DSC01206Likewise, on the back fence, is the watermelon.  I haven’t grown that successfully yet, either.

DSC01205I planted this the same day as the pumpkin, and look how wussy the seedling looks compared to the pumpkin!  It took longer to sprout, too.  I’m going to let these vines take over the back of the yard, too.  I tried to grow watermelon up that chain-link fence last year.  It did work, and I did get one melon – that I prematurely harvested because it was about to frost, anyway – but I have a big enough yard that it doesn’t really matter.  The back end of the yard is only used for compost and my husband will be grateful to not have to mow it anyway.

DSC01203The long back bed that was Romas and arugula last year now is the strawberry bed.  I planted both Ever-bearing and June-bearing berries.  The chickens have destroyed two of the June-bearing plants.  I’m not really sure what the method to their madness is… why only two?  Why both June-bearing?  It’s a puzzle.  I put a tomato cage in one end, hoping it would creep them out enough to stay out.

DSC01210This isn’t in my garden.  It’s actually on the back of my house.  This is from last year’s pitiful strawberry efforts.  (News flash, strawberries like FULL sun, duh!)  I was happy to see two plants return.  It kind of vindicated my salty feelings from last year.

DSC01207

This is the view from the right side of the garden.  Stage left, for you theater majors out there.  The box closest to the camera is mostly empty still.  I have two banana pepper plants given to me by my generous in-laws.   They also gave me a jalapeno plant, but the chickens had their way with it.  More tomato cages to the rescue!  The rest of the box is going to be filled with beefsteak, Roma and cherry tomatoes.  I bought all the seeds for these, but only started the seeds a few weeks ago.  The seedlings are only about 4 inches tall, and I’m not sure that is far enough along.  I might just buy plants to get in the ground now, and plant the seedlings I started later when they are stronger.  That way if they don’t produce until late fall it won’t be a big deal and I will have already been able to can up some tomato products.

You can see that I have two big helpers, staying busy digging in the dirt for Mama!

Behind the chain-link fence to the right, on the other side of the strawberry patch I planted sunflowers.  I had started the seeds in decomposing pots and then planted the pots after the seedlings were about an inch tall.  I then took some practical precautions and protected their row with chicken wire.  A day later, the seedlings were all gone.  In some of the pots there was even a broken sunflower shell, just sitting on top of the dirt, mocking me.  Crafty birds.

So I replanted the seeds, but I don’t have much hope for their survival.

DSC01209The last thing I planted this year was a blueberry bush.  I planted it by itself in a very empty space where a tiny propane tank used to live behind our house.  It also just looks like a stick in the ground, but hopefully next year or in a few years we’ll have fresh blueberries!

I still have a few things to get in the ground, including a blackberry bush.  I’m not sure where I’m going to put that yet, though.

If you have any tips for some of the things that are new to me (berry bushes, asparagus, pole beans, sunflowers) I would greatly appreciate it!

Categories: Gardening, Journal, Vegetables | Tags: , , , , , , , , , , , , , , , , , , , ,

Garden Update and an Arugula Pecan Pesto Recipe!

It’s growing in nicely!

The right box, with cucumbers climbing up the trellis, three tomato plants, one snap pea plant, two green bean plants, three banana pepper plants, and a row of spinach.

So far I am completely sold on Square Foot Gardening.  It is 1000 times easier than row gardening, and truly, weeding is a pleasure!  Besides manipulating the tomato plants up their cages or the cukes up the trellis, pulling the occasional weed in my true SFG boxes is the ONLY maintenance I have had to do.

There are red and white potatoes growing here. I still want to get sweet potatoes going, just haven’t gotten around to it yet.

If you are not familiar with Square Foot Gardening, Mel insists that a key component to SFG success is “Mel’s Mix”.  This is a soil mixture of 1/3 vermiculite, 1/3 peat moss, and 1/3 compost.  Mel instructs us to not use our existing garden soil, but instead to create Mel’s Mix ourselves and fill the boxes with it.  My husband was extremely skeptical of purchasing soil components when we live surrounded by fields…using existing soil…growing wonderfully…  I didn’t blame him, but as the only one who does the weeding, I insisted in experimenting.  He agreed that I could fill some of the boxes with Mel’s Mix as long as I left our existing soil in the others.  Anyway, long story just to tell you that the potato box above used our existing soil.  It’s not a great photograph, but I can assure you the 40% of the green is weeds.  I went two days without checking on the garden once and when I walked out there the potato box was completely overrun with weeds!  It was a good reminder to me of last year’s garden – row style, that I lost to weeds.  I am happy to report that this year, however, that the rest of the boxes are 99% weed-free!

I lost two of my Roma tomato plants, but the other six are coming up nicely. On the far end is an abundance of Arugula, and in the middle are two Romaine heads. I planted Romaine in several spots, but those are the only two coming up.

In this picture the arugula has already been mostly harvested.  Besides basil, it’s the first thing I harvested from the garden!  I was totally shocked with how much arugula came up, and a little bummed by how little Romaine came up.  I plan on planting more soon though, although I’m not sure it will come up in the heat of summer.  Anyone know the answer to that for me?

Some leaf lettuce on the end, and two tiny watermelon plants slowly coming up! Hopefully by next month the watermelon vines will be taking over the fence!

You can see the larger watermelon plant to the upper right of the leaf lettuce.  That one was started from seed and is looking really healthy, albeit small.  In the upper left corner next to that white stick is the second watermelon plant.  This one I purchased as a seedling from a local greenhouse, and handed it to my 4-year-old Big Helper to take over to the garden for me.  The next thing I heard was “Oops, Mommy, I think you should have taken this out.”  She had pulled the seedling straight out of the carton, completely exposing the roots!  All I could do was chuckle, and try to salvage the plant.  It’s not doing too great, needless to say.

Cucumbers climbing the trellis

Tomatoes!

Pickle blossoms…Makes my mouth water just seeing these!

This is the 5th time I’ve tried to grow basil, and the FIRST time I’ve been successful! I have 4 healthy plants! Go, Mel’s Mix!

Only two beans plants came up, I think I will plant more though because green beans are my absolute favorite harvest, fresh out of the garden! I could eat these all day long!

I made a few mistakes planning my garden, but then I expected to make some mistakes my first time at SFG.  I spaced some of the plants a little unwisely, like putting the peppers next to the tomatoes and trying to grow snap peas in between two tomato plants.  Next year I think I will plant all my tomatoes along the fence, where they can grow as bushy as they want without stealing the sunlight from other plants.

My poor banana pepper plants aren’t getting enough sun, although they are still producing some flowers. I’m going to try to stake them away from the tomatoes, towards the spinach.

This sad little snap pea plant is completely overshadowed by two big bully tomato plants. I love snap peas passionately, but I’ve not had success with them yet. This is the third time I’ve tried to grow them…looks like I’ll have to try again next year!

Ok, enough about my garden!  Let’s get to the recipe!  Here’s the thing:  I’m not a huge fan of arugula raw.  Or at least I didn’t think I was, until I was faced with an overabundance of the stuff!  I happened to be surfing Pinterest for clever ways to serve pesto as an appetizer when I came across a recipe for arugula pesto.  So I whipped some up and it turns out that it is fantastic! I doubled this recipe mostly because I had so much arugula and also because I wanted to give some as gifts.  I also changed the recipe slightly.  The original recipe would call for a whole cup of oil to double the recipe, but as I was slowly adding the oil, it reached consistency at around 3/4 of a cup.

Arugula Pecan Pesto (This made enough for 2 half-pint jars)

What you will need:

  • 4 cups arugula, washed
  • 1 cup pecans
  • 2 garlic cloves
  • 1 cup fresh Parmesan cheese, grated
  • 3/4 cup extra-virgin olive oil, plus a little extra for toasting
  • salt and pepper if needed (I didn’t use any)
  • Food processor

Directions:

Warm a little oil in a saute pan on the stove and toast the garlic and pecans for about 2-3 minutes.

Add all ingredients, except salt and pepper, and half the oil to the food processor and pulse a few times.  Stop, scrape down the sides, then turn the food processor back on, adding the rest of the oil while the machine is running.

When the pesto has reached the consistency desired taste it and decide if it needs salt or pepper.  I think the arugula adds all the pepper it needs, and the cheese adds all the salt it needs, but you may decide it needs more.

After the pesto looks like this, it’s ready to be consumed!  You can mix it into pasta, spread it on toasted bread or pizza, or get creative!  I think it can be canned, but I haven’t tried that yet.  I’m going to whip up another batch soon though and try it, and then I’ll update this post.  I’m also pretty sure it will be fine frozen, I also haven’t tried that.

We’re having this on pizza for dinner tonight topped with fresh mozzarella and tomatoes!  Stay tuned for another arugula recipe coming soon!  (This post is already a wee bit long 😉 ) *Update* Here it is!  American Wedding Soup!

Does anyone have any other good uses for arugula for me?  I really do have a lot!  And if you live in the Toledo area, I’m happy to share!

Categories: Journal | Tags: , , , , , , , , , , ,

Blog at WordPress.com.