Posts Tagged With: potatoes

Garden Update – Summer 2013

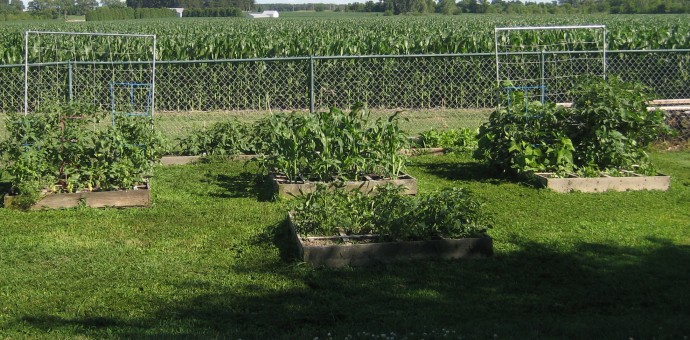
DSC02192It was such a promising spring… I had so much motivation, I planted nearly everything I intended to although there’s always a few things that I don’t get around to planting, like kale- boo hoo!  I was even staying on top of the weeds and I thought I was pretty clever with my inter-planting.  I’m not really sure what happened, exactly…but I really did not get much harvest this year!

DSC02197

For starters, ALL my fruit bushes that started out as expensive sticks ended up as…expensive sticks.  I’m guessing they didn’t “take”.  Huge bummer!  I was really hoping to get them established this year so that soon I would have fresh berries from our own yard!  I’ll try again next year!

Arugula Seeded

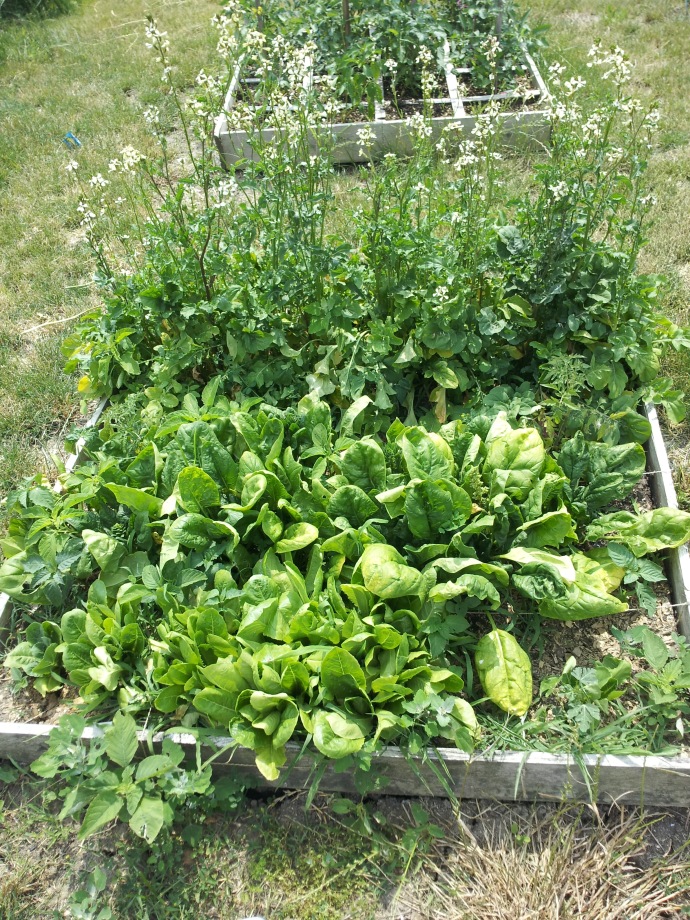
Although my arugula came in quickly and was plentiful, I actually MISSED the harvest and it went to seed!  I just never had a chance to make my huge batch of Italian Wedding soup, which is really the only thing I want the arugula for.  I think I can still re-plant that though, so all hope is not lost.  We did have several fresh salads off the Romaine and spinach, though.  Yum!

DSC02200

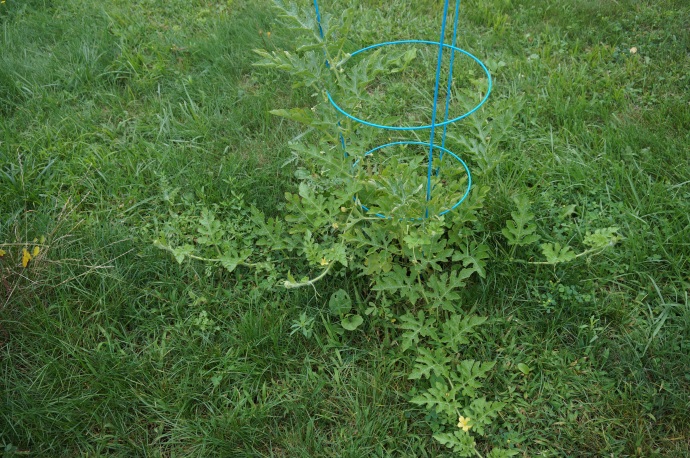
I planted two watermelon plants.  One was brutally murdered by the lawn mower, but the other is thriving nicely!

DSC02201

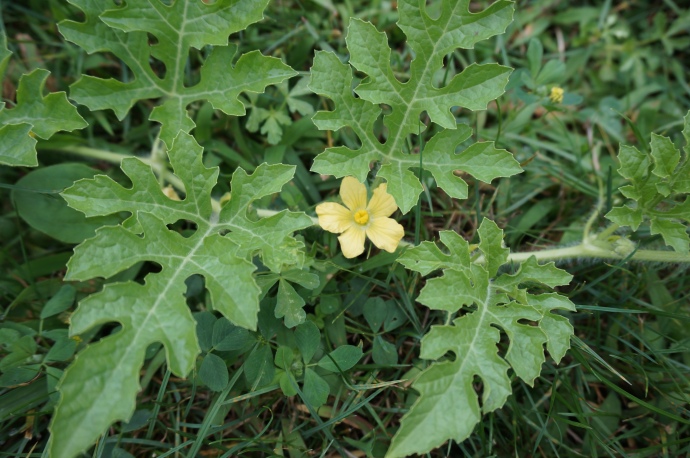
I even have two watermelons already…although they are both quite small still.  This picture was taken mid-August.  I’ll have to get an updated picture soon.

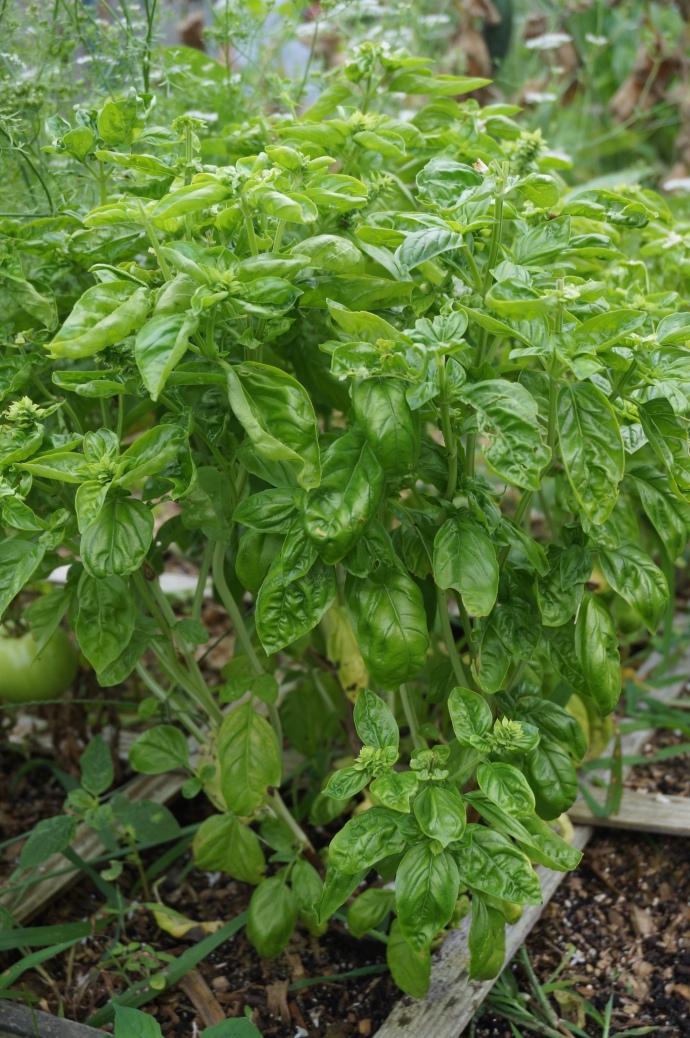
DSC02193

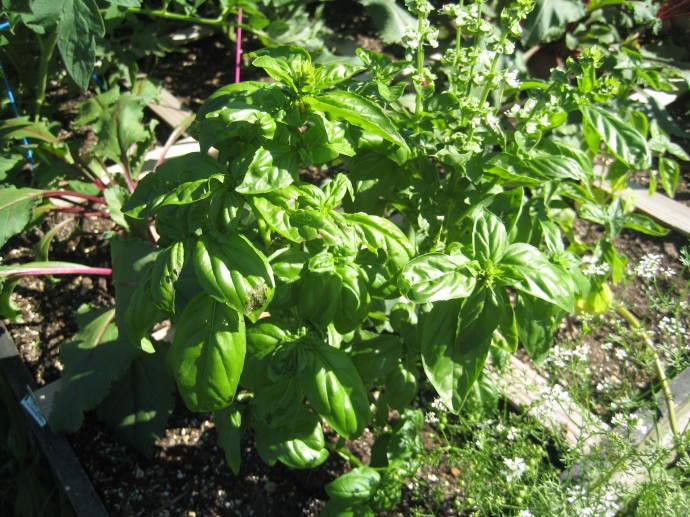
The basil was probably the healthiest crop in the garden.  This is amusing to me because I’ve tried to grow basil so often before and never had much success.  But I’ve made tons of pesto from this one plant, bruschetta, and sometimes I just like to go pinch off the flowers just so my hands will smell delicious all day!

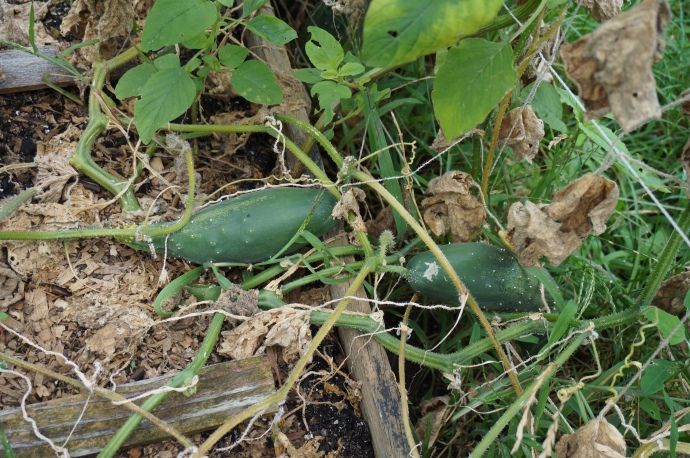
DSC02192

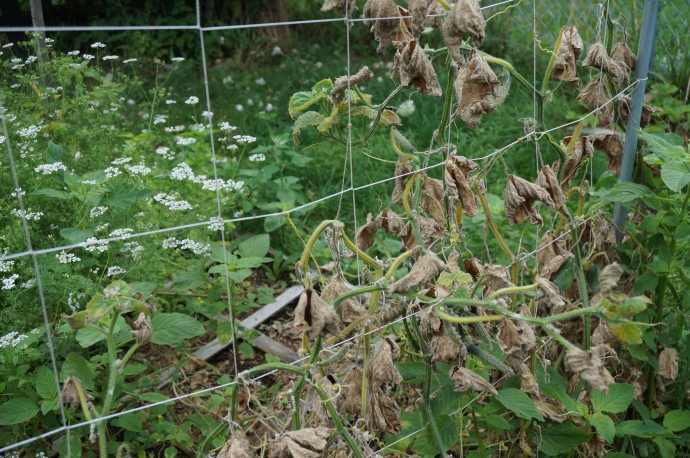
My cucumber vines were doing amazingly, and then all of a sudden dried up and died completely.

DSC02195

I kind of suspect I may have overcrowded them.  Next year just ONE seed per square.  No one needs 4 million cucumbers anyway.

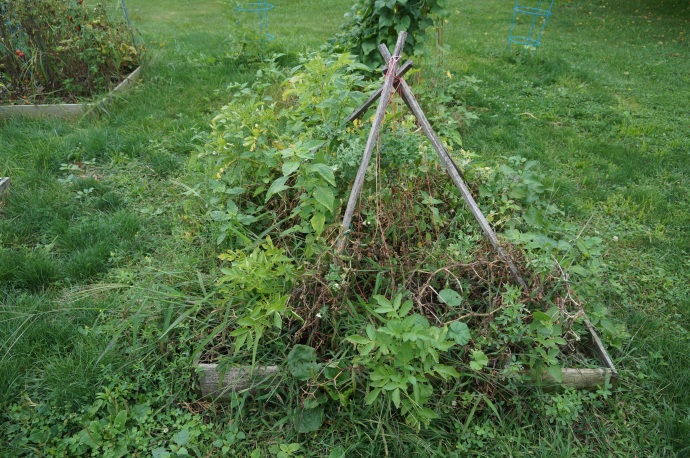
DSC02196

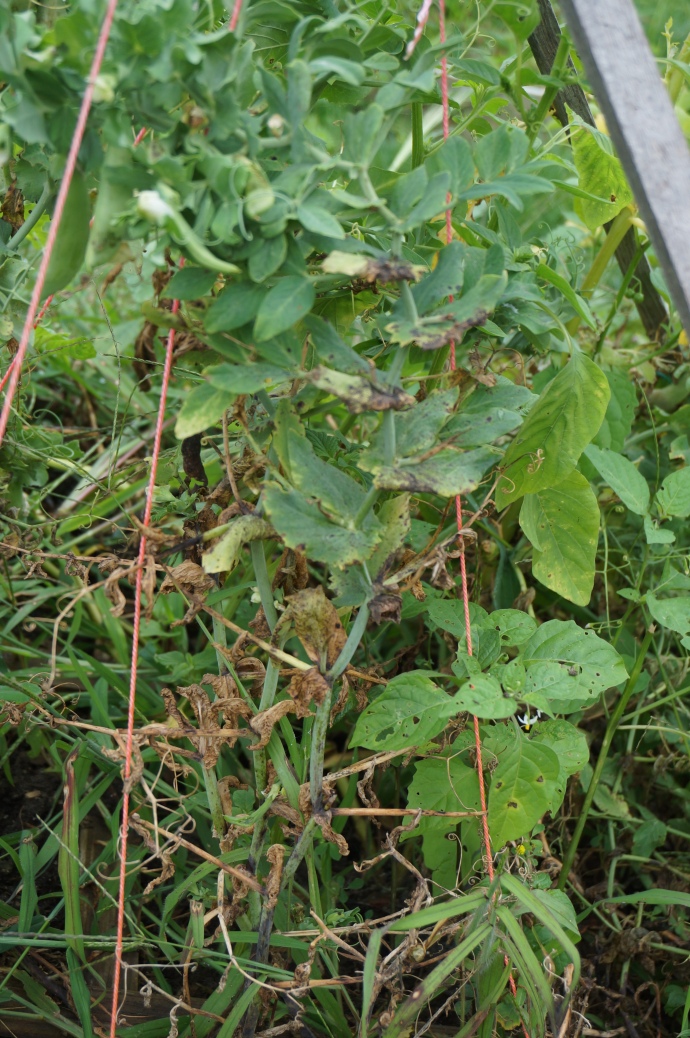
The snap peas were AWESOME this year! (It’s hard to tell from this picture because the peas are sharing a bed with three kinds of potatoes and of course, weeds)  This was my biggest triumph because I LOVE snap peas madly, and have never been able to get a respectable harvest from them!  I finally figured them out though, and had as many as I wanted this year!

DSC02202

The pea harvest is over, unfortunately, but I have no complaints there!  I did inter-plant potatoes in there, which I will not do next year.  I think it is fine, it just made for a lot of extra vegetation as well as made it a little harder to weed.  I have already harvested the white and red potatoes, but the sweet potatoes aren’t quite ready yet.

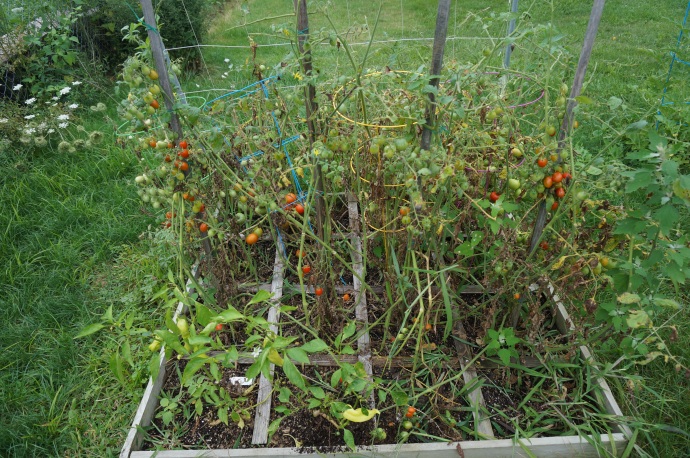
DSC02190

The saddest part of this year’s garden to me is my tomato plot.  I have no idea what happened, but just like with the cucumbers, the plants completely dried up.  The green tomatoes still ripened, and at least on the cherry tomato plants I had plenty of tomatoes, but on all my canning plants there’s hardly anything.  Fortunately, my parents planted tomatoes this year and had tons of rogue plants come up and do well, so they’ve given me enough to stock my tomato sauce supply.

DSC02199

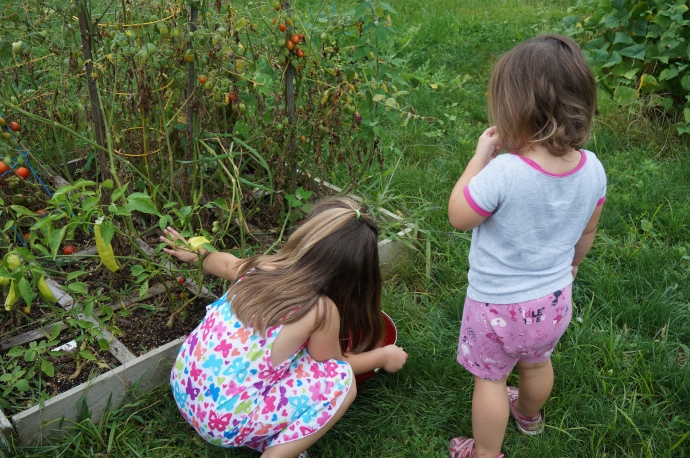
One thing that did bring a smile to my face though was watching my Dagny-girl eat her cherry tomatoes straight off the vine.  The only reason I even planted them was for her!

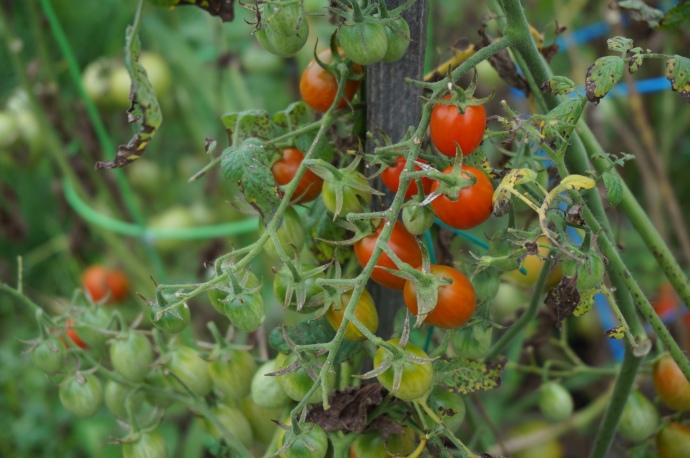
DSC02191

The cherry tomatoes did pretty well, and I’ve made plenty of “sun-dried” tomatoes (using the dehydrator) that will last me at least a year.

DSC02189

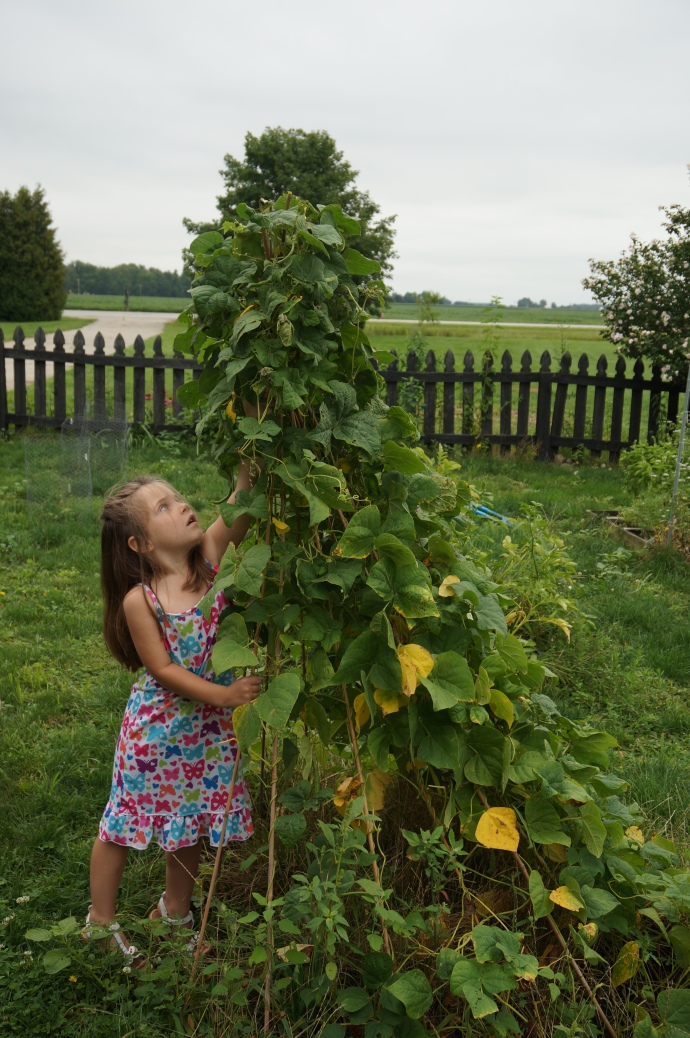
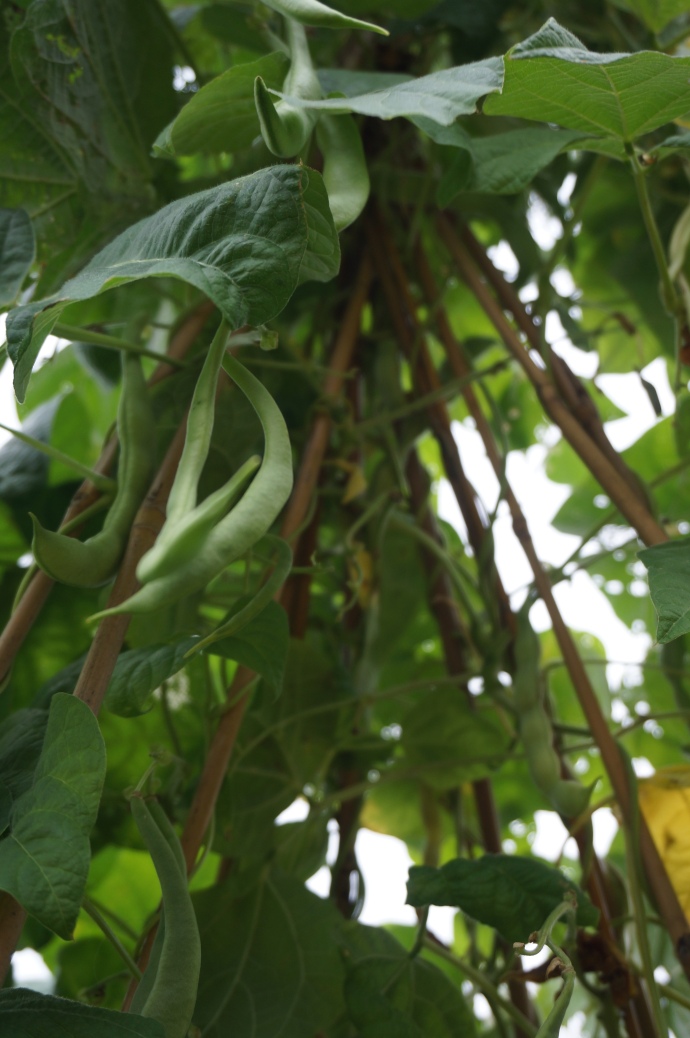
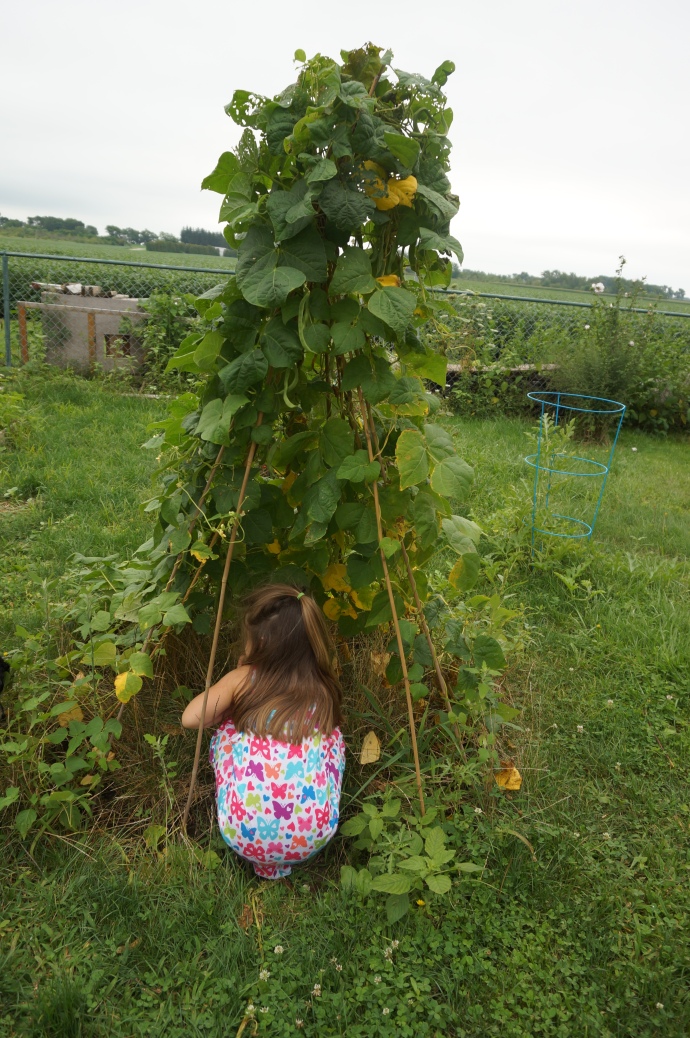
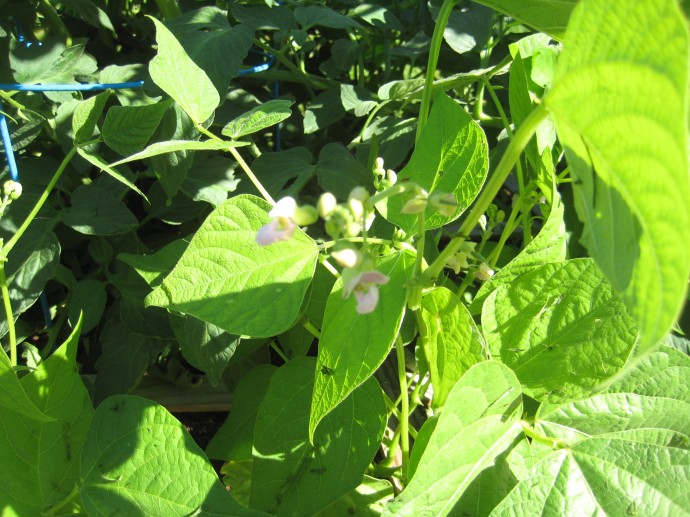
The green bean teepee turned out so cool!  I’m so glad we did this, and the kids have loved picking beans off it.

DSC02188

I’m going to plant something else on the teepee next year though because I didn’t really care for the stringy texture of the pole beans.   I’m going to stick with bush beans from now on.

DSC02198

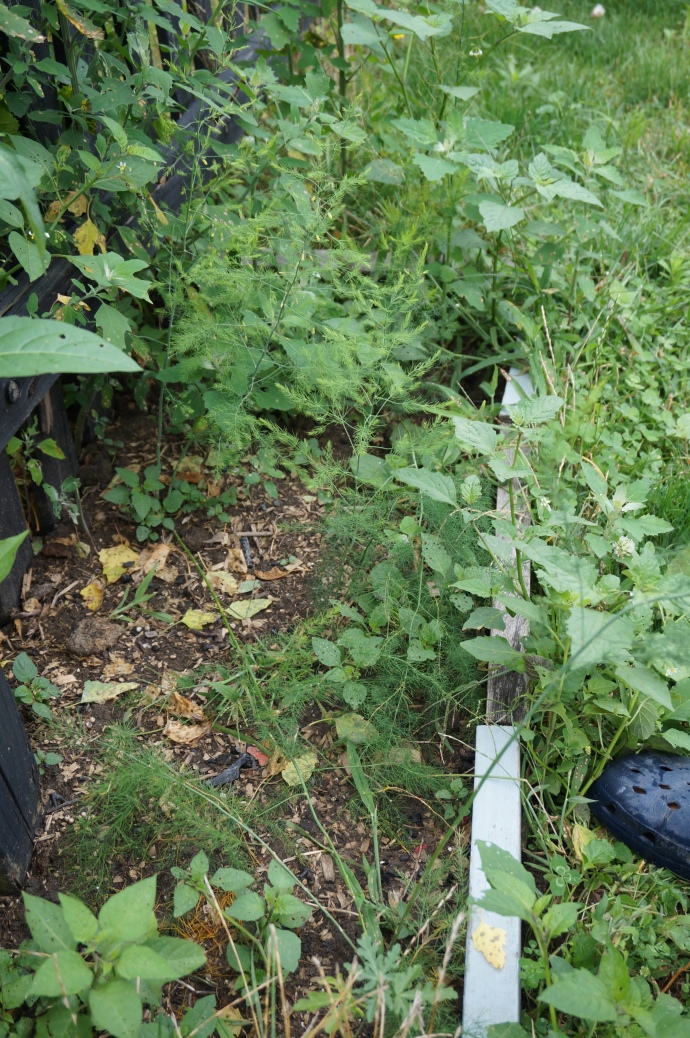
The asparagus patch did pretty well, albeit the constant fight against weeds.  Asparagus is supposed to take three years to mature, and enough shoots came up this year that I feel confident that in two more years I’ll be frying asparagus straight from my garden!

DSC02194

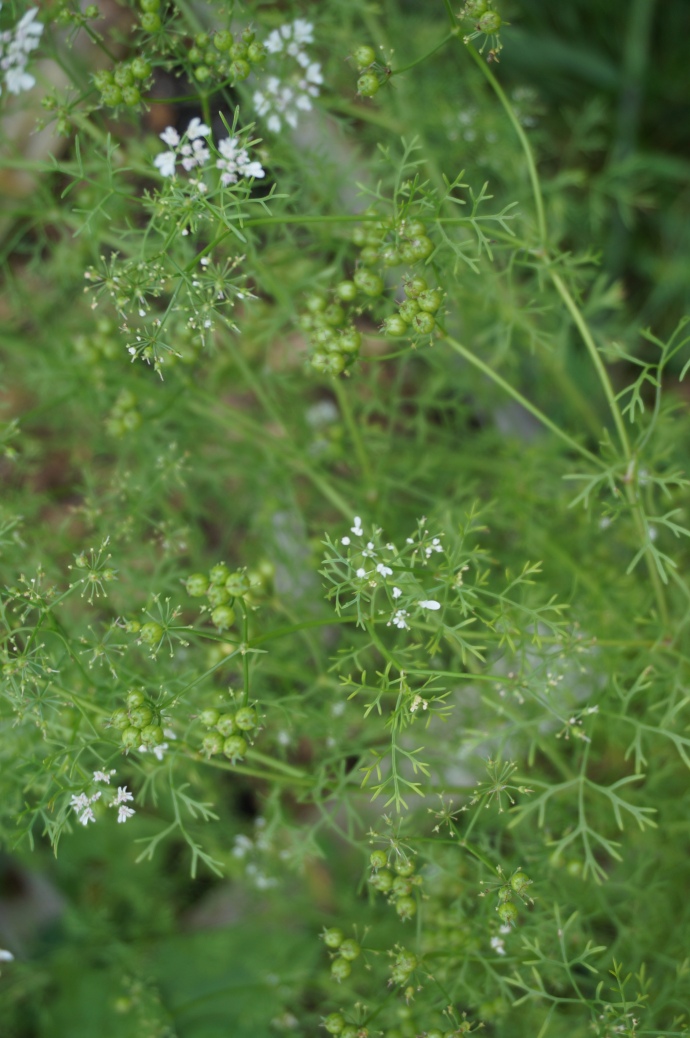
One of the more unique-to-me crops this year was the cilantro.  I’d never  successfully grown it before, nor did I ever know that coriander seed was another harvest from cilantro.  Ironically, I didn’t use ANY of the cilantro.  I forgot.  I did, however, harvest fresh and dried coriander, which I’ll detail in a different post.  It was fun!

We only got a few strawberries.  Honestly, this has been mostly a weed patch all summer.  It seems like every time I go out there the weeds have doubled.  Three times now I’ve completely cleared the weeds and still they persist in returning.  The June-bearing berry plants kept getting uprooted by pesky chickens and I don’t think there’s even one plant left, but fortunately the ever-bearing plants seem to have survived and even sent out shoots!  I’m looking forward to that crop next year!

The pumpkin plant started off healthy, and then decided to drink coffee or something because it never hit puberty.  It looks like we’ll be buying a pumpkin from Pumpkin Pete again this year!  That’s ok, even though I really wanted to over-decorate with pumpkins this year, we had a lot of fun playing at Pete and Gwen’s last year!

All in all, it was rather unsatisfying.  I was kind of hoping that I would be a professional gardener by my fourth year of gardening, but still I persist in making mistakes.  My biggest mistake was fairly obvious, and that was using compost that I had thrown weeds into last year.  (Duh).  This year the weeds went into their own pile, and what little kitchen scraps and chicken manure I have went into a weed-free pile.  I’m not really an advocate for composting.  I’ve tried it several times and generally lose interest halfway through the season.  Anyway, next year, I’m going to return to Mel Bartholomew’s Square Foot Gardening concept and make fresh Mel’s Mix to put in ALL my beds.  That made it so much more fun last year to hardly have any weeding to do AND get a nice healthy crop.  If the budget allows, I’d also like to do a little landscaping to “pretty up” the space.

Lastly, I’m also going to plant garlic in each of my beds next month.  (I’m going to try to remember, anyway!  Someone remind me!!)  I think that will help fight any diseases/fungus that may think has a home in my garden.

DSC02184

Categories: Gardening, Journal | Tags: , , , , , , , , , , , , , , , , , , , ,

The Last of the Garden: Potatoes!

I was a little late in harvesting my potatoes this year… I got busy trying to get into a new routine that included beginning homeschool for my preschooler!  I didn’t make it out to the garden for over a week, and in that time the potato vines went from “dying” to “dead”.  It wasn’t a big deal, the potatoes were fine for the most part, although they were beginning to get molested by some sort of bug or fungus.

Potatoes are fun to grow.  Have you ever tried growing them?  I didn’t grow nearly as many as I intended to this year.  I completely forgot to even plant sweet potatoes, and I wish I would have at least doubled the white and red potatoes that I planted.   They are so easy to grow, and require absolutely no attention while they grow besides weeding.  As an added bonus, come harvest, you get to dig in the dirt and search for them!  It’s fun for all ages!

This is the first time I’ve ever “preserved” potatoes.  I know I could have stored them in the basement long term just in a brown paper bag, but for one, I didn’t have that many, and secondly I was a little concerned about some of the potatoes that looked like a bug got to them.  I wasn’t sure if they would store well or rot quickly.  Lastly, I actually purchase sliced canned potatoes (*gasp!*) because my husband makes the most delicious fried potatoes with them.  The canned kind cook up so much tastier than a fresh potato sliced does, too.  So anyway, it made sense to me to slice and can my potatoes instead of storing them in the basement and hoping they last, while still purchasing canned potatoes.  Right?  🙂
This was pretty easy to do…once you get all the potatoes peeled, that is.  But after you get through that, the rest is simple!

Sliced Canned Potatoes

What you will need:

  • Food Processor
  • Colander
  • Stainless Steel Stock Pot
  • Peeled white potatoes (I forgot to weigh mine!  The Ball Book says you’ll need 2-3 lbs per pint if CUBING them.  Eyeballing my pile, it looks like around 6-7lbs, and I got 3 quarts of slices out of that.  Don’t quote me on it though.)
  • Boiling Water

Directions:

  1. After you peel each potato, put it into a stainless steel pot filled with cold water to prevent browning.  Once all the potatoes are peeled, drain them into a colander, rinse them, and fill the pot back up with fresh cold water and put the potatoes back in the water.
  2. Using your food processor with the slicing attachment (or a sharp chef knife and careful fingers!), slice each of the potatoes, putting the slices immediately back into the water to keep them from browning.  Once you have sliced all the potatoes, put the full pot on the stove and begin to heat the water.
  3. Begin heating clean jars in your pressure canner on the stove, and lids in a separate pan.  Fill another pot with water and bring to a boil.  (I actually just used my teapot for easier pouring!)
  4. Heat the sliced potatoes until they are hot through.  You don’t need to boil them.  Just pull one slice out with a tongs and check if it’s hot.  Once they are hot, you are ready to fill the jars.  Drain the potatoes back into a colander, then fill the hot jars.
  5. Fill jars with boiling water to a 1-inch headspace.  Using a plastic tool, slide it between the potato slices and the jar, releasing air bubbles.  Adjust headspace if needed.
  6. Wipe rims and place lids on jars.  Tighten rings, and place back in the canner.
  7. Vent 10 minutes, set gauge to 10lbs psi, and let pressure build.  Once 10 or 11 lbs psi is achieved, process pints for 35 minutes and quarts for 40 minutes.
  8. Turn off heat and allow pressure to return to zero naturally.  Once it reaches zero, wait 2 more minutes, then remove gauge and canner lid.  Wait 10 minutes for jars to acclimate to your kitchen temperature, then remove jars to a towel on the counter.
  9. Let jars cool completely, clean lids, label and store up to 1 year!

    Don’t they look kind of neat stacked up in there?

Ty’s Delicious Fried Sliced Potatoes

There’s no specific recipe for these.  You basically just heat some oil and butter in a fry pan, add the potatoes, a little  red wine vinegar, lots of salt and pepper, and some more butter.  Fry them, stirring minimally, until they are brown and the outsides are crispy.  Serve them with a perfectly grilled medium-rare steak.  That is an order!  (I had a picture of these, but for some reason I can’t get it to upload.  Computers are weird when they’re selective.)

Categories: Canning, Low-Acid, Potatoes | Tags: , , , , , , , ,

Garden Update and an Arugula Pecan Pesto Recipe!

It’s growing in nicely!

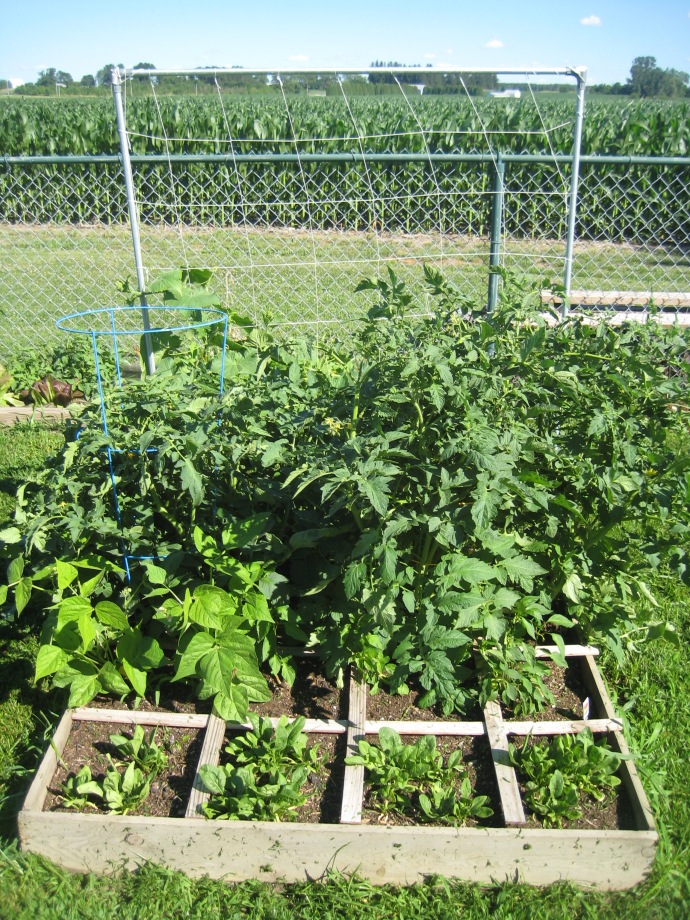
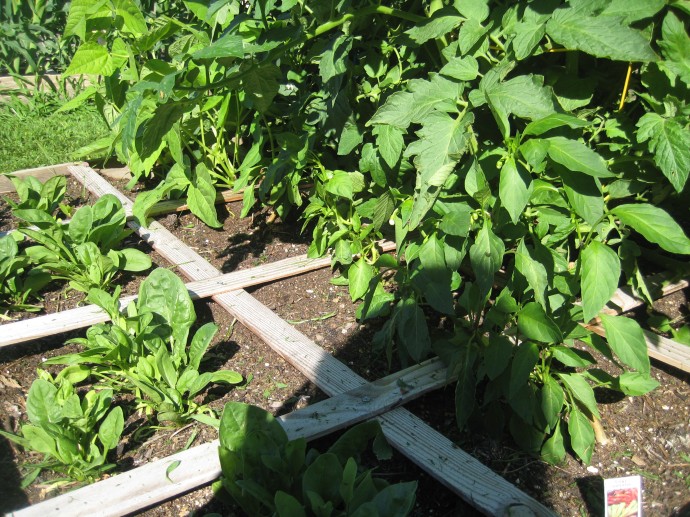
The right box, with cucumbers climbing up the trellis, three tomato plants, one snap pea plant, two green bean plants, three banana pepper plants, and a row of spinach.

So far I am completely sold on Square Foot Gardening.  It is 1000 times easier than row gardening, and truly, weeding is a pleasure!  Besides manipulating the tomato plants up their cages or the cukes up the trellis, pulling the occasional weed in my true SFG boxes is the ONLY maintenance I have had to do.

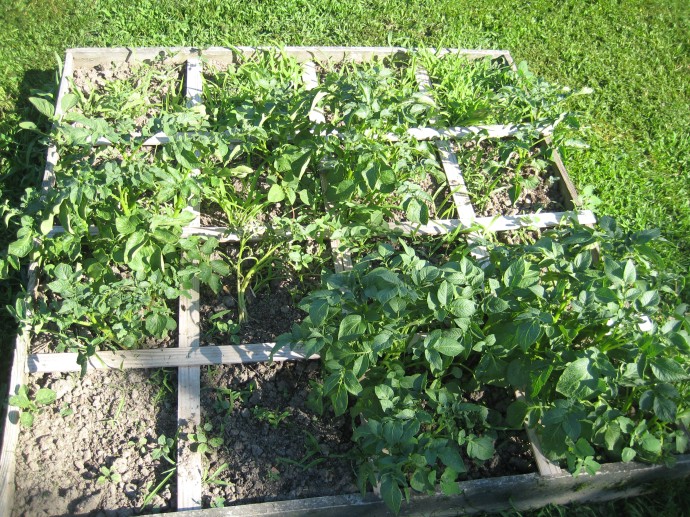
There are red and white potatoes growing here. I still want to get sweet potatoes going, just haven’t gotten around to it yet.

If you are not familiar with Square Foot Gardening, Mel insists that a key component to SFG success is “Mel’s Mix”.  This is a soil mixture of 1/3 vermiculite, 1/3 peat moss, and 1/3 compost.  Mel instructs us to not use our existing garden soil, but instead to create Mel’s Mix ourselves and fill the boxes with it.  My husband was extremely skeptical of purchasing soil components when we live surrounded by fields…using existing soil…growing wonderfully…  I didn’t blame him, but as the only one who does the weeding, I insisted in experimenting.  He agreed that I could fill some of the boxes with Mel’s Mix as long as I left our existing soil in the others.  Anyway, long story just to tell you that the potato box above used our existing soil.  It’s not a great photograph, but I can assure you the 40% of the green is weeds.  I went two days without checking on the garden once and when I walked out there the potato box was completely overrun with weeds!  It was a good reminder to me of last year’s garden – row style, that I lost to weeds.  I am happy to report that this year, however, that the rest of the boxes are 99% weed-free!

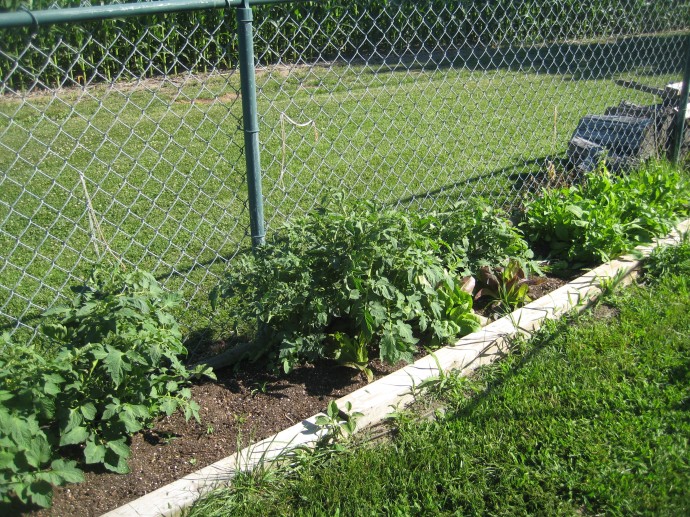
I lost two of my Roma tomato plants, but the other six are coming up nicely. On the far end is an abundance of Arugula, and in the middle are two Romaine heads. I planted Romaine in several spots, but those are the only two coming up.

In this picture the arugula has already been mostly harvested.  Besides basil, it’s the first thing I harvested from the garden!  I was totally shocked with how much arugula came up, and a little bummed by how little Romaine came up.  I plan on planting more soon though, although I’m not sure it will come up in the heat of summer.  Anyone know the answer to that for me?

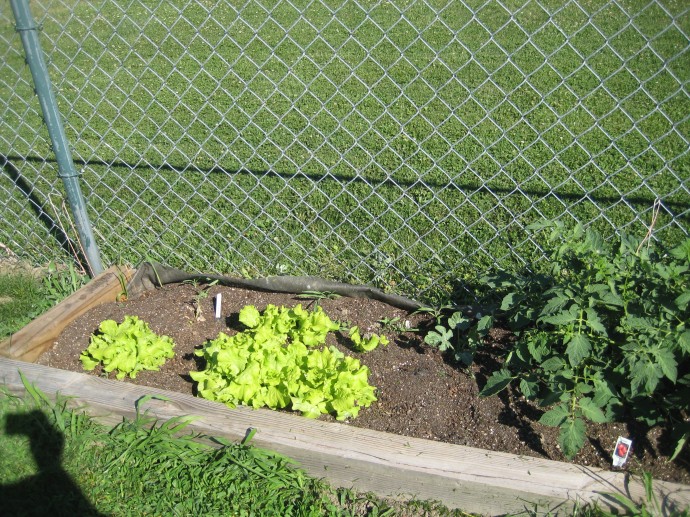
Some leaf lettuce on the end, and two tiny watermelon plants slowly coming up! Hopefully by next month the watermelon vines will be taking over the fence!

You can see the larger watermelon plant to the upper right of the leaf lettuce.  That one was started from seed and is looking really healthy, albeit small.  In the upper left corner next to that white stick is the second watermelon plant.  This one I purchased as a seedling from a local greenhouse, and handed it to my 4-year-old Big Helper to take over to the garden for me.  The next thing I heard was “Oops, Mommy, I think you should have taken this out.”  She had pulled the seedling straight out of the carton, completely exposing the roots!  All I could do was chuckle, and try to salvage the plant.  It’s not doing too great, needless to say.

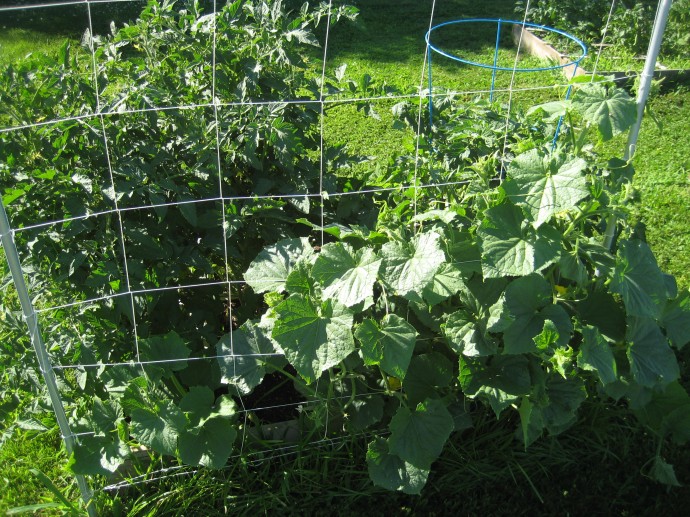
Cucumbers climbing the trellis

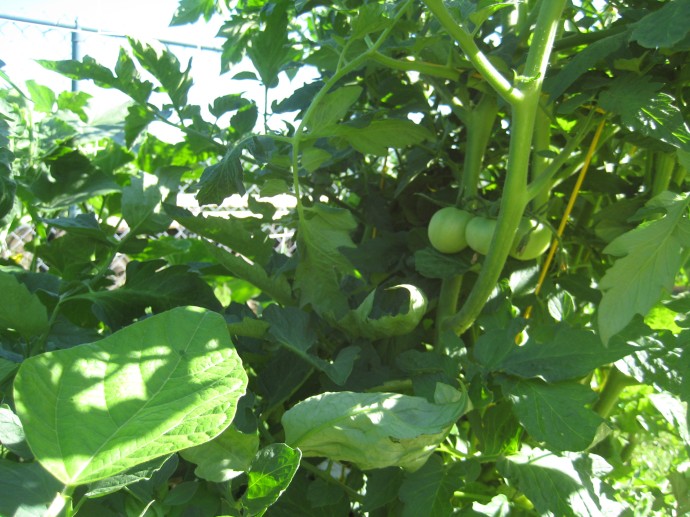
Tomatoes!

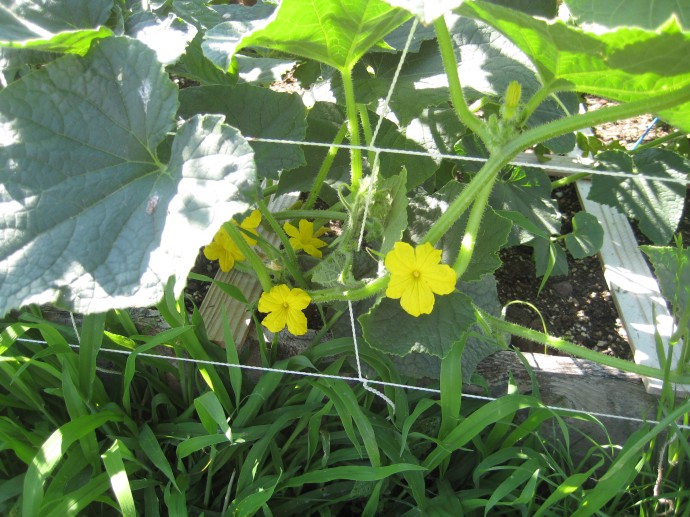
Pickle blossoms…Makes my mouth water just seeing these!

This is the 5th time I’ve tried to grow basil, and the FIRST time I’ve been successful! I have 4 healthy plants! Go, Mel’s Mix!

Only two beans plants came up, I think I will plant more though because green beans are my absolute favorite harvest, fresh out of the garden! I could eat these all day long!

I made a few mistakes planning my garden, but then I expected to make some mistakes my first time at SFG.  I spaced some of the plants a little unwisely, like putting the peppers next to the tomatoes and trying to grow snap peas in between two tomato plants.  Next year I think I will plant all my tomatoes along the fence, where they can grow as bushy as they want without stealing the sunlight from other plants.

My poor banana pepper plants aren’t getting enough sun, although they are still producing some flowers. I’m going to try to stake them away from the tomatoes, towards the spinach.

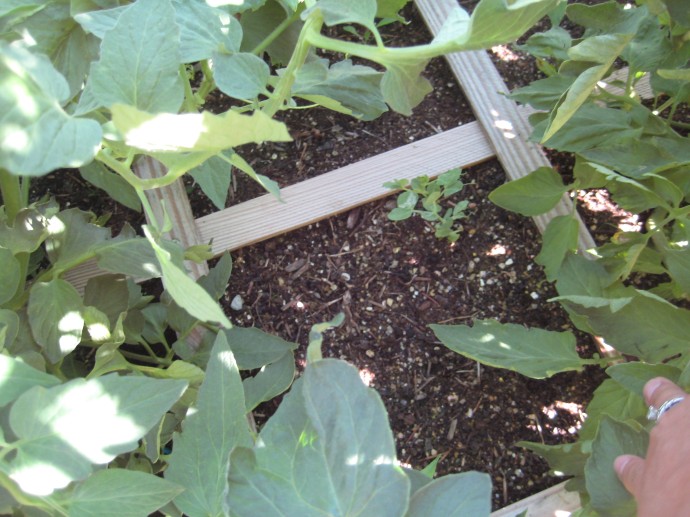
This sad little snap pea plant is completely overshadowed by two big bully tomato plants. I love snap peas passionately, but I’ve not had success with them yet. This is the third time I’ve tried to grow them…looks like I’ll have to try again next year!

Ok, enough about my garden!  Let’s get to the recipe!  Here’s the thing:  I’m not a huge fan of arugula raw.  Or at least I didn’t think I was, until I was faced with an overabundance of the stuff!  I happened to be surfing Pinterest for clever ways to serve pesto as an appetizer when I came across a recipe for arugula pesto.  So I whipped some up and it turns out that it is fantastic! I doubled this recipe mostly because I had so much arugula and also because I wanted to give some as gifts.  I also changed the recipe slightly.  The original recipe would call for a whole cup of oil to double the recipe, but as I was slowly adding the oil, it reached consistency at around 3/4 of a cup.

Arugula Pecan Pesto (This made enough for 2 half-pint jars)

What you will need:

  • 4 cups arugula, washed
  • 1 cup pecans
  • 2 garlic cloves
  • 1 cup fresh Parmesan cheese, grated
  • 3/4 cup extra-virgin olive oil, plus a little extra for toasting
  • salt and pepper if needed (I didn’t use any)
  • Food processor

Directions:

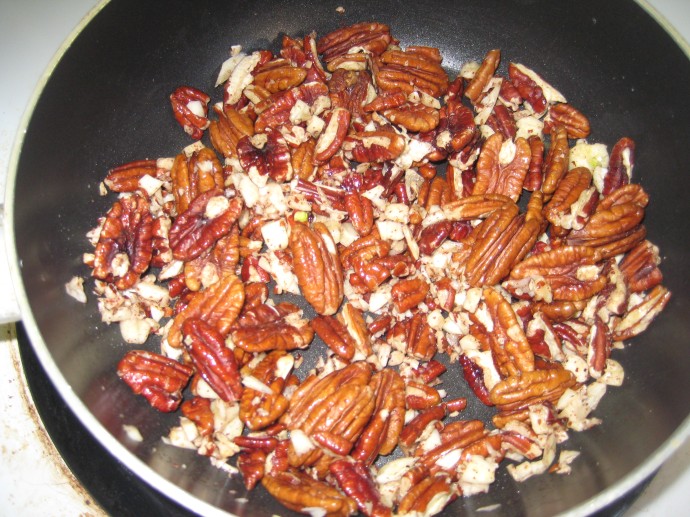
Warm a little oil in a saute pan on the stove and toast the garlic and pecans for about 2-3 minutes.

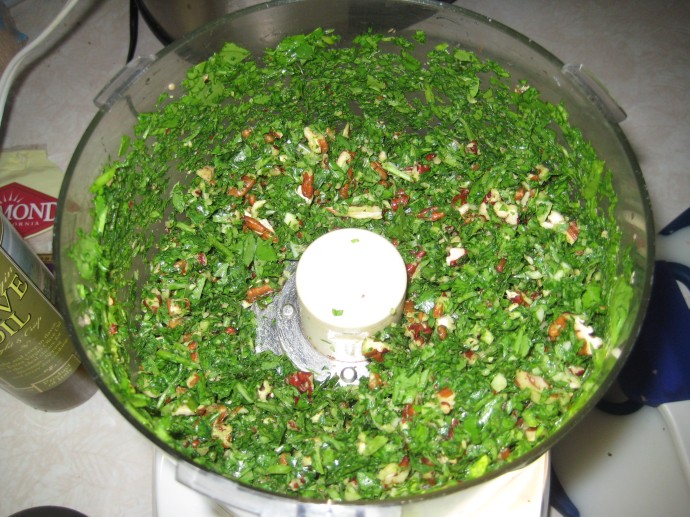
Add all ingredients, except salt and pepper, and half the oil to the food processor and pulse a few times.  Stop, scrape down the sides, then turn the food processor back on, adding the rest of the oil while the machine is running.

When the pesto has reached the consistency desired taste it and decide if it needs salt or pepper.  I think the arugula adds all the pepper it needs, and the cheese adds all the salt it needs, but you may decide it needs more.

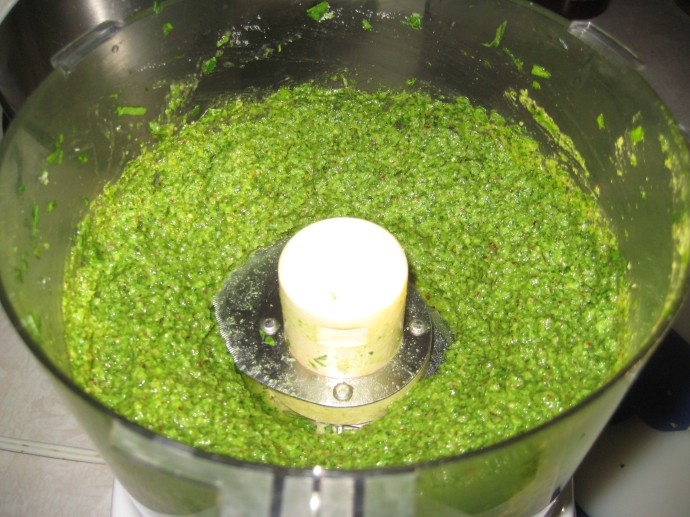
After the pesto looks like this, it’s ready to be consumed!  You can mix it into pasta, spread it on toasted bread or pizza, or get creative!  I think it can be canned, but I haven’t tried that yet.  I’m going to whip up another batch soon though and try it, and then I’ll update this post.  I’m also pretty sure it will be fine frozen, I also haven’t tried that.

We’re having this on pizza for dinner tonight topped with fresh mozzarella and tomatoes!  Stay tuned for another arugula recipe coming soon!  (This post is already a wee bit long 😉 ) *Update* Here it is!  American Wedding Soup!

Does anyone have any other good uses for arugula for me?  I really do have a lot!  And if you live in the Toledo area, I’m happy to share!

Categories: Journal | Tags: , , , , , , , , , , ,

Blog at WordPress.com.